30 Cool Laser Cut Ideas for Gifts, Home and Small Business
Cool laser cut ideas include personalized keyrings, layered wall art, phone stands, acrylic signs and fitted storage boxes. Start with a project that suits your material and machine, then test the smallest detail or tightest joint before cutting a full sheet. The ideas below cover quick gifts, useful objects and more demanding builds.
Choose a project you can finish
A flat gift tag needs less assembly than a moving puzzle box. Choose your first build by the work after cutting: sanding, painting, gluing, wiring and packing. Difficulty labels here are editorial guidance, not measured build times. A detailed engraving can take longer than a much larger simple outline.
| Goal | Good starting ideas | Main check |
|---|---|---|
| First project | Keyrings, tags, bookmarks | Readable detail and strong bridges |
| Useful household item | Stands, dividers, organizers | Dimensions and slot fit |
| Visual centerpiece | Layered maps, signs, shadow boxes | Alignment and finishing |
| Repeat orders | Place names, retail plaques, labels | Proof approval and packing |
Easy laser cut ideas for gifts and beginners
1. Personalized keyrings
A simple silhouette with an engraved name makes a forgiving first project. Keep enough material around the ring hole and round the corners. Make two versions before committing to a batch.
2. Geometric coaster sets
Repeat one outline across a set, then vary the engraved pattern. Sand and finish sample pieces before judging contrast. Test the finish against condensation; laser cutting alone does not make wood waterproof.
3. Plant markers
Use short names and a broad stem instead of delicate lettering. Indoor herb labels are an easy starting point. For outdoor versions, verify the sheet and finish are suitable for moisture and sunlight.
4. Bookmarks
Try a botanical outline with a small tassel hole. Thin plywood needs generous bridges between cutouts. Paper bookmarks can use a folded backing to protect intricate details.
5. Gift tags and ornaments
A small outline and a changeable name field make efficient personalized gifts. Place hanging holes away from narrow edges. Save a master template so the next order changes only the text.
6. Greeting cards and paper sleeves
Cut a restrained pattern into known, laser-compatible paper stock. Keep tiny islands attached with bridges. A contrasting insert creates depth without requiring several glued layers.
Useful laser cut projects for the home and workshop
7. Phone stands
A two-piece stand teaches slot fit with little material. Measure the phone with its case, leave space for the charging connector and check stability while tapping the screen.
8. Desk organizers
Combine a pen compartment, note holder and cable opening. Build the first version at full size. A narrow compartment that looks tidy on screen may be awkward to use.
9. Cable labels and clips
Use readable engraved labels and smooth openings. Keep the laser-cut part away from exposed conductors and hot equipment. A tidy labeling accessory should not be treated as electrical insulation.
10. Drawer dividers
Measure the actual drawer, including corner radii and sliding clearance. Slot-together strips are easy to revise. Make a short intersection sample before cutting every divider.
11. Modular display risers
Use interlocking shelves to present lightweight products at different heights. Prototype the largest span and test the intended load. Decorative sheet material should not be assumed to support heavy merchandise.
12. Tool silhouettes and workshop labels
Create labeled outlines for frequently used hand tools. A shallow tray or labeled panel makes missing items visible. Allow finger clearance so tools remain easy to remove.
Decorative projects with depth and light
13. Layered landscape art
Separate foreground, middle ground and background into distinct sheets. Use registration holes or a simple alignment jig. Color the layers before gluing, keeping adhesive away from visible edges.
14. Topographic maps
Translate contours into stacked levels and preserve a clear reference orientation. The visual effect depends on spacing and shadow. Check the rights to map data and artwork before selling the finished piece.
15. Mandala panels
Begin with broad repeating shapes and progressively add detail. Tiny bridges are the usual weak points. A plain backing can protect fragile cuts and provide a strong color contrast.
16. Silhouette vases
Arrange repeated ribs around a center support. Use a separate watertight insert for flowers; the cut wooden shell is a decorative surround. Dry-fit every rib before applying adhesive.
17. Edge-lit acrylic signs
Engrave a compatible clear acrylic panel and fit it into a suitable LED base. Check the base slot against measured panel thickness. Use a compatible CO2 system for direct clear-acrylic cutting.
18. LED shadow boxes
Layer a scene inside a deep frame and leave access to the light source. Use an appropriate low-heat LED system and follow its installation guidance. Keep paper and wood away from hot components and open flames.
Laser cut ideas for events and small businesses
19. Wedding place names
Cut connected script or use engraved names on a common outline. Ask for written approval of spelling and seating details. Thin letter joins need a packing method that protects them in transit.
20. Table numbers and menu holders
Give every insert the same external dimensions so replacements fit existing bases. Check readability at the viewing distance and under venue lighting. Test whether a tall sign tips when the table moves.
21. Retail logo plaques
Combine a backing panel with raised letters. Keep small counters in letters identifiable during assembly. Request permission to reproduce logos and confirm brand colors before production.
22. Reusable stencils
Connect enclosed shapes with bridges and test the stencil on scrap. Choose a material approved for the laser and the intended coating process. Unknown plastic folders are a poor substitute for identified sheet stock.
Advanced projects for assembly and learning
23. Finger-joint boxes
Measure sheet thickness at several locations, then cut a joint coupon. Decide whether the fit needs glue or friction. Keep the first box small enough to rebuild when the joints need adjustment.
24. Living-hinge covers
A repeated cut pattern can let a suitable sheet bend into a curve. Test the pattern with the same grain direction and thickness. Treat it as an experimental flexible section, not a guaranteed durable hinge.
25. Puzzle boxes
Prototype the locking mechanism before decorating the outside. Clearance, friction and access to moving parts matter more than a complex exterior. Provide an opening method if the mechanism jams.
26. Board-game inserts
Measure sleeved cards, tokens and the inside of the game box. Check that trays lift out comfortably and that the lid closes. Avoid copying copyrighted artwork without permission.
27. Mechanical learning models
A hand-cranked cam or simple gear demonstration makes motion visible. Test axle clearance and friction first. Supervise classroom assembly and review pinch points and small parts for the intended age group.
28. Architectural models
Use a consistent scale and label parts discreetly on hidden faces. Cut window details as a test strip before a full facade. Tabs and removable roofs can make the model easier to explain.
29. Cardboard packaging prototypes
Cut and score a prototype to test fit, opening sequence and assembly. Verify the stock is suitable for laser processing. Packaging for regulated uses still requires the applicable material and product checks.
30. Scrap-sheet sample kits
Nest small swatches, labels or finish samples in usable offcuts. Keep grain direction and safe spacing in mind. A labeled sample kit can help customers choose a material before placing a larger order.
Match the project to the material
Plywood is useful for assembled objects, but glue layers, voids and thickness variation can affect the result. When choosing a wood laser cutter, send a sample of the actual sheet rather than relying on a photograph of another species. Start with modest thickness and a simple joint test.
Clear acrylic signs call for a suitable CO2 machine. A blue diode source has different absorption limits, so a dark opaque acrylic project does not prove that clear acrylic will cut the same way. Paper works well for cards and mockups, while known laser-compatible leather can suit accessories. Identify every material and coating before processing it.
Do not laser PVC or unidentified vinyl. Keep extraction operating, follow the machine and material suppliers’ instructions, and attend the job throughout processing. Stanford’s laser cutter safety guidance is a useful reference for material screening and operation.
Turn an idea into a file that fits
- Measure the stock and the object the project must fit. Use actual thickness, not only the sheet label.
- Prepare closed vector paths for cuts. Remove duplicate lines and separate engraving, scoring and cutting operations.
- Import into compatible laser cutter software and verify units, scale and layer assignments.
- Cut a small detail and joint coupon using the intended material and focus setup. Kerf is the width removed by the beam; it affects how mating parts fit.
- Engrave and cut internal features before releasing the outside shape where the workflow permits. Keep small pieces from falling or shifting.
- Finish and assemble one complete sample. Photograph it and record the file revision and processing settings before making multiples.
A downloaded SVG is a starting point. Its slots may assume another thickness or machine setup. Scaling an entire box also changes its joints, so check the construction before resizing.
Which Good-Laser machine suits these projects?
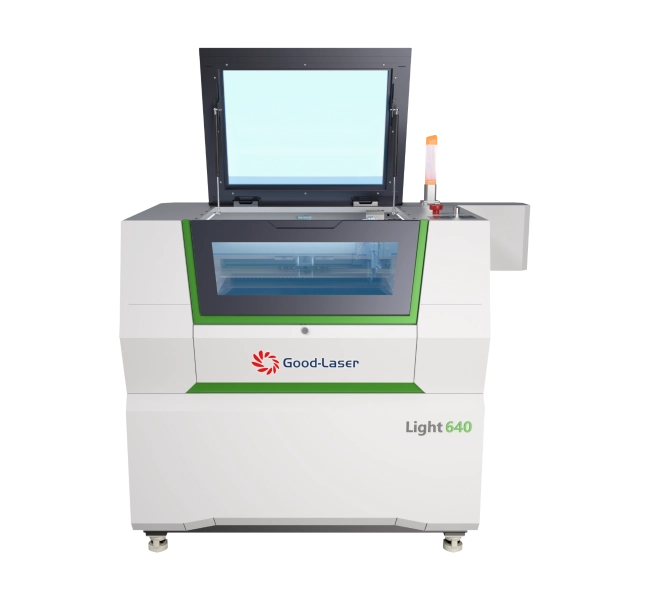
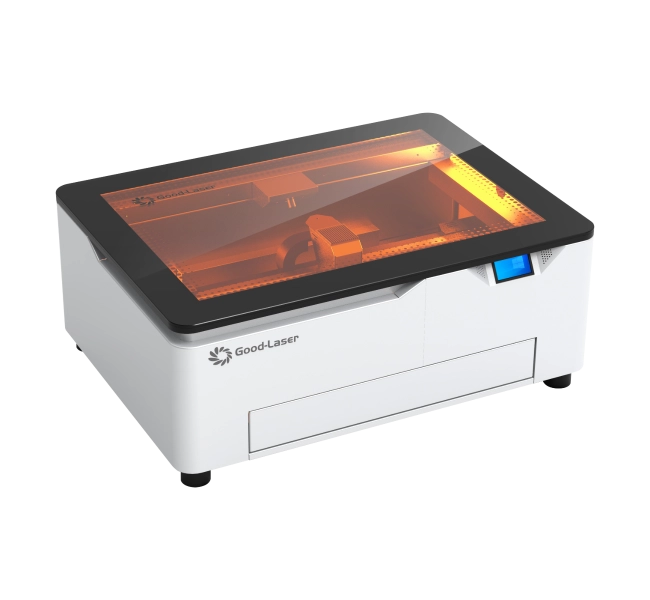
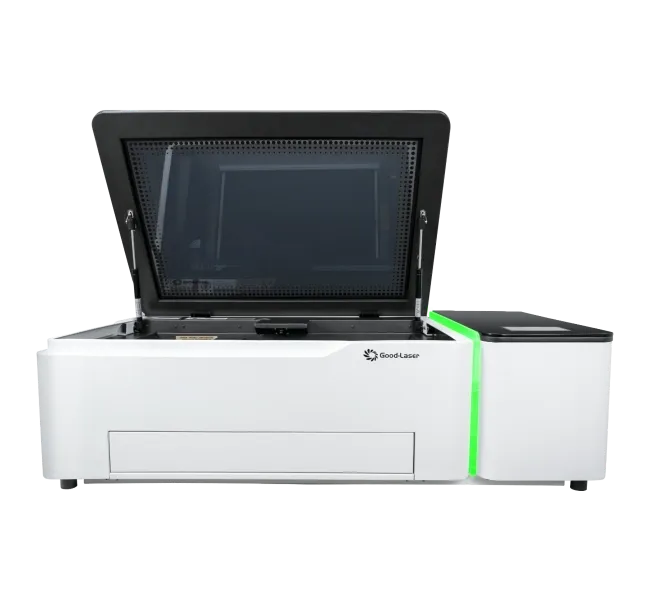
Choose by material, part dimensions and workload. The Light 530 CO2 machine is a desktop option to evaluate for wood and acrylic projects. Its official page lists a 520 × 315 mm working space; check the full layout, clamps and usable margins before treating a design as a fit. The Light 640 page lists a 600 × 400 mm working area for larger parts or layouts. Confirm the current configuration and quote with Good-Laser.
For a workshop considering a commercial laser, compare a completed sample and the whole production cycle. Loading, cleaning and gluing may set your output even when the cutting operation is quick. Good-Laser’s product pages describe these machines; this article does not report independent performance tests.
Can these projects make money?
Personalized place names, consistent retail signage and replacement inserts can be worth testing with a specific audience. They are product concepts, not proven bestsellers. Ask potential buyers what dimensions, finish and delivery format they need before making inventory.
Calculate a project’s cost as material used plus machine time, hands-on labor, finishing, hardware, packaging, expected rejects and selling fees. Include design and proofing time for custom work. Compare the total with a price customers will accept. A low laser cutter price alone does not establish whether a product is profitable.
Make one approved sample, then a small trial batch. Count acceptable finished units and track the labor for each step. A product that nests efficiently but takes an hour to paint needs a different price from an unfinished cutout.
Frequently asked questions
What is the easiest laser cut project for a beginner?
A flat tag or keyring with one outline and a short engraved name is a manageable start. It gives you a chance to check scale, focus and engraving contrast without fitting several parts together. Leave generous material around holes and narrow joins, then inspect the finished piece before making more.
What laser cut ideas are suitable for selling?
Personalized gifts, table numbers, retail plaques and fitted organizers are reasonable concepts to test. Demand and margins depend on the buyer, finish, customization and local market. Use a small trial order to measure labor and reject rates rather than assuming that an attractive design will sell.
Can I use free SVG files commercially?
Only when the license permits your intended use. Check whether it allows selling physical products, whether attribution is required and whether it restricts quantities or redistribution. Keep a copy of the license. A free download or a file shared in a discussion is not automatic permission to sell it.
Do laser cut projects need glue?
Some use tested friction-fit joints, while others need adhesive or mechanical fasteners. Choose the joint around the material and intended use. A tight fit in one sheet can split another. Assemble a coupon or one complete sample before relying on a glue-free design.
Can a diode laser cut clear acrylic signs?
A common blue diode is generally unsuitable for direct cutting of clear acrylic because the material transmits much of that light. Use a suitable CO2 system for this workflow and confirm the result on your chosen sheet. Coatings used for surface marking do not establish clear-acrylic cutting capability.
How do I stop small details from breaking?
Increase bridge width, simplify the outline and avoid putting holes close to an edge. Test the smallest feature at the final size. Sanding, assembly and shipping can break a part that survives cutting, so judge the complete finished object and protect delicate sections in its packaging.
Plan your first Good-Laser sample
Choose one project, then send Good-Laser the drawing, material specification, thickness, largest part size and expected quantity. Include a photograph or description of the finish you want. Ask for a sample using representative stock and a configuration recommendation based on that job.