Best Laser Engraver for Beginners: A Practical 2026 Guide
For most beginners, the best first laser engraver is a fully enclosed 10–20W diode machine with a safety interlock, effective exhaust, air assist, dependable software, and enough work area for the projects you plan to make. Choose a desktop CO2 laser if clear acrylic, glass, or faster cutting is central to your work. Choose fiber for direct marking on bare metal.
This guide uses current manufacturer specifications, laser-safety guidance, and recent third-party buying guides. It is a decision guide rather than an independent laboratory test, so confirm the final configuration, accessories, compliance documents, and material compatibility with the supplier before ordering.
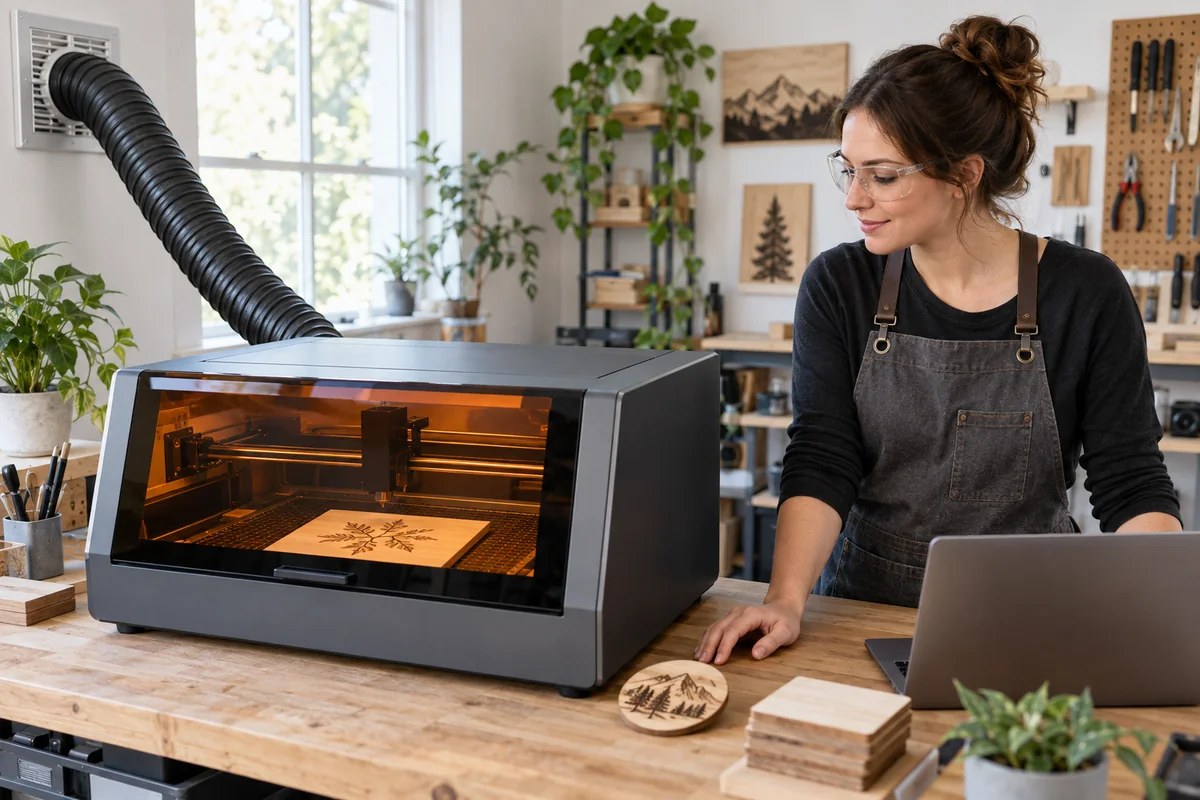
Quick Answer: Which Laser Engraver Should a Beginner Buy?
Your material should decide the laser type before wattage, speed, or optional features.
| Your main use | Best starting laser type | Why it fits | Main trade-off |
|---|---|---|---|
| Wood crafts, coated tumblers, leather, paper, and dark acrylic | Enclosed diode laser | Lower entry cost, simple maintenance, and a compact footprint | Usually slower than CO2; poor choice for clear acrylic |
| Clear acrylic signs, glass engraving, and frequent cutting | Enclosed desktop CO2 laser | Broad non-metal material range and faster cutting | Higher purchase price and more involved exhaust/cooling requirements |
| A growing personalization business | Enclosed CO2 or higher-power diode, based on materials | More capacity and a clearer upgrade path | Higher power does not compensate for the wrong wavelength |
| Direct marking on stainless steel, aluminum, or other bare metals | Fiber laser | Wavelength designed for metal marking | Specialized machine; not the best general craft laser |
| Classroom, makerspace, or shared office | Fully enclosed, interlocked system with suitable ventilation | Better control of beam access, smoke, and shared-space risk | Local safety rules, supervision, and training still apply |
If your first projects are wooden signs, paper crafts, leather patches, and coated items, an enclosed diode laser is usually the easiest place to start. If clear acrylic signs or glass products are already part of your plan, buying CO2 first may prevent an early and expensive upgrade.
Diode vs. CO2 vs. Fiber: Start With the Material
The term “laser engraver” covers machines with very different wavelengths and material capabilities. A powerful laser of the wrong type can be less useful than a lower-power machine chosen for the correct material.
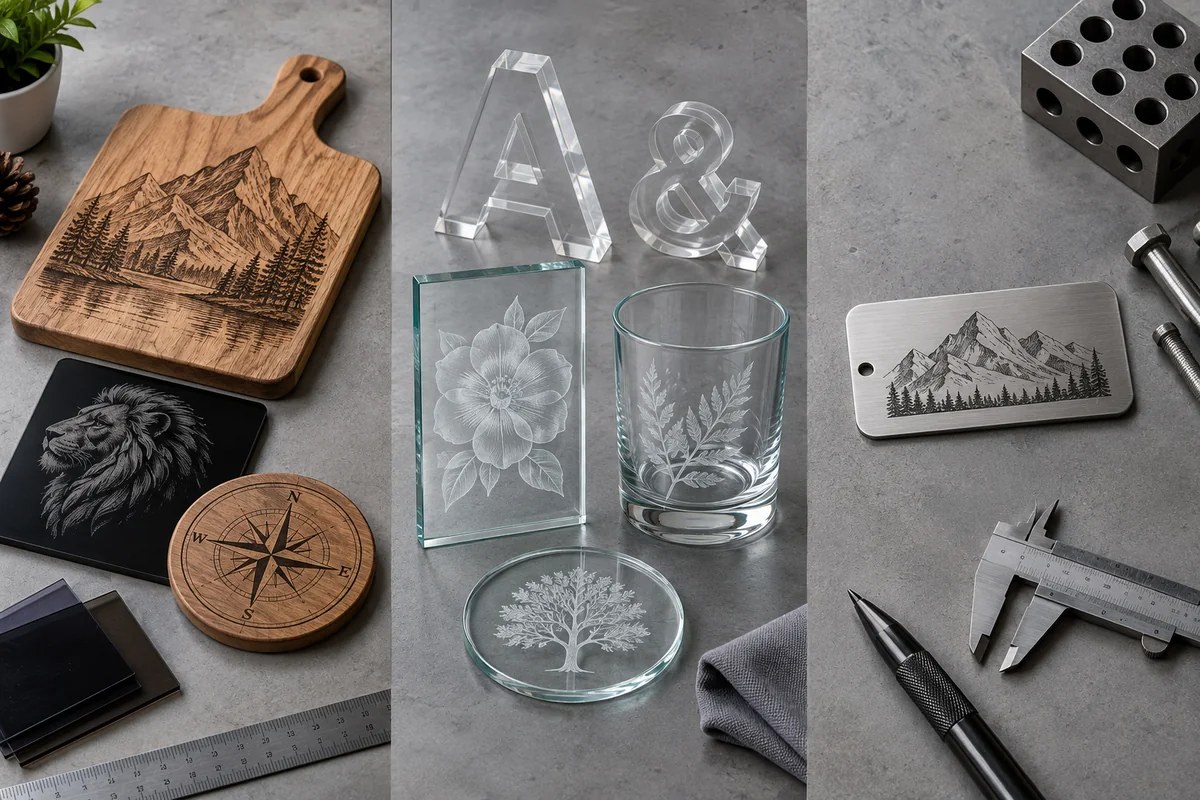
Diode laser: a practical first machine for crafts
Blue diode lasers are popular with beginners because they are compact, relatively simple, and effective on many common craft materials. They are well suited to projects involving wood engraving and cutting, paper, cardboard, felt, some leathers, and many dark or opaque acrylics.
The important limitation is wavelength. A blue diode beam normally passes through clear acrylic rather than being absorbed effectively, so it cannot replace a CO2 laser for clear acrylic production. Bare metal is another common point of confusion: a diode machine may mark some coated, painted, or treated metal surfaces, but it is not the same as a fiber laser that marks bare metal directly.
CO2 laser: better for clear acrylic and broader non-metal work
A CO2 laser is the stronger choice when acrylic projects—especially clear acrylic—are central to the business. It can also engrave glass and process wood, leather, paper, fabric, and many other non-metal materials. CO2 machines typically cut faster than entry-level diode systems, which matters when orders become repetitive.
The trade-off is a more involved setup. A beginner needs to plan exhaust, cooling or temperature management, cleaning, alignment where applicable, and sufficient space around the machine. An enclosed desktop design can simplify daily operation, but it does not remove the need for training and ventilation.
Fiber laser: the right tool for direct metal marking
Choose fiber when the primary goal is serial numbers, logos, barcodes, or decorative marks on bare stainless steel, aluminum, brass, or other compatible metals. Fiber lasers are highly effective for this job, but they are specialized. A first-time buyer who mainly wants to cut wood or acrylic should choose diode or CO2 instead.
Seven Features That Make a Laser Engraver Beginner-Friendly
1. A real enclosure with interlocks
An enclosure helps contain the laser beam, smoke, and moving components. A lid interlock should pause or prevent laser operation when the cover opens. The US FDA explains that Class I laser products are considered non-hazardous under normal operating conditions, while higher classes present increasing risk. Ask the supplier for the applicable classification and supporting documentation for the exact model and market; do not rely on the words “safe” or “enclosed” alone.
An emergency-stop button, visible operating indicator, over-temperature protection, and power-loss protection make a machine easier to control when something goes wrong. These features are especially valuable in schools, shops with several operators, and home workspaces.
2. Effective exhaust and a fire plan
Laser processing creates smoke, particles, and gases. OSHA guidance calls for adequate ventilation to reduce fumes and vapors produced during laser cutting. In practice, that means exhausting outdoors where permitted or using a filtration system designed for the material and workload.
Keep a suitable fire extinguisher nearby and never leave an operating laser unattended. Remove scraps from the bed and clean residue before it becomes fuel. An enclosure reduces exposure, but it is not a substitute for supervision or exhaust.
3. Useful laser power, stated clearly
Compare optical output power, not just electrical input or a large number in the product name. For engraving and light cutting on wood, paper, leather, and dark acrylic, a 10–20W diode can be a capable starting point. A higher-power diode can cut thicker stock or finish jobs in fewer passes, but it may produce a wider spot or require different settings for fine details.
Power alone does not determine results. Focus, beam shape, air assist, material composition, speed, and the number of passes all matter. Ask for sample results made on the same material and thickness you intend to use.
4. A work area that matches real products
Measure your likely blanks before buying. A 300 × 300mm work area may be enough for coasters and small signs but restrictive for larger panels. Also check the maximum material height, pass-through capability, rotary clearance, and the space consumed by fixtures. A large advertised bed has limited value if your usual product cannot be positioned or focused correctly.
5. Simple focusing and visual positioning
Manual focus can be reliable and easy to maintain, but autofocus saves setup time when material thickness changes frequently. A built-in camera can help position artwork on an irregular blank and preview the usable area. Camera accuracy depends on calibration, so it should be treated as a workflow tool rather than a guarantee of perfect alignment.
6. Software you can learn and keep using
Good beginner software should support common vector and image formats, let you set speed and power by layer, and make framing or boundary preview easy. Check whether the machine works with familiar desktop software, whether a mobile workflow is available, and whether important functions require a subscription.
Good Laser lists LightMaker for desktop and mobile use and LightBurn compatibility for supported models. Its software download and format information can help you check whether your SVG, DXF, AI, PNG, JPG, or other design files fit the intended workflow.
7. Support, maintenance, and total setup cost
The machine price is only part of the budget. Include exhaust ducting or filtration, air assist, a honeycomb or cutting bed, replacement lenses or windows, a rotary attachment if needed, cleaning supplies, test material, and suitable fire protection. Ask how warranty service, spare parts, onboarding, and software support work in your country.
Two Good Laser Options for Different Beginners
Good Laser publishes two enclosed desktop options that suit different material priorities. The specifications below come from the manufacturer’s current product pages and should be confirmed for the configuration available in your region.
| Model | Laser and work area | Beginner-friendly features | Best fit | Limitation to consider |
|---|---|---|---|---|
| Blue 530 II | 20W or 40W blue diode; 520 × 315mm area | Fully enclosed design, lid-open pause, emergency stop, safety interlock, power-off protection, temperature alarm, LightBurn support | Wood, paper, MDF, felt, leather, and compatible dark/opaque materials | Manual focus; not the right wavelength for clear acrylic or direct bare-metal marking |
| Light 530 | 55W CO2; 520 × 300mm area | Auto and manual focus, 16MP camera, safety interlock, emergency stop, status indicator, temperature alarm, LightMaker and LightBurn support | Clear acrylic, glass engraving, wood, signs, gifts, and a broader small-business workflow | Requires more planning for exhaust, maintenance, space, and total setup cost |
Good Laser lists a maximum working speed of 600mm/s and repeat positioning accuracy of no more than 0.025mm for the Light 530. It lists positioning accuracy of ±0.01mm and repeat accuracy of ±0.005mm for the Blue 530 II. These figures are useful for comparing the published specifications, but real output also depends on material, settings, artwork, maintenance, and calibration.
Choose Blue 530 II if:
- Your projects focus on wood, paper, MDF, felt, leather, or dark/opaque craft materials.
- You want an enclosed diode machine and already use, or plan to learn, LightBurn.
- Clear acrylic and direct bare-metal marking are not core requirements.
- You prefer a simpler first step and can use manual focus consistently.
Choose Light 530 if:
- You need to engrave or cut clear acrylic.
- Glass engraving and a broader range of non-metal products matter to you.
- A camera and autofocus would save time when positioning varied blanks.
- You expect order volume to grow and can install suitable exhaust.
If bare-metal marking is the main goal, neither model category is the ideal first choice. Ask about a fiber-laser configuration instead.
How to Set Up a Beginner Laser Workspace Safely
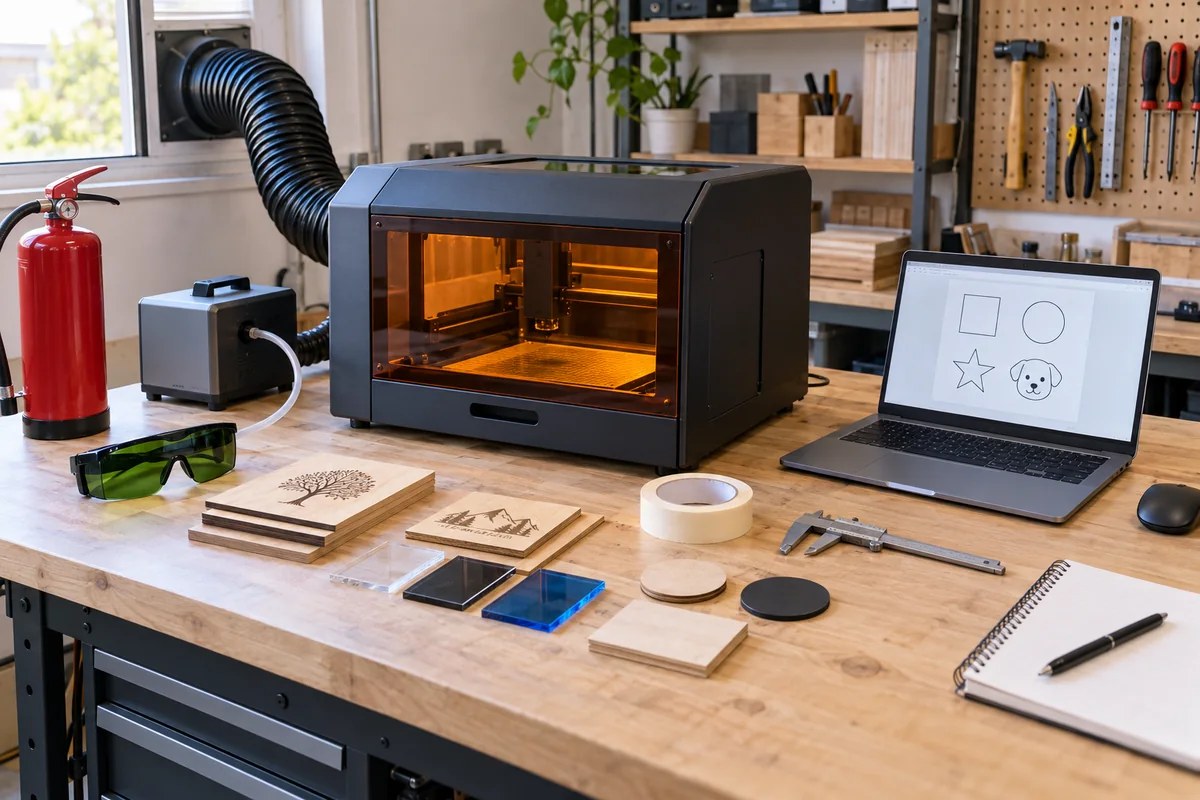
Use this checklist before running the first job:
- Place the machine on a stable, non-combustible work surface with the required clearance.
- Connect exhaust to an approved outdoor route or a correctly sized filtration system.
- Confirm the material identity with the supplier. Do not process unknown plastics.
- Avoid PVC, vinyl, PTFE/Teflon, halogen-containing materials, and other materials the machine or material supplier identifies as unsuitable. They can release corrosive or hazardous gases.
- Keep a suitable fire extinguisher within reach and learn how to isolate power.
- Test the lid interlock and emergency stop according to the manual.
- Watch every job. Do not leave the room while the laser is operating.
- Clean the lens or protective window, bed, and debris tray at the recommended intervals.
A Simple First-Project Workflow
Start with a small piece of known, laser-compatible material. A plywood coaster or engraved paper card is easier to troubleshoot than a large sign or an expensive customer blank.
- Create a simple vector file. Use one outline and one filled area so you can see the difference between cutting and engraving.
- Measure the material. Confirm thickness and flatness, then focus the machine using the manufacturer’s procedure.
- Run a material test grid. Use low-risk settings and vary speed and power in small steps. Save the result and label the material batch.
- Frame the artwork. Preview the job boundary to ensure the design stays on the blank and away from clamps.
- Start with supervision. Watch the flame behavior, smoke extraction, sound, and motion throughout the job.
- Record the settings. Keep a library by material, thickness, supplier, focus method, speed, power, and number of passes.
This process takes a few extra minutes on the first project and saves material on every project that follows.
Common Beginner Buying Mistakes
Buying by wattage alone. Wavelength and material compatibility come first. A diode laser is not a substitute for CO2 on clear acrylic, and CO2 is not a substitute for fiber on bare metal.
Choosing an open-frame machine for a shared room. Open machines demand stricter control of eye exposure, reflections, smoke, access, and supervision. A properly designed enclosure and interlock provide a more manageable starting point.
Ignoring ventilation until delivery. Exhaust routing can determine where the machine can be installed. Plan it before you order.
Assuming every plastic is laser-safe. Unknown plastics can release harmful or corrosive gases. Obtain the material identity or safety data before processing.
Using online settings as a guarantee. Plywood glue, acrylic formulation, leather treatment, focus, lens condition, and batch variation all affect results. Treat published settings as a starting point and test a sample.
Forgetting the full workflow. Design software, file transfer, focus, material holding, exhaust, cleanup, and maintenance affect productivity as much as headline speed.
Frequently Asked Questions
What is the best type of laser engraver for a complete beginner?
For general crafts, an enclosed diode laser is usually the most approachable first machine. Look for a lid interlock, emergency stop, air assist, effective exhaust, clear focus instructions, and widely supported software. Choose CO2 instead when clear acrylic, glass, or faster non-metal cutting is central to the plan. Choose fiber for direct marking on bare metal.
How much laser power does a beginner need?
A 10–20W optical-output diode is enough for many engraving projects and light cutting on compatible materials. More power can improve cutting capacity, but it also increases cost and does not solve wavelength limitations. Define your thickest material and expected production volume, then request a sample made on the same material before choosing 20W, 40W, or a CO2 system.
Can a diode laser cut clear acrylic?
In general, a blue diode laser is a poor choice for clear acrylic because the beam passes through the transparent material instead of being absorbed efficiently. Some opaque or dark acrylics work with diode lasers, but results depend on pigment and formulation. A CO2 laser is the dependable choice when clear acrylic signs, displays, or products are a primary use case.
Is a CO2 laser too difficult for a beginner?
Not necessarily. A fully enclosed desktop CO2 laser with clear controls, autofocus, a camera, safety interlocks, good documentation, and local support can be beginner-friendly. The owner still needs to manage exhaust, cleaning, cooling or temperature requirements, fire risk, and material compatibility. Plan the installation and maintenance before delivery.
Can a beginner laser engraver mark metal?
A diode or CO2 laser may mark coated, painted, anodized, or specially treated metal surfaces, depending on the material and marking compound. Direct, durable marking on bare metal normally calls for a fiber laser. Tell the supplier the exact metal grade, finish, mark size, required contrast, and production volume before selecting a system.
Is a laser enclosure enough without ventilation?
No. An enclosure helps contain the beam and smoke, but fumes and particles still need controlled removal. Use approved outdoor exhaust or a filtration system selected for the processed materials and workload. Replace filters as specified, keep air paths clear, and stop using the machine if smoke escapes into the room.
What software should a beginner use for laser engraving?
Choose software that supports your machine, your computer, and the file formats you already use. LightBurn is common across many laser platforms and offers layer-based control, framing, and material settings. Manufacturer software can provide a simpler mobile or camera-assisted workflow. Before buying, confirm operating-system support, license costs, offline use, updates, and supported SVG, DXF, AI, PNG, JPG, and other formats.
Get a Recommendation Based on Your Projects
The best laser engraver for beginners is the one matched to a defined job. Write down your primary materials, maximum dimensions and thickness, whether you need cutting or engraving, daily order volume, available ventilation, and preferred software. Then compare the diode, CO2, and fiber options against that list.
For a model and configuration recommendation, contact Good Laser with your material samples and project requirements. Ask for a test result, the exact included accessories, applicable safety documentation, delivery lead time, training, warranty terms, and the complete installed cost before placing an order.