Best Plywood for Laser Cutting: Birch, Poplar or Basswood?
Birch laser plywood is a practical choice for indoor boxes and signs; poplar or basswood can suit lighter models. The best plywood for laser cutting also has a documented adhesive, a sound core and consistent actual thickness. Approve the exact sheet on your machine before buying a production batch.
A board can look excellent on the front and still leave uncut patches underneath. Before ordering a pack, buy enough material to test your smallest features, the finished edge and one complete assembly.
Which plywood should you choose for your project?
Choose the construction around the finished part. A hanging ornament, a fitted box and a painted display panel place different demands on the same nominal sheet thickness.
| Plywood option | A useful starting point for | What to confirm before buying |
|---|---|---|
| Birch or Baltic birch plywood | Boxes, engraved signs, puzzles and assembled parts where stiffness and the exposed edge matter | Whether the core is also birch; adhesive specification, internal repairs and thickness tolerance |
| Poplar plywood | Lightweight models, decorative layers and parts where low weight is useful | Face durability, flatness and whether the narrowest parts survive handling |
| Basswood plywood | Craft projects and model details needing a pale, understated face | Whether basswood describes the face or the entire construction, plus the actual core and glue |
| Decorative hardwood-faced plywood | Visible panels where a walnut, maple or another specified veneer is part of the design | Hidden core material, face veneer thickness, coatings and engraving appearance |
| Construction, exterior or marine plywood | Jobs that specifically require that grade and have a qualified cutting process | Full material documentation and a representative trial. These labels alone do not establish laser suitability |
For an indoor box or sign, birch laser plywood is a sensible first sample. For a large model with many lightweight panels, compare poplar as well. Keep both only if each gives a useful result on the actual design. A species name cannot tell you how much finishing or rework the order will need.

A laser cut architectural model needs more than clean outlines. Window openings must survive removal from the sheet, engraved identifiers must stay legible, and the panels must fit together at the chosen scale. Include those details in the plywood trial.
Read the plywood specification before choosing settings
The face species tells you only part of what the beam will encounter. Ask the supplier to identify the veneer core, adhesive and any surface treatment for the exact product you plan to order.
Check the glue and the complete material
Buy a documented construction intended for the proposed laser process. "Laser-grade" should lead to a specification you can check: face and core species, bonding system, thickness tolerance and any coating. Ask whether a later order will use the same construction.
Some plywood made for laser cutting uses formaldehyde-based adhesives. This manufacturer's laser-cutting plywood data sheet, for example, describes an all-birch panel with a urea-formaldehyde bond for dry conditions. Laser suitability does not make the cutting fumes harmless. Obtain approval for the complete material and the intended extraction setup.
Keep unidentified, preservative-treated or coated sheets out of the cutting queue until their composition and processing suitability are confirmed. Glue-line colour can help compare two known batches, but it cannot identify an adhesive reliably on its own.
Inspect the core and both faces
Look along exposed edges for gaps, overlaps and repairs. Check both faces for patches that fall inside the finished artwork. A decorative face can conceal a different core, and a clean edge on one side of a sheet does not prove the whole panel has the same internal quality.
Include narrow bridges and small holes in the test design. A core gap that is tolerable in a large panel may leave a fragile detail unsupported. Agree on acceptable face repairs and internal defects when ordering stock for visible parts.
Measure thickness and check flatness
Measure each sample at several points with calipers. Use those measurements when developing slots and finger joints. A drawing based only on the thickness printed on the pack can produce joints that are loose or difficult to assemble.
Check the sheet on the actual cutting bed before setting focus. A bow changes the distance between the surface and the laser head across the job. Use only the machine's approved support or holding method, with clearance for head movement. Reject badly distorted stock if it cannot be held in the required position safely.
Is 3 mm or 6 mm plywood better for laser cutting?
For a first trial on small ornaments, layered signs or model panels, 3 mm plywood is a practical sample thickness if your machine supports the material. Consider 6 mm when the part needs a thicker edge or more stiffness, then test the complete geometry and cutting time.
These are project choices, not guaranteed cutting capacities. Increasing thickness changes the cutting task and the way parts fit together. A clean result on one 3 mm panel does not establish that a 6 mm sheet from the same seller will use the same core, glue or settings.
Keep metric and inch stock separate in the design file. One eighth of an inch is 3.175 mm; one quarter of an inch is 6.35 mm. Neither is exactly 3 mm or 6 mm. Actual panel thickness can differ from its nominal size too, so cut a joint gauge for the delivered batch.
Kerf is the width of material removed by the cut. It affects the finished slot and tab dimensions, and it changes with the material and process. Test the fit after the intended cleaning and finishing steps. Save the approved file with its material reference rather than applying one correction to every plywood order.
Match the plywood trial to your laser machine
Test the exact plywood on the machine configuration that will make the order. CO₂ and blue diode systems can require different settings and may give different cutting times on the same sheet.
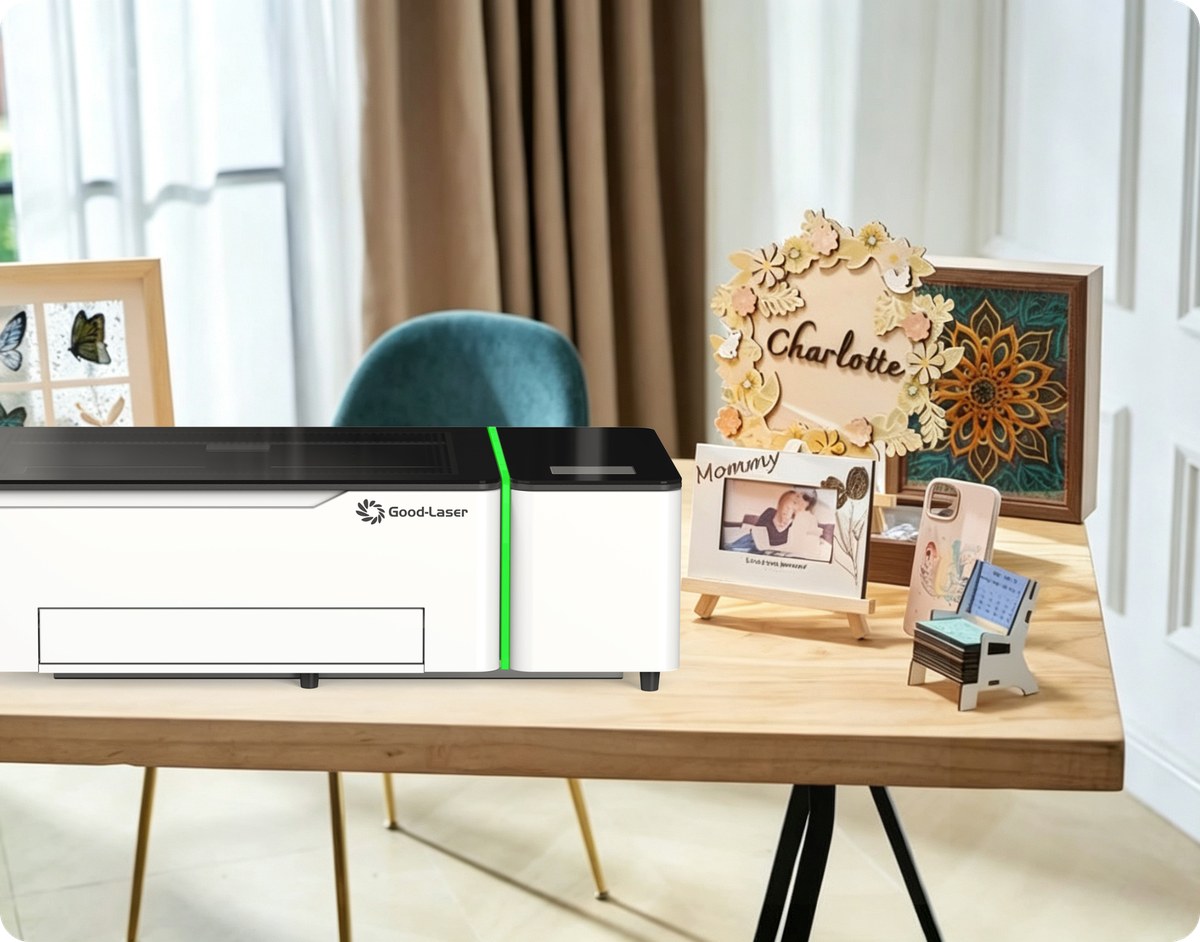
Good-Laser's Light 530 is a desktop CO₂ cutting and engraving machine whose published applications include wood and model making. It is an option to evaluate for small plywood projects. When comparing a plywood laser cutter, bring the full blank dimensions, smallest cut feature and required edge finish into the discussion.
If you are evaluating a blue laser engraver, qualify the sheet separately on that system. Settings copied from a CO₂ machine are not a reliable starting specification for a diode model. Use the manufacturer's material guidance, then establish a tested profile for the chosen plywood.
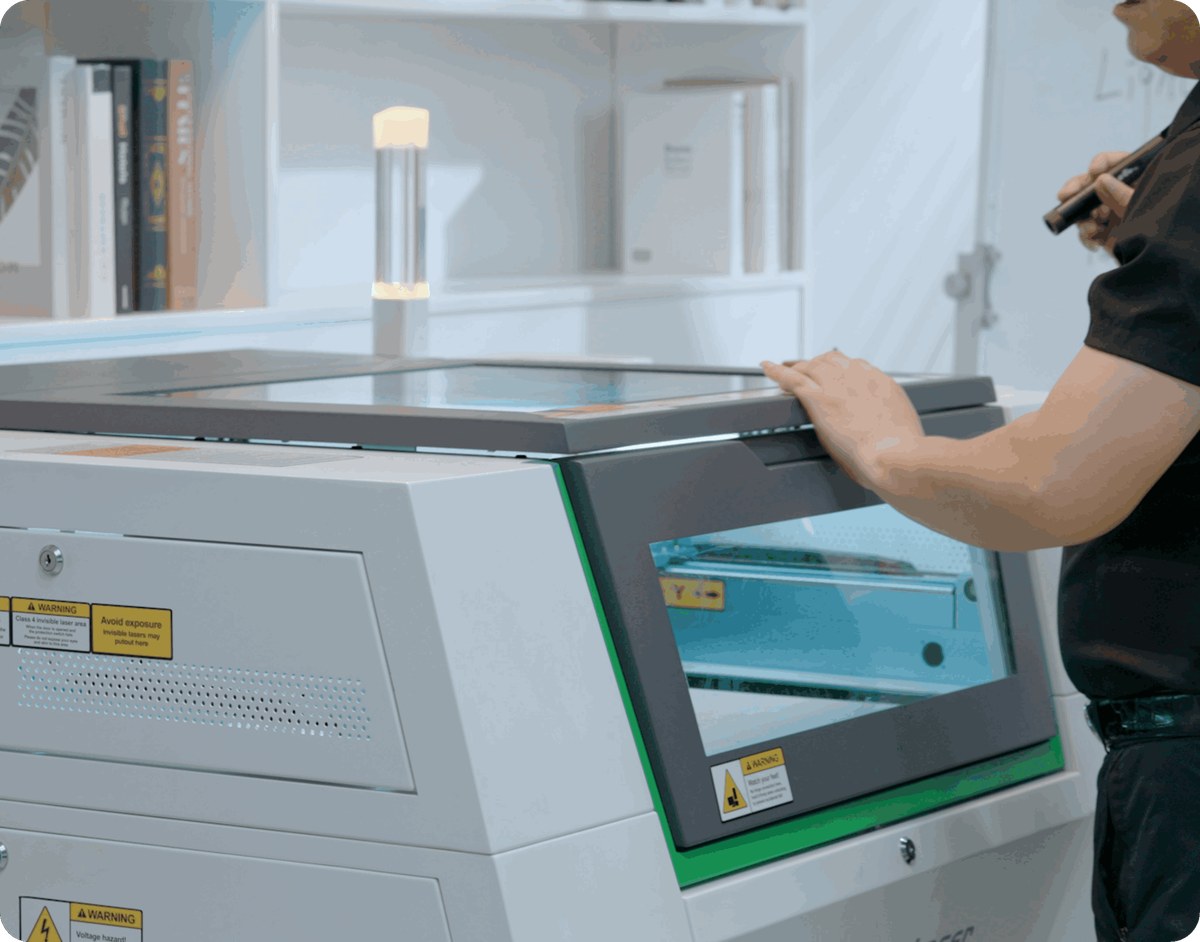
For a larger batch, Good-Laser's Light 640 is another CO₂ option to discuss. Compare usable space, blank loading and the time needed to remove finished parts. A maximum cutting-thickness claim for acrylic or an unspecified wood board should not be treated as a production rating for your plywood.
Test a new plywood batch before cutting the order
Approve a small finished assembly before nesting a full sheet. A straight-line cut shows whether the beam gets through; it gives little information about tiny corners, engraving or joint fit.
- Record the supplier, product reference and batch. Measure thickness at several points and note the face you will use.
- Check the bed, optics and extraction according to the machine's maintenance procedure. Confirm focus and the approved air-assist setup.
- Cut a small coupon containing the job's smallest hole, a narrow bridge, a corner and a joint gauge. Add a sample of the actual engraved artwork.
- Inspect the underside and the edge after the job has finished safely. Test coupons in different sheet positions if the production layout uses most of the bed.
- Clean and finish the samples as planned, then assemble one complete part. Record the accepted settings and repeat the check when the material construction changes.
Start from the equipment supplier's profile for a comparable material and change one parameter at a time within the operating limits. There is no useful universal percentage-power and speed recipe for "3 mm plywood" across different laser sources, optics and adhesive systems.
Keep separate engraving and cutting operations in the file. Engraving before releasing small parts can help preserve their position, provided the workflow suits the machine and design. Check the relevant laser cutter software resources for supported files and workflow details, then confirm compatibility with your model.
What uneven cuts tell you about the sheet
The location of a failed cut helps narrow the diagnosis. Compare the result across the bed and against a known, approved material before changing the entire job profile.
| What you see | What to investigate | Next check |
|---|---|---|
| Small uncut areas in otherwise separated parts | A local core repair, overlap or adhesive variation; also check whether the problem follows a bed position | Compare coupons from several sheet positions with a known good sheet |
| Cutting becomes weaker toward one side | Sheet height and focus, bed condition or machine alignment | Inspect flatness and follow the manufacturer's focus and alignment checks |
| Heavy residue over much of the underside | Support condition, accumulated debris, extraction or the selected profile | Clean approved accessible areas and repeat a small controlled trial |
| Joints vary from tight to loose | Actual thickness variation, kerf and drawing compensation | Measure the stock and test a joint gauge with the production profile |
Stop a trial that develops sustained flaming or abnormal smoke and follow the machine's emergency procedure. Adding passes to an unknown glue or core problem can increase heat without producing an acceptable part.
Laser-compatible plywood still produces process emissions. Carnegie Mellon University's laser cutter safety guidance identifies hazardous emissions from wood, including plywood, and calls for suitable exhaust or filtration, working air assist and continuous attendance. Follow the equipment's operating procedure and your site's material approval process.
Compare the cost of finished parts
A lower sheet price can be lost in rejected panels, slow cutting or edge cleanup. Compare plywood on the number of acceptable finished parts it produces from your drawing.
Record sheet cost, usable area, cutting time and finishing labour in the trial. For fitted products, count the parts that assemble correctly without repair. Include handling time when comparing batches, since removing small pieces and cleaning edges may take longer than expected.
If you are also comparing machine quotations, use the same plywood sample and artwork in each discussion. A useful quotation identifies the configuration, extraction requirements and proposed trial. Keep material cost and equipment cost visible so you can see where the production expense comes from.
Retain an approved sample and the supplier's specification for reorders. Ask to be told about changes to the core, adhesive or surface, then check the next delivery against that reference.
Frequently asked questions
Is Baltic birch the best plywood for laser cutting?
It is a useful starting point for boxes, signs and fitted assemblies, but the name alone does not guarantee a particular core or cutting result. Ask for the construction and adhesive specification, inspect the sheet and test the actual design. Poplar or basswood plywood may suit a project better when low weight or a different face appearance matters.
Is basswood plywood easier to cut than birch?
It can be, depending on the construction, thickness and machine. A basswood face does not tell you what is in the core. Compare documented sheets at the same measured thickness on your own system, then judge the edge and the time needed for the complete part. Keep the choice that meets the finished product's requirements.
Can I use plywood from a hardware store?
Only after the exact product's composition and laser suitability are confirmed. Hardware-store stock can include construction grades, surface treatments and cores that were selected for other uses. If the supplier cannot identify the material or its adhesive and coating, choose a documented laser-processing sheet for the trial instead of experimenting with unknown stock.
Can a diode laser cut 3 mm plywood?
A suitable diode system may cut compatible 3 mm plywood, but the nominal thickness does not establish the result. Check the machine manufacturer's guidance for the specific model and test the exact sheet. Confirm complete separation, acceptable edge condition and a manageable cycle time before planning a batch. Avoid treating engraving capability as proof of cutting capability.
Why does the same plywood cut differently in a new pack?
Possible reasons include a changed core or adhesive, thickness variation, moisture condition and sheet flatness. Machine condition can also change between orders. Compare the new pack against the retained approved sample using a controlled coupon. Record the supplier's batch reference so you can discuss a material change with evidence.
Is MDF the same as plywood for laser cutting?
No. MDF is a fibreboard made from wood fibres and binder; plywood has bonded veneer layers. They can give different surface finishes, edges and assembly results. If the design needs visible wood grain, test plywood. If you compare MDF for a painted component, qualify its exact grade separately and include emissions control and edge finishing in the review.
Plan a plywood trial with Good-Laser
Send the good laser team your plywood specification, measured thickness, blank dimensions and cutting file. Include a reference for the finished edge, the joint fit you need and expected batch quantity. Ask for a machine recommendation and sample-test plan using that material, so you can review the finished part before choosing a setup.