Acrylic Laser Cutting Guide: Materials, Edge Quality, Settings and Machine Selection
Laser cutting of acrylic works best with a suitable CO2 machine and verified PMMA sheet. Choose cast acrylic when frosted engraving matters; consider extruded acrylic for cut parts with consistent thickness. Clean edges depend on material grade, focus, power, speed, airflow and work support, so test the exact sheet before production.
A clear edge is only one part of an acceptable result. Signs need consistent appearance, tabbed assemblies need a dependable fit, and bonded displays need edges that will tolerate later fabrication. Define those requirements before choosing settings or ordering a machine.
Confirm that the sheet is acrylic
Acrylic is polymethyl methacrylate, commonly abbreviated PMMA. Buyers may also search for laser-cut Lucite or plexiglass. Check the supplier's material identification and grade rather than relying on a familiar trade name or the appearance of a clear sheet.
Polycarbonate, PETG and PVC are different plastics. They must not inherit an acrylic process simply because they look similar. Do not laser-process PVC or unidentified plastic. For coated, mirrored, printed or modified acrylic, confirm the complete material construction and its suitability for the proposed process.
Good-Laser's laser engraving acrylic page shows material applications and explains the broad distinction between cast and extruded sheet. For a repeat order, keep the grade and supplier on the job record.
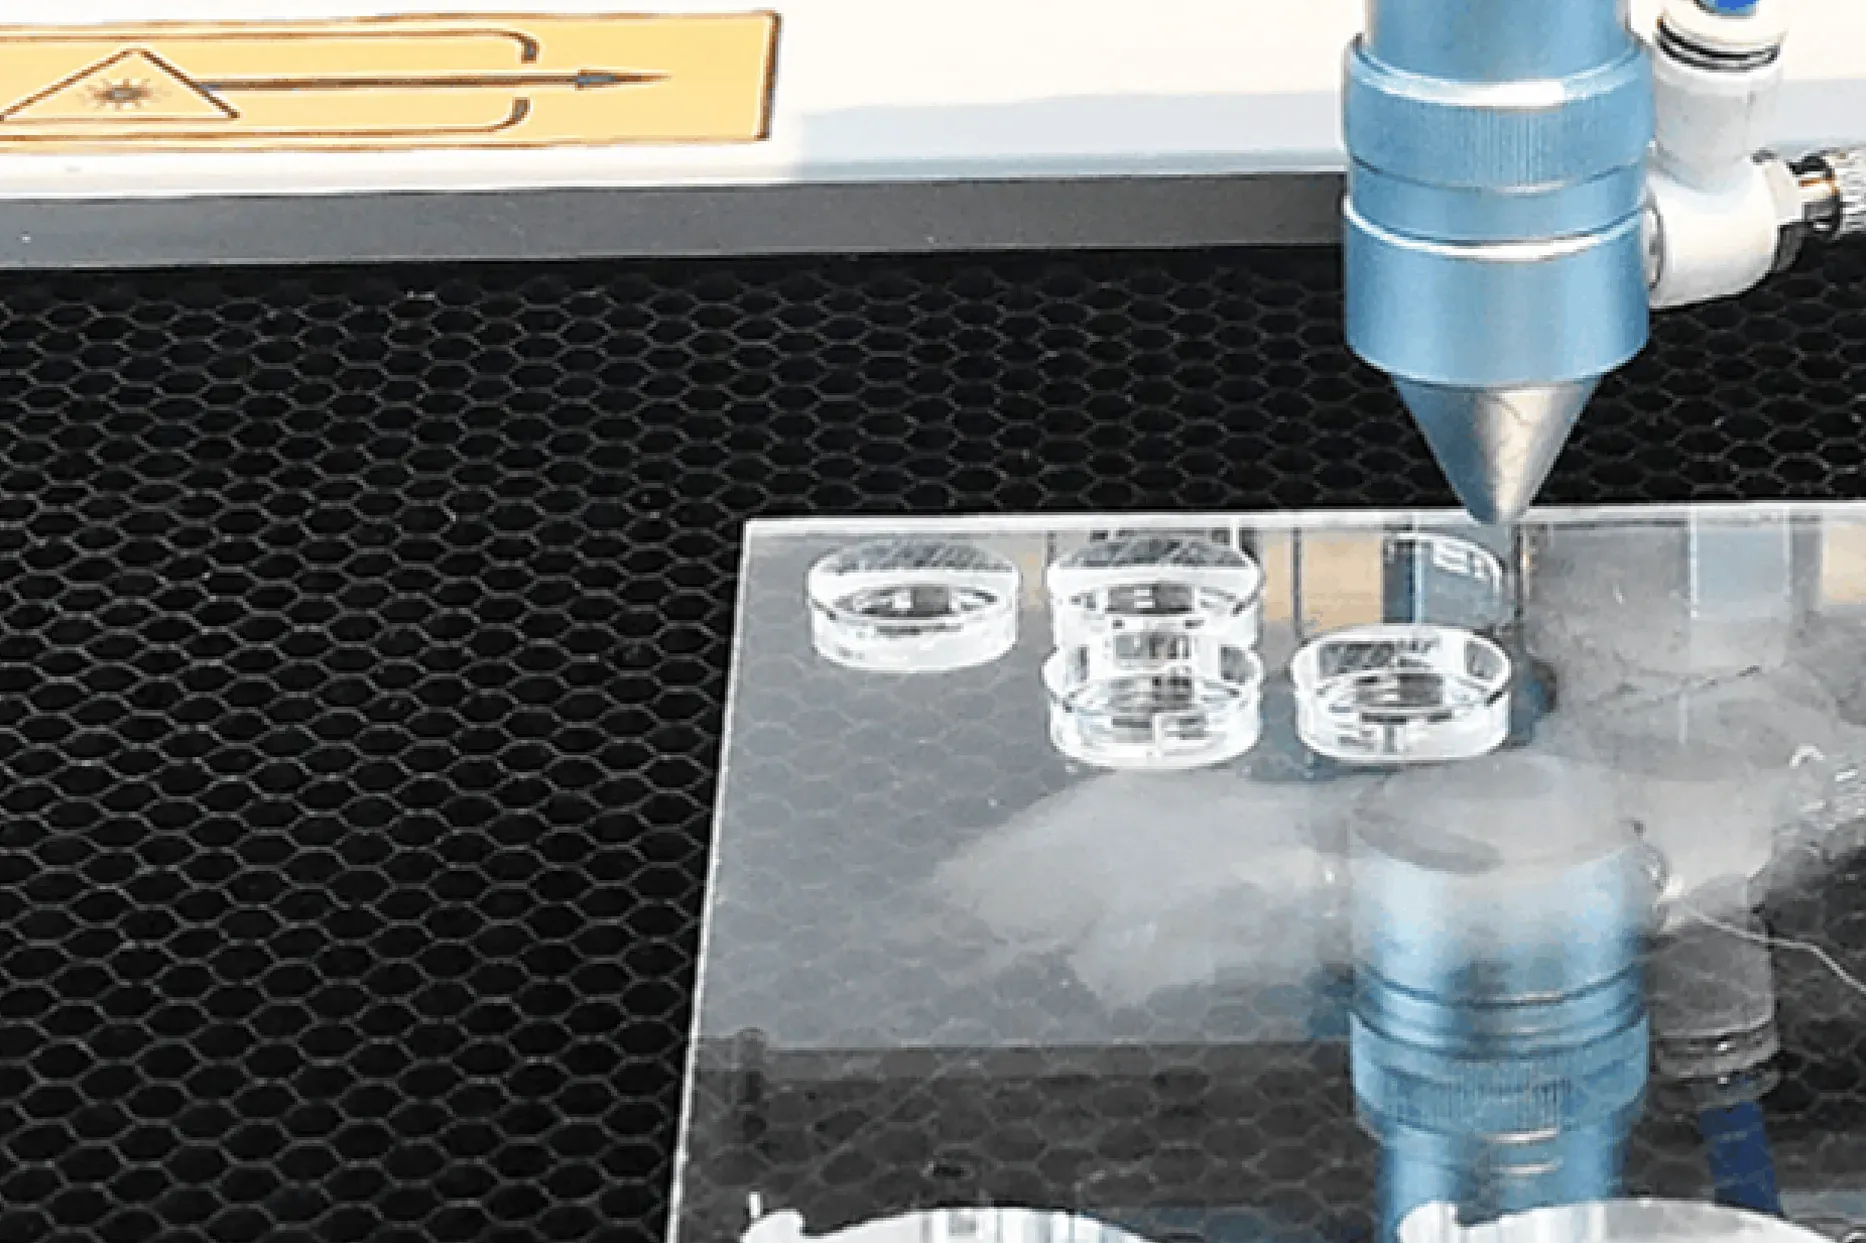
Cast versus extruded acrylic
Both grades can be laser cut. Cast acrylic generally produces stronger frosted contrast when engraved. Extruded acrylic often has more consistent thickness and can be attractive for cut-only parts. Neither grade removes the need to measure the sheet and prove the finish.
| Decision | Cast acrylic | Extruded acrylic |
|---|---|---|
| Visible surface engraving | Usually gives a white, frosted appearance | Usually gives a clearer, lower-contrast mark |
| Laser-cut edge | Can produce a smooth, glossy finish | Can also produce a smooth, glossy finish |
| Thickness-sensitive assemblies | Measure for variation across the sheet | Often a useful choice for consistent sheet thickness |
| Typical use | Engraved awards, plaques and detailed signage | Cut shapes, display components and suitable fitted parts |
| Process transfer | Test for the specific supplier and thickness | Re-test instead of copying the cast-acrylic recipe |
Do not reject extruded acrylic solely because a general guide calls it unsuitable for lasers. It is a legitimate cutting material. Equally, do not expect a power increase to turn its engraving into the same frosted result as cast sheet.
If a sheet is already confirmed as PMMA but its manufacturing grade is uncertain, a small engraving test can help assess the appearance. That test is not a safe method for identifying an unknown plastic.
Why a CO2 laser is the usual choice
PMMA absorbs the infrared energy from a typical CO2 cutting laser well, including when the sheet is visibly clear. Common blue diode lasers interact differently with clear acrylic and are a poor choice for dependable through-cutting. Some dark acrylic can be processed by a diode, but the exact color and formulation matter.
When assessing a co2 laser cutter, ask for results at your routine thickness and production quantity. A machine's maximum-thickness claim does not tell you the edge quality, pass count or time needed for saleable parts.
Consider an alternative fabrication process when the job needs pockets, controlled-depth recesses, drilled features or substantial three-dimensional shaping. A router or other machining operation may suit those features better than ordinary flat-bed laser cutting.
Prepare the design for the finished part
Use clean vector contours at the final physical size. Remove duplicate lines so the laser does not traverse the same cut twice. Put surface engraving, internal holes and outside contours on separate operations, and check the order in preview.
Where the setup allows, engrave while the sheet is stable, then cut internal features before the outer boundary releases the part. Leave sufficient material between nearby features to avoid fragile webs and excessive local heating. The required spacing depends on the sheet and design; prove delicate details with a sample.
Kerf is the width of material removed by the cut. For tabs and slots, measure a test coupon and apply compensation deliberately in either the geometry or the control software. Applying it in both places changes the fit twice. Recheck the fit when changing sheet thickness, focus or supplier.
Compatible laser engraving software helps organize those operations. Confirm imported dimensions and the intended engraving face before output. Rear engraving on a clear panel usually requires mirrored artwork when it will be viewed from the front.
Build a settings test for your machine
Use the machine manufacturer's recommended starting process for the exact acrylic thickness. A speed and power percentage copied from another machine is incomplete: it omits actual laser output, optics, focus, controller behavior and airflow.
| Variable | What it affects | How to evaluate it |
|---|---|---|
| Power | Available energy and heat input | Seek a complete cut without unnecessary melting; stay within the machine's limits |
| Speed | Energy delivered along the path | Inspect both straight sections and corners |
| Focus and lens | Energy concentration through the thickness | Follow the specified setup and inspect taper or incomplete lower edges |
| Pass count | Repeated heating and visible edge steps | Aim for a clean single-pass cut where the machine and thickness permit it |
| Air assist | Vapor movement and edge cooling | Use the approved flow for acrylic; assess gloss and flame behavior together |
| Extraction | Removal of fumes and vapors | Check that the cutting area clears effectively throughout the job |
| Pulse or frequency control, if available | How energy reaches the cut | Use guidance for the actual source and controller; values are not interchangeable |
The laser engraver settings chart provides a starting reference. Test on scrap from the production sheet, within the manufacturer's approved range, and change a limited number of variables at once. Record the speed units explicitly: mm/s and mm/min differ by a factor of 60.
Use a coupon that includes a straight cut, a curve, a small hole and a corner. If the product fits into another part, add the actual joint geometry. Let the sample cool before measuring it, and check the underside as well as the visible face.
Control edge quality, masking and back reflections
Start with clean optics and stable support
A dirty optical window or lens can reduce and distort the energy reaching the sheet. Follow the machine's cleaning procedure and check the support surface before chasing new settings. Keep stock flat and stable without obstructing the cutting path or extraction.
Backside marks can occur where energy reaches a support and reflects toward the part. A suitable pin, slat or acrylic cutting support may reduce contact marks. Use an arrangement approved for the machine that keeps small parts stable after they separate.
Treat air assist and extraction separately
Acrylic edge gloss can change with nozzle airflow. Excessive flow can contribute to a frosted edge in some setups, while inadequate vapor removal can lead to deposits or flaming. Follow the manufacturer's acrylic process and test small adjustments. Do not disable protective airflow or extraction to improve appearance.
Identify the masking before leaving it on
Protective paper and plastic films are not interchangeable. Some maskings are designed for laser cutting; others can lift, melt or leave adhesive at the edge. Keep only masking that is approved for the process, and test how it behaves on detailed parts.
For fine engraving, removing the mask from the engraved face may improve detail and avoid difficult peeling afterward. Follow the sheet supplier's recommendations for the particular masking. Keep wrinkles away from the cut, because trapped vapors can mark the surface.
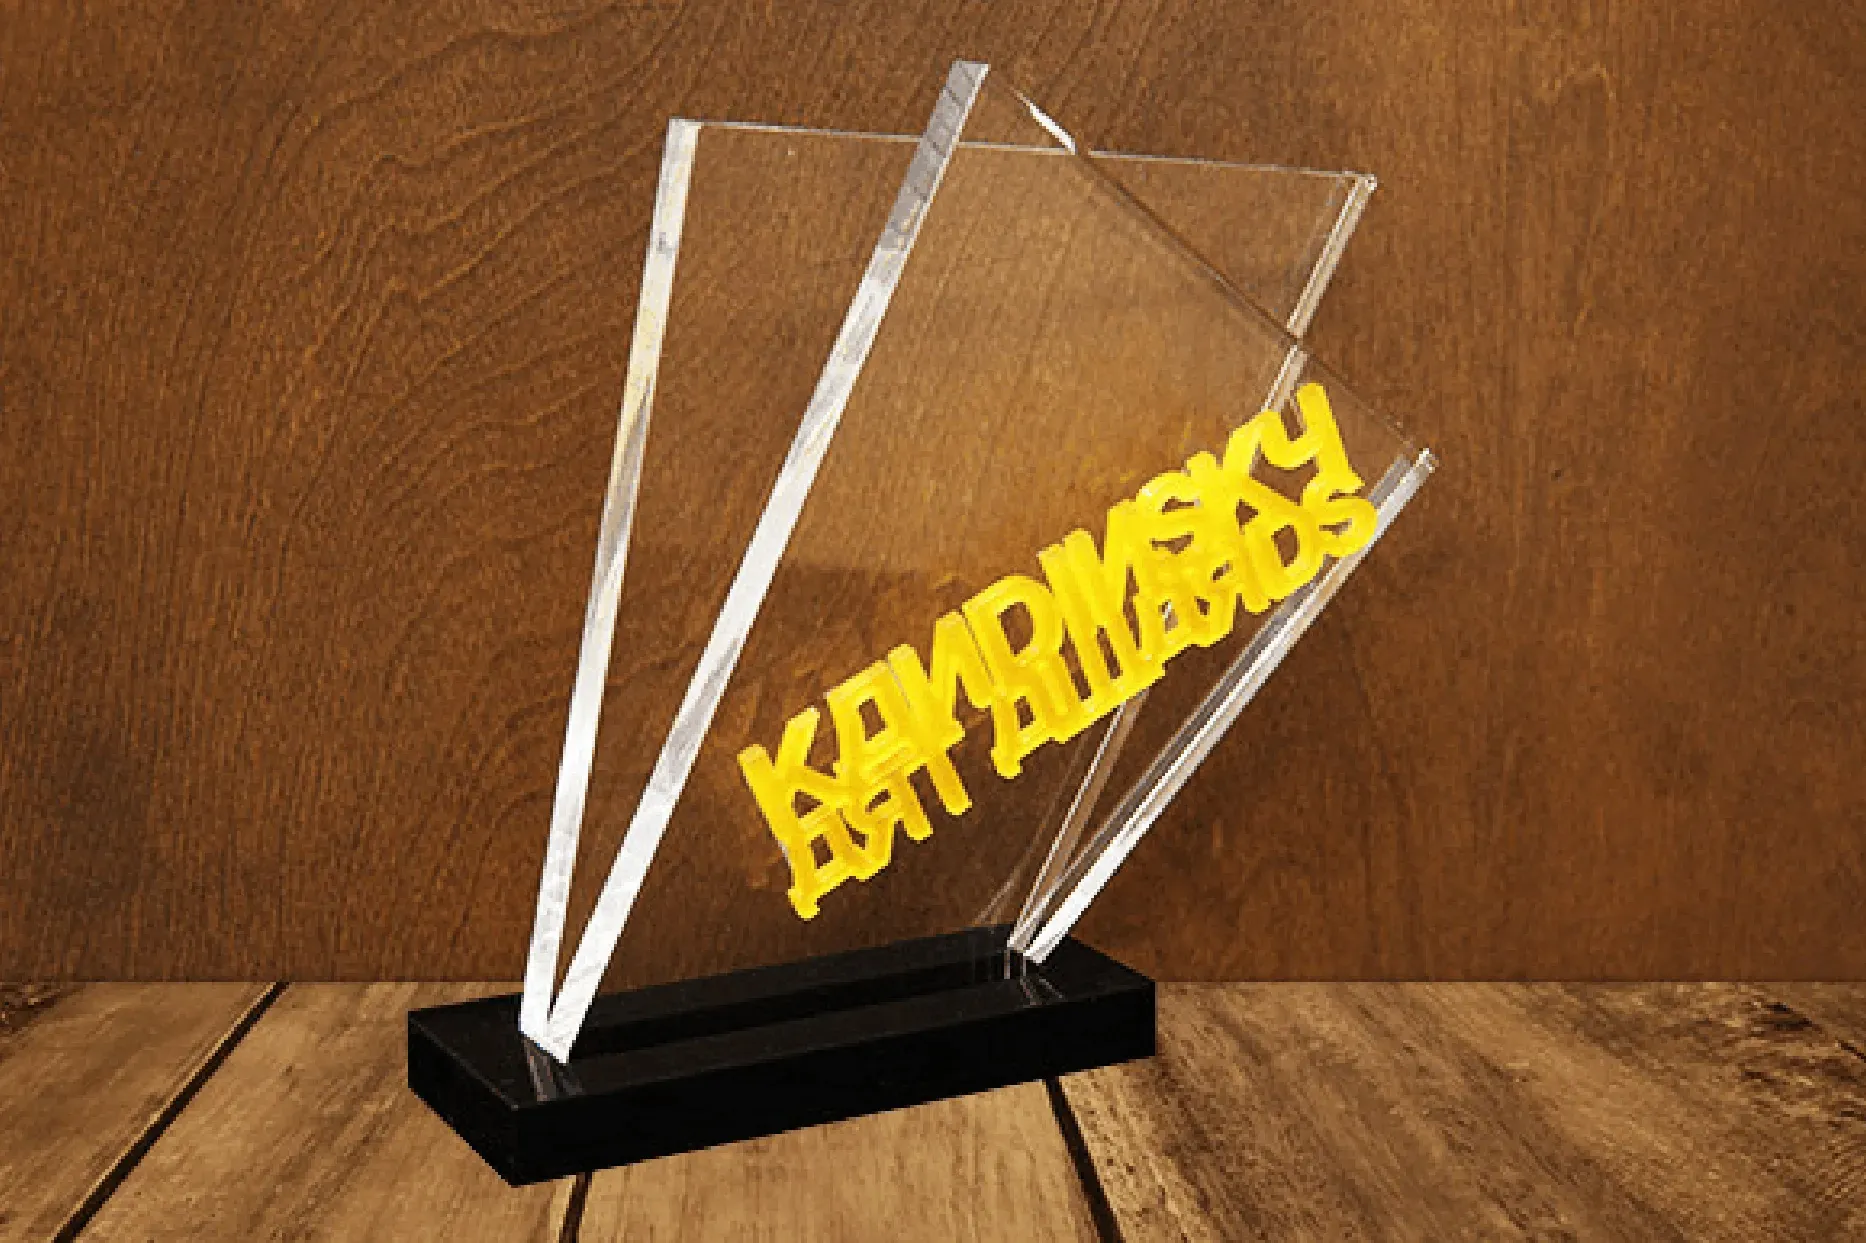
Prevent cracks after cutting and assembly
A glossy edge can still contain residual stress. Later contact with an incompatible cleaner or solvent, or force from a tight joint, can reveal that stress as fine cracks called crazing. The material manufacturer's acrylic laser-machining guidance explains this tradeoff between thermal processing, edge appearance and stress.
Use cleaners approved for the sheet, avoid forcing joints and plan clearance around fasteners. If the part will be solvent-bonded, discuss edge preparation and any required stress-relief process with the sheet and adhesive suppliers. Annealing is a controlled fabrication step with a material-specific schedule; it should not be improvised using a generic temperature from an unrelated guide.
Approve a sample after the intended cleaning and assembly process, not only as it leaves the laser. A display that looks good before bonding has not yet passed the test that matters for delivery.
Troubleshoot the result systematically
| Problem | Possible causes | Next check |
|---|---|---|
| Sheet does not cut through | Unsuitable settings, wrong focus, dirty optics or excessive thickness | Confirm material and setup before increasing energy |
| Cloudy or rough edge | Airflow, repeated passes, optics, focus or material formulation | Compare a controlled sample with the approved starting process |
| Melted corners | Extra heat as motion slows, duplicate paths or local heat accumulation | Check geometry, order and the controller's corner behavior |
| Marks on the back face | Support reflections or surface deposits | Inspect the bed, support points and extraction |
| Weak engraving contrast | Extruded grade, incorrect focus or unsuitable engraving settings | Verify the grade and compare a focused sample |
| Film stuck around the cut | Unsuitable masking or adhesive behavior | Check the supplier's masking guidance |
| Cracks after cleaning or assembly | Residual stress, incompatible chemicals or mechanical loading | Review the complete finishing and assembly process |
Persistent flame is a stop condition. Follow the machine's emergency procedure, allow the system to be made safe and investigate the cause before resuming. Keep extraction operating as required by the manufacturer's procedure and supervise every cut.
Evaluate a Good-Laser machine with a production sample
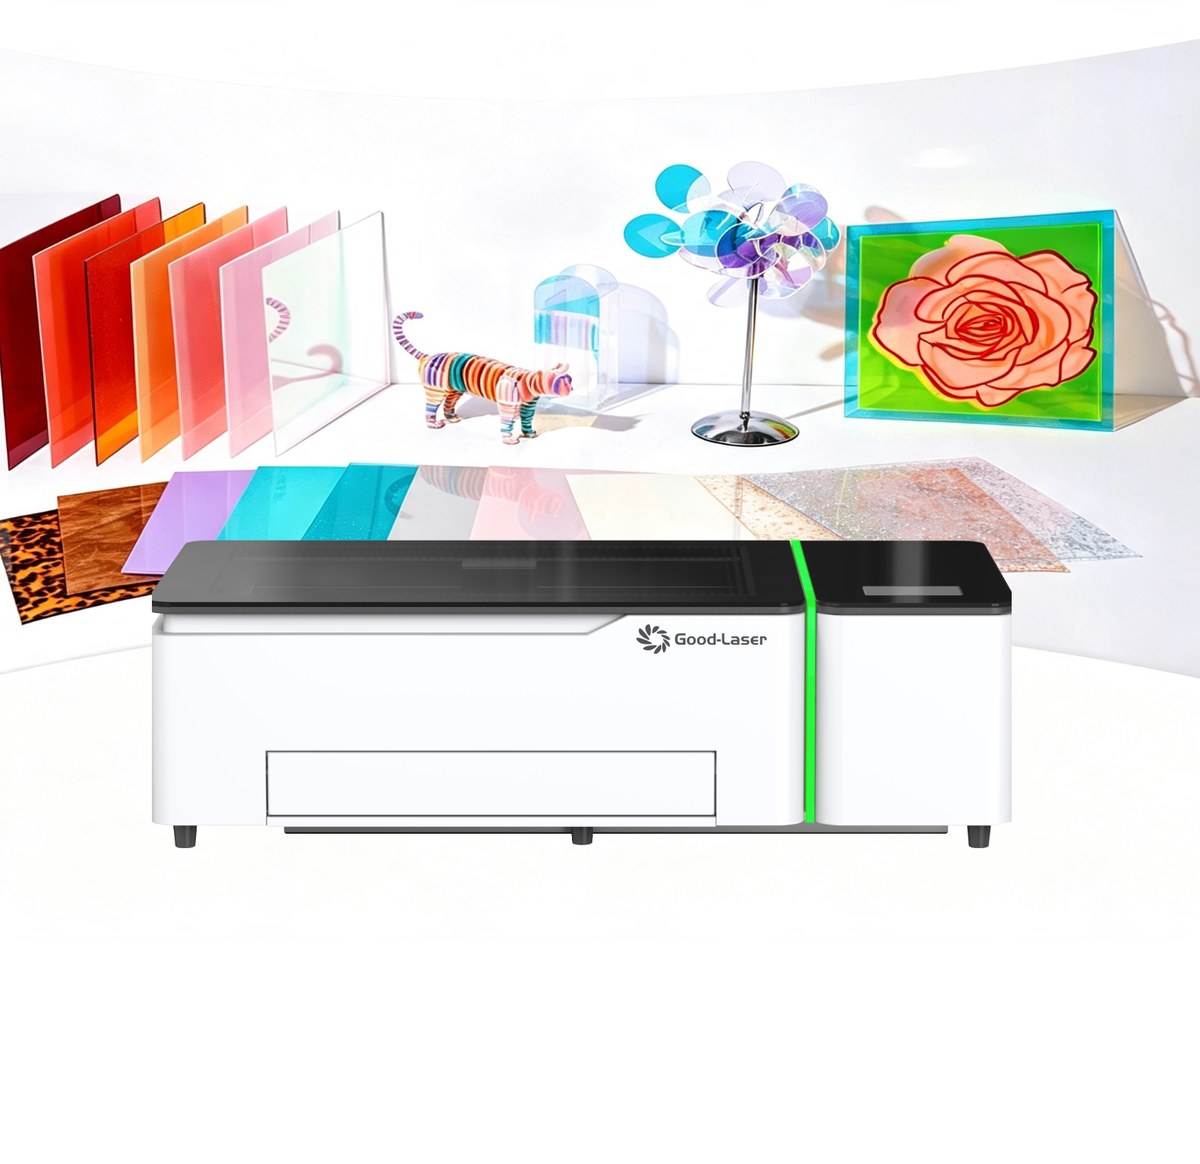
The Light 530 desktop laser cutter is listed with a 55W CO2 source and a 520 × 315 mm work area. Its product information lists autofocus and manual focus, together with LightMaker and desktop LightBurn support. Confirm the supplied configuration and test the acrylic grade you intend to use.
For larger sheets or longer batches, compare machines using the same part layout. Record accepted pieces per batch, processing time, cleaning effort and any edge finishing. Measure the space needed to load a sheet and reach service points, including the area occupied by extraction equipment.
Frequently asked questions
Can both cast and extruded acrylic be laser cut?
Yes. Both can produce useful cut parts on a suitable CO2 machine. Cast acrylic is generally preferred when a frosted engraved image is part of the design, while extruded sheet is often considered for cut-only work and consistent thickness. Choose by the finished part's requirements, then test the supplier's actual grade.
Can a diode laser cut clear acrylic?
A common blue diode is a poor match for clear acrylic through-cutting because much of its light passes through the sheet. Some dark grades absorb blue light and behave differently. For repeat production in clear PMMA, evaluate a CO2 laser with an appropriate work area and a proven process for the required thickness.
What settings should I use for 3 mm acrylic?
Start with the machine manufacturer's recommendation for that thickness and grade. There is no dependable universal speed and power percentage for every laser. Record the source, optics, focus, speed units, pass count and airflow, then cut a small supervised coupon. Check edge quality and fit before using the setting for a whole sheet.
Should I remove the protective film?
Check which masking the sheet carries and whether its supplier approves it for laser processing. Laser-compatible masking can protect the surface during cutting; unsuitable film can melt or leave residue. Fine engraving may need the upper mask removed. Test a small area and follow the guidance for that sheet and operation rather than applying one rule to every film.
Why does laser-cut acrylic crack later?
Residual heat stress at an edge can combine with incompatible cleaners, solvents or assembly loads to cause crazing. Review the cleaning product, adhesive, fastener clearance and joint fit. Parts intended for bonding may need specific edge preparation or stress relief. Ask the material supplier for its procedure and approve a fully finished sample before production.
Does laser cutting acrylic require extraction?
Yes. Limited visible smoke does not mean that the process produces no fumes. Use extraction suitable for the machine and acrylic process, maintain it and supervise the job. Air assist helps at the cutting point but does not replace exhaust. Keep the material identification and safety data available when planning the installation.
Define the sample before choosing the machine
When evaluating Good-Laser as a laser cutting machine supplier, provide the acrylic grade, color, measured thickness, part drawing and batch quantity. Include the required edge finish and any bonding or assembly steps. Request a sample and processing record that you can assess against those requirements.