Laser Cutter Software Guide: File Formats, Workflow and Machine Compatibility
Choose laser cutter software by your machine's controller, supported operating system and production workflow. Use vector paths for cutting, prepare photos as raster images for engraving, and verify size and layer settings before output. For Good-Laser equipment, start with the software and device profile specified for your exact model.
A file can look correct on screen and still produce the wrong part. It may arrive at the wrong scale, contain a duplicate outline or use a layer that is set to engrave instead of cut. A reliable workflow catches these problems before the beam reaches the material.
Separate design software from laser control
Design software creates the artwork or geometry. Laser control software turns that design into operations the machine can execute, including movement, power, speed and processing order. Some programs combine both roles, but creating an SVG file does not establish a direct connection to a laser.
| Software role | Typical work | What must match |
|---|---|---|
| Vector drawing | Logos, lettering, outlines and decorative shapes | Export format, fonts, curves and document scale |
| CAD | Dimensioned parts, slots and assembly geometry | Flat 2D export, units and supported entities |
| Photo editing | Crop, tonal adjustment and image cleanup | Pixel dimensions and intended engraving size |
| Job preparation and control | Assign layers, set parameters, preview and send jobs | Controller, firmware, connection and device profile |
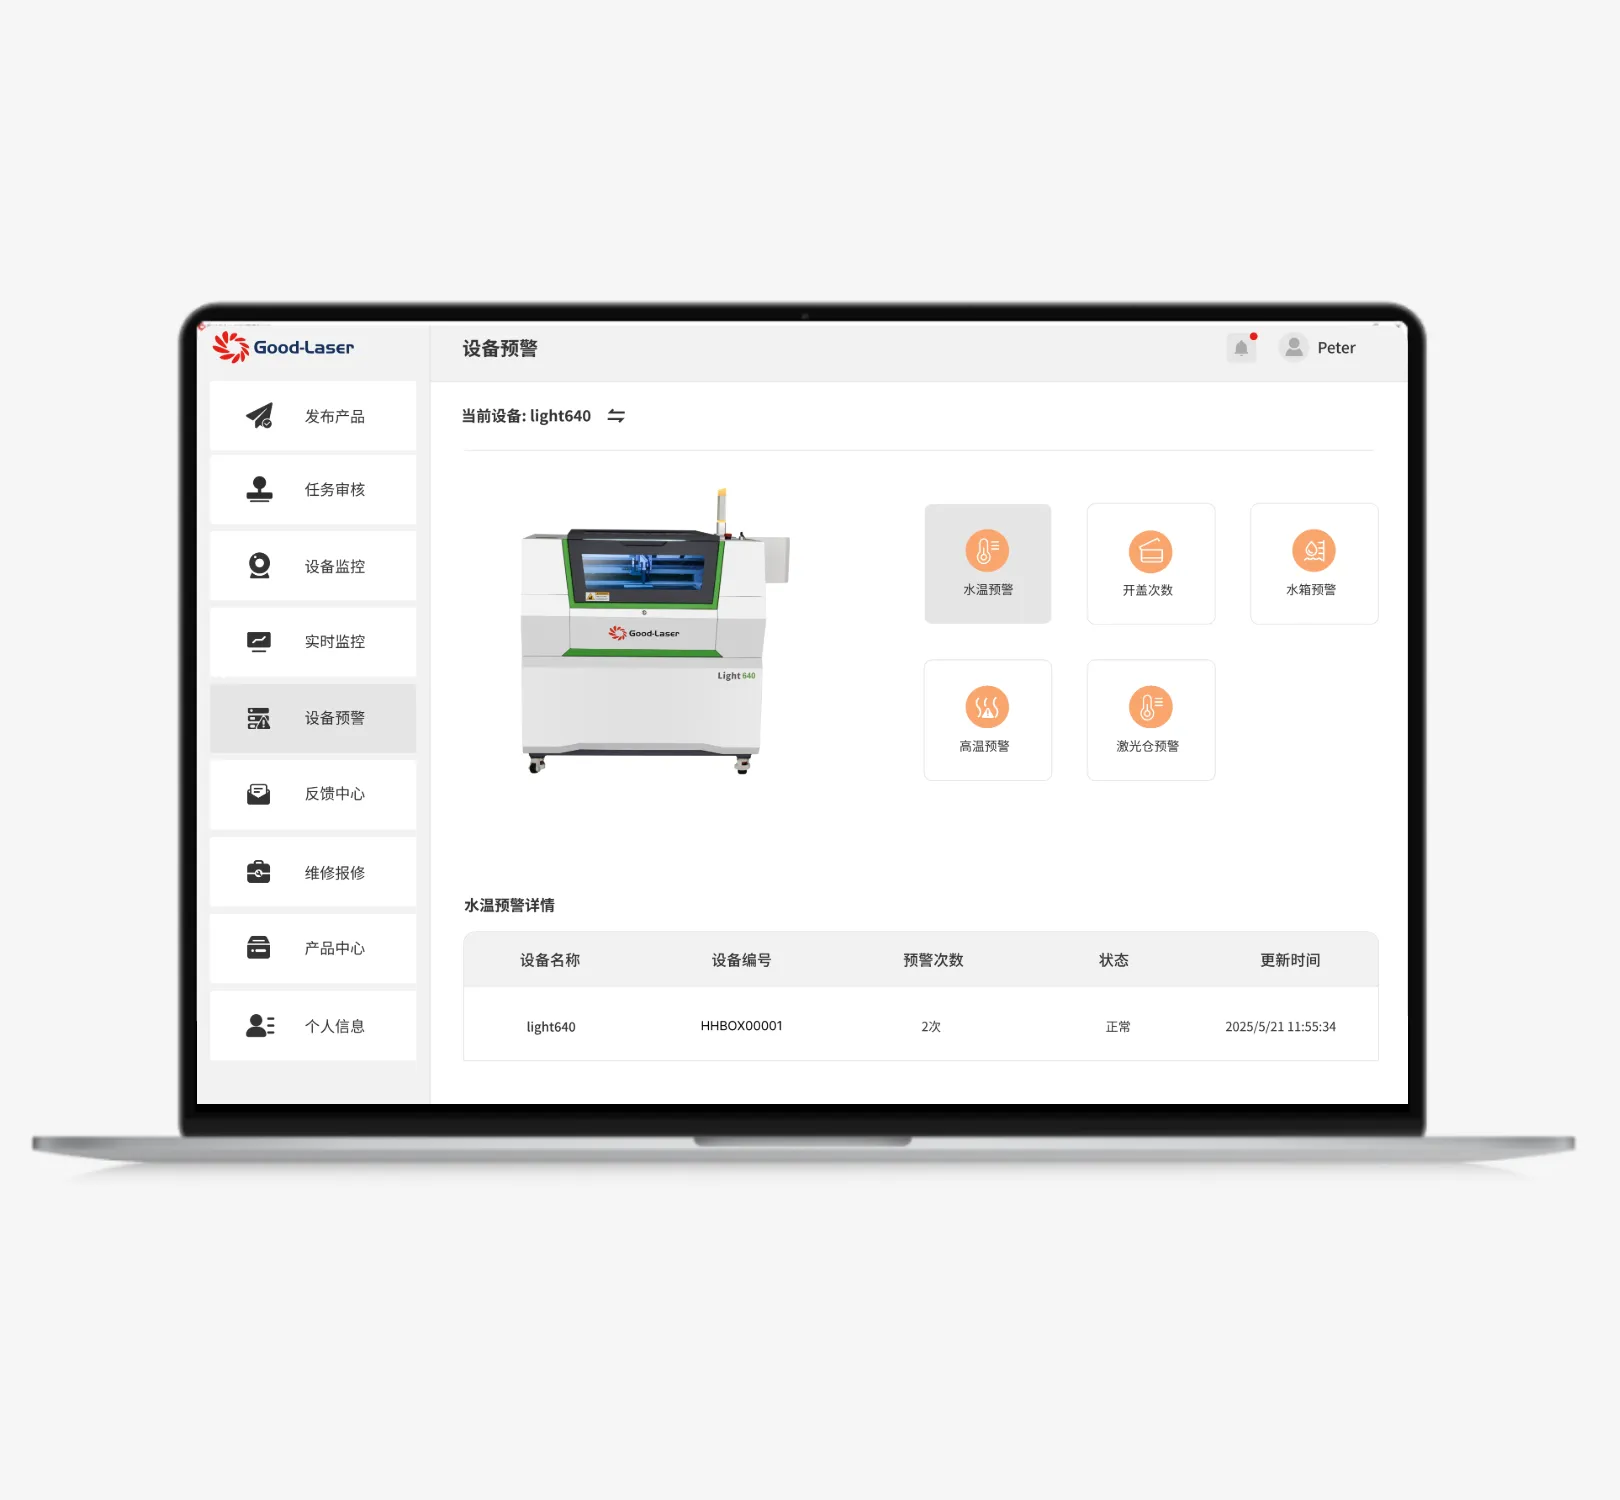
| Production management | Organize approved files, parameters and machine tasks | Access permissions, supported models and network requirements |
Choose only the tools your work needs. Simple text and shapes may be prepared inside the laser program. A detailed logo, a dimensioned assembly or a photograph can justify a separate design application.
Check compatibility before installing a program
The controller and its firmware determine how the computer communicates with the laser. The label “diode” or “CO2” alone is not enough to choose a program. Two similar-looking machines can need different drivers, profiles or software editions.
Ask the supplier for the controller identity, approved software version, computer requirements and connection instructions. Keep the original device profile and machine settings before making changes. If a program cannot connect, establish whether the issue is compatibility, a driver, a cable or an alarm before altering controller parameters.
LightBurn's controller identification guide separates GCode, DSP and galvo systems. That distinction is useful when choosing a supported license and setup path. It does not mean that every feature on a machine will be available in every compatible program.
Software options for a Good-Laser workflow
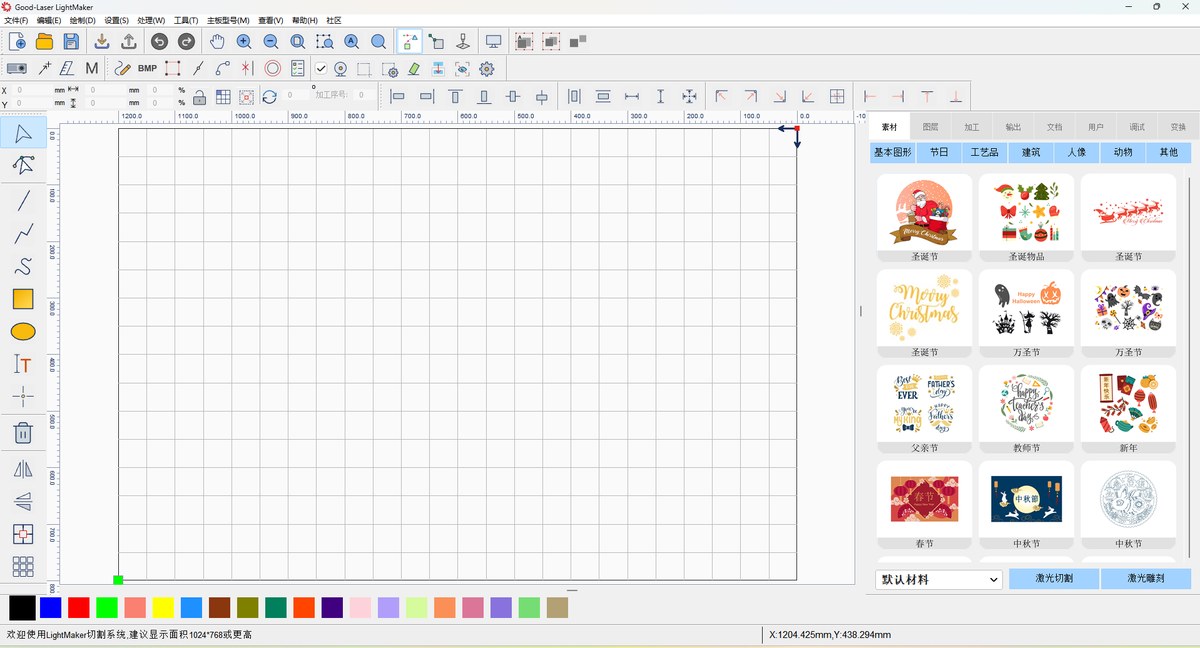
LightMaker and the Good-Laser software resources
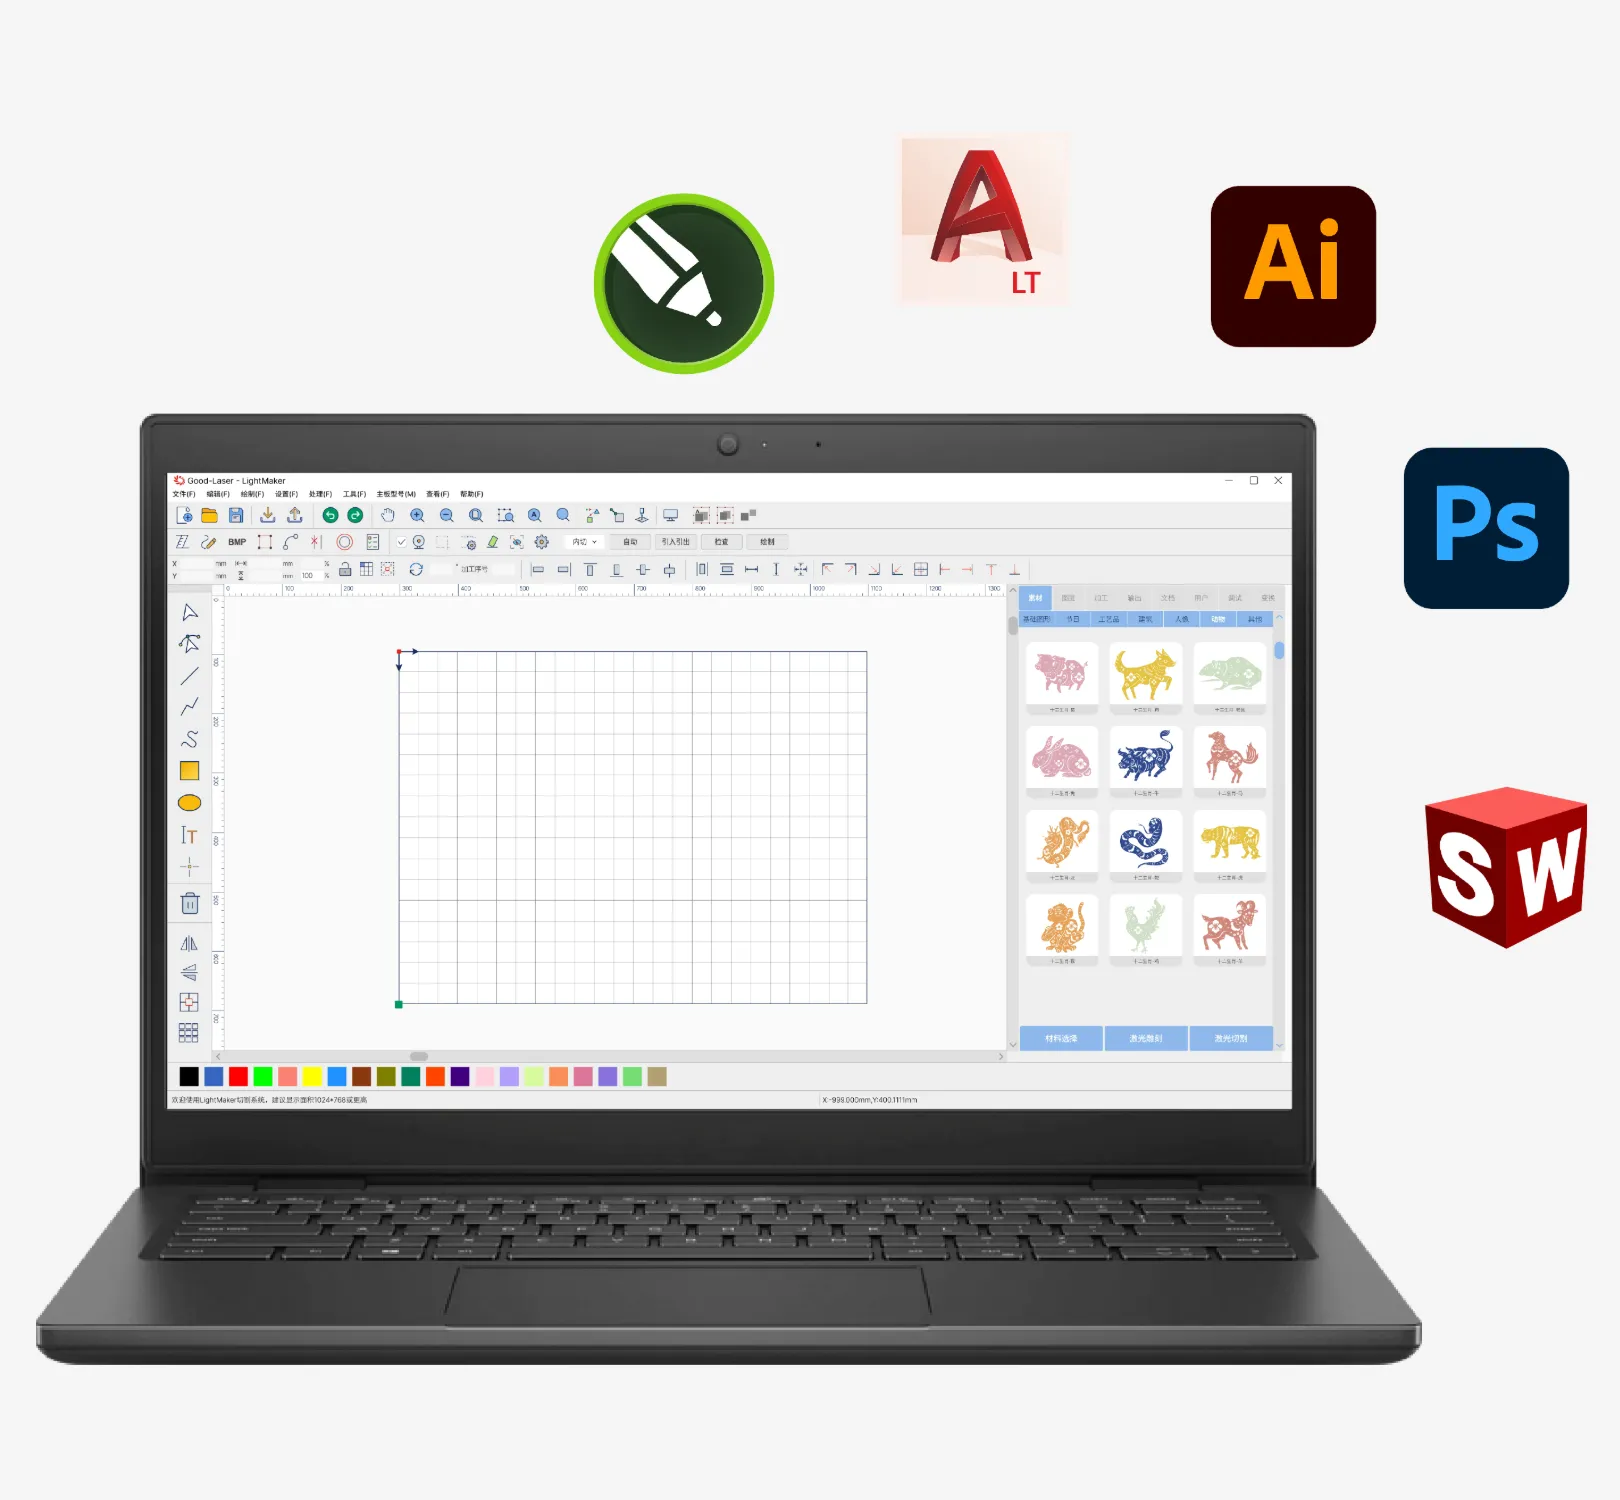
The official laser cutter software page introduces LightMaker, Good-Laser's design system, alongside mobile and cloud-related functions. It lists JPG, DXF, AI, DST, PNG, BMP, TIF and SVG among supported upload formats. Confirm the installer and feature set for your machine before planning a workflow around a particular format.
The Light 530 product information lists LightMaker and desktop LightBurn support. The Light Blue 530 diode laser engraving machine also lists desktop LightBurn. Ask Good-Laser to confirm the appropriate profile, license requirements and supported accessories for the version being supplied.
LightBurn for supported controllers
LightBurn combines layout, editing, job preparation and machine control. It is useful when those functions suit your controller and the way you prepare work. Verify current operating-system requirements and hardware support on the developer's site; an older tutorial can describe a different version.
Check the functions you rely on individually. A successful USB connection does not prove that a camera, autofocus routine, rotary setup or cloud feature behaves the same as it does in the manufacturer's software.
Free tools and existing design applications
A free vector editor can be enough for basic outlines and lettering if it exports a format the laser program accepts. Existing CAD or illustration software is also useful when your team already knows it. Export a sample and check the result inside the control program before changing your entire design workflow.
LaserGRBL is a free Windows-oriented option for compatible GRBL workflows. It is not a universal substitute for machine-specific software, and its official configuration guidance excludes several other controller families. Consult the LaserGRBL compatibility and configuration documentation before considering it for a machine. Good-Laser compatibility should be confirmed separately.
Which file format should you export?
Use a vector format for a precise cutting contour. Use a raster image for a photograph or other pixel-based engraving. The extension is only part of the check: a PDF can contain an image, vectors or both, while an SVG can include linked images and text that change when opened elsewhere.
| Format | Good starting use | Check after import |
|---|---|---|
| SVG | 2D outlines, logos and lettering | Physical size, text converted to paths, clipping and hidden objects |
| DXF | Flat CAD profiles and dimensioned parts | Units, closed contours, supported curves and unwanted dimensions |
| AI | Illustration artwork in a supported version | Font handling, effects and whether the file version is accepted |
| Exchange of vector or mixed artwork where supported | Whether contours remain vectors; verify support in the chosen program | |
| PNG, JPG, BMP or TIF | Photos and raster engraving | Pixel resolution, background, transparency and output size |
| Native laser project | Repeat jobs with saved operations | Correct device, material and retained job settings |
| Machine output file | Running a prepared job on its intended controller | Controller-specific format and the exact machine configuration |
For an ordinary flat-sheet cutting job created in 3D CAD, export the intended face or sketch as a 2D profile. A 3D model does not automatically define the correct sheet outline. Keep the editable original as well as the exported file.
A photo saved as SVG remains a photo if it is simply embedded inside the file. To cut around it, create a separate vector contour and inspect that contour. Automatic tracing can introduce extra nodes, double edges or small gaps that need cleanup.
Prepare a file from design to first cut
- Work at the finished dimensions and record the units. After import, measure a known feature. A 100 mm square should still measure 100 mm in the laser program.
- Remove duplicate lines, unused construction objects and unwanted clipping shapes. Close contours intended to form closed parts. Keep open paths only when they are intentional scoring lines.
- Convert text to paths when transferring between applications or computers. Keep an editable copy so wording can be changed later.
- Put engraving, scoring and through-cutting on clearly identified layers. A red line has no universal meaning; check the operation assigned by your program.
- Select the correct device and check its work area, origin, orientation and any active rotary mode. A saved job from another machine can retain inappropriate settings.
- Use the correct speed units, power range, focus method and pass count for the material. Do not copy settings solely because another machine has the same wattage.
- Preview the processing order and travel, then confirm the job fits the stock and avoids clamps. Use the manufacturer's safe framing procedure.
- Run a small supervised sample, check the result, then save the approved project with its material and revision details.
A laser engraver settings chart can provide an initial reference. Record successful settings with the material supplier and thickness so a later operator can repeat the test conditions.
Adjust the workflow for wood, acrylic and photographs
On a wood laser cutter, inspect engraved contrast and cut-edge discoloration separately. Changing a photo's contrast will not fix an unsuitable cutting parameter. Keep the image operation and the outer contour on separate layers.
For laser engraving acrylic, distinguish the engraved face from the viewing face. If you engrave the rear of a clear panel and view it from the front, mirror the artwork intentionally and confirm it with a small test. Measure the stock before setting slot widths or applying kerf compensation.
For photo engraving, resize and adjust the image for its final physical dimensions. A higher nominal DPI does not guarantee a better result if the material and laser spot cannot resolve the extra detail. Compare small test patches at different line intervals and image modes, then choose the clearest result.
Diagnose common software and file problems
| Symptom | Check first | Useful next step |
|---|---|---|
| Imported design is too large or small | Units and export scale | Measure a known feature; correct the import before cutting |
| Text changes or disappears | Missing fonts and unsupported text objects | Export a copy with text converted to paths |
| A shape engraves but does not cut | Image versus vector geometry and layer mode | Inspect the actual contour and assigned operation |
| One line burns more deeply | Duplicate paths or repeated output | Remove duplicates and review the preview |
| A filled shape has gaps | Open contours and small disconnected segments | Repair geometry without closing intentional openings |
| Job starts in the wrong place | Origin mode, machine orientation and positioning | Frame again after correcting the device setup |
| Machine will not connect | Supported controller, cable, driver and connection selection | Follow the model's setup instructions and record the exact error |
| Output is weak after switching programs | Power scale, speed units and device profile | Compare against the approved configuration; do not raise limits blindly |
Keep production files repeatable
Save the artwork, laser project and accepted sample record together. Include the machine model, material, thickness, focus method and revision. Separate approved production files from experimental settings so the next batch does not inherit an unfinished test.
Before updating software, retain the working installer or documented rollback route and back up the settings using the program's supported method. Validate one representative job after an update before running customer work.
Frequently asked questions
What is the best laser cutter software for a beginner?
Start with the program supported by your exact machine and a setup guide you can follow. Look for clear layer controls, preview, safe positioning and a repeatable way to save jobs. The easiest program is the one that reliably operates your machine and imports your files. Advanced design tools can be added when your projects need them.
Can I use free laser engraving software?
Yes, where it supports your task and hardware. A free drawing application can create artwork for export, while a free control program needs to support the machine's controller. These are separate checks. Confirm the operating system, file support and required functions before installing, and use the developer's or machine manufacturer's download source.
Can I cut directly from a JPG or PNG?
A raster image provides pixels, not a precise cutting path. It can be engraved, or you can trace it to create a vector outline for cutting. Inspect the traced outline for unwanted gaps, doubled edges and excessive detail. For a dimensioned mechanical part, draw or export the contour from CAD rather than tracing a photograph.
Is SVG or DXF better for laser cutting?
SVG is convenient for graphics and lettering; DXF is common for dimensioned CAD profiles. Either can work when the control program supports its contents correctly. Test scale, curve handling and closed paths after import. The best choice is the format that preserves your particular design accurately through the applications you use.
Does LightBurn work with every Good-Laser machine?
Do not assume universal support. Good-Laser lists desktop LightBurn on specific product pages, including Light Blue 530 and Light 530, but the supplied controller, software version and accessory functions still need confirmation. Ask for the approved profile for your model. A successful connection alone does not verify camera, rotary or other specialized functions.
Why do settings change when I import a file?
An artwork exchange file may carry geometry without the laser operations from the original project. Importing a file and opening a native project can therefore produce different results. Check layer mode, speed, power and pass count after transfer. Keep the approved native laser project when repeatable processing settings are part of the job.
Confirm the workflow with your own file
Before choosing a Good-Laser desktop laser cutter, send a sample file and state your computer's operating system, material and required operations. Ask for a demonstration from import through preview to the finished part, with the exact software and machine configuration you will receive.