Best Laser Engraver for Wood: A Practical Buying Guide
The best laser engraver for wood is the machine that produces your required detail and finish on the wood you actually use. Compare an enclosed diode for small personalized projects, a desktop CO₂ system for mixed engraving and cutting, and a larger CO₂ platform when panel size or repeat production requires it.
Start by defining your work: names on wooden gifts, photographs on plaques, cut-out ornaments or batches of signs. Choosing a laser engraving machine around these jobs gives you a more useful shortlist than comparing maximum power alone.
This guide compares Good-Laser options using published product information and practical buying criteria. The recommendations are application-based shortlists, not results from independent hands-on testing or a ranking of every machine on the market.
Quick Selection: Which Wood Engraver Should You Consider?
For occasional wooden gifts, start by evaluating Light Blue 530. For a desktop workflow combining engraving and cutting, compare Light 530. If your layouts need more working area, include Light 640 in the sample test.
| Primary requirement | Good-Laser option to evaluate | Decision to verify with a sample |
|---|---|---|
| Names, logos and small craft projects | Light Blue 530 — blue diode | Detail, contrast and completion time on the chosen wood |
| Desktop engraving plus cut-out parts | Light 530 — CO₂ | Engraving finish and cut quality in the same workflow |
| Larger layouts or repeated batches | Light 640 — CO₂ | Usable bed space, fixture layout and accepted pieces per hour |
These routes can overlap. A small business may be well served by a diode, while a hobbyist making larger assemblies may need a CO₂ platform. Let a representative project decide whether the extra capacity is useful.
Diode vs CO₂ for Wood Engraving
Both diode and CO₂ machines are candidates for wood engraving. Compare the quality and total time of your actual job before choosing between them. Engraving a surface image and cutting through a board impose different requirements.
| Buying question | Diode route | CO₂ route |
|---|---|---|
| Mostly surface engraving? | Evaluate lettering, logos and image detail on your blanks. | Compare the same artwork at the same acceptable finish. |
| Regular cutting as well? | Check thickness, pass count, edge finish and time. | Request a cutting sample in the exact board grade. |
| What installation is needed? | Confirm enclosure, extraction and process accessories. | Also confirm the specified cooling system and maintenance access. |
| How much power is useful? | Verify optical output and the selected module. | Verify the source option and tested job performance. |
| What determines productivity? | Loading, positioning, scanning, finishing and inspection. | The same complete cycle, including any additional setup. |
A cutting-thickness claim is not an engraving-quality score. Likewise, the maximum travel speed does not establish how long a detailed photograph or filled logo will take. Ask for a timed sample at the resolution and finish you intend to sell or use.
For a wood-first purchase, prioritize the diode and CO₂ categories shown here. A metal-marking specification provides little evidence about the quality of a photograph or decorative design on wood.
Three Good-Laser Options for Different Wood Projects
Light Blue 530: A Starting Point for Personalized Wood Crafts
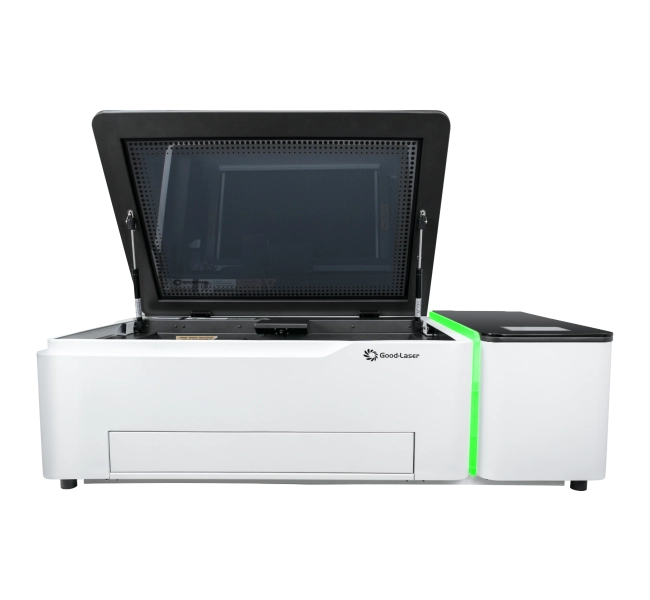
The Light Blue 530 belongs to Good-Laser's diode laser engraving machine range. Its product page lists 20W/40W laser options, a 520 × 315 mm working area and a protective enclosure with a lid interlock. Confirm which version and accessories are included in your quotation.
Shortlist it for projects such as wooden tags, decorative plaques and small gift components. Check whether your largest blank and positioning jig fit together. For photographs, request a test containing both fine lines and shaded areas.
Choose this route when: your main workload is compatible craft material and the sample meets your finish and timing requirements. Compare another option when: frequent cutting, taller workpieces or larger layouts exceed the quoted configuration's practical capacity.
Light 530: A Desktop CO₂ Option for Engraving and Cutting
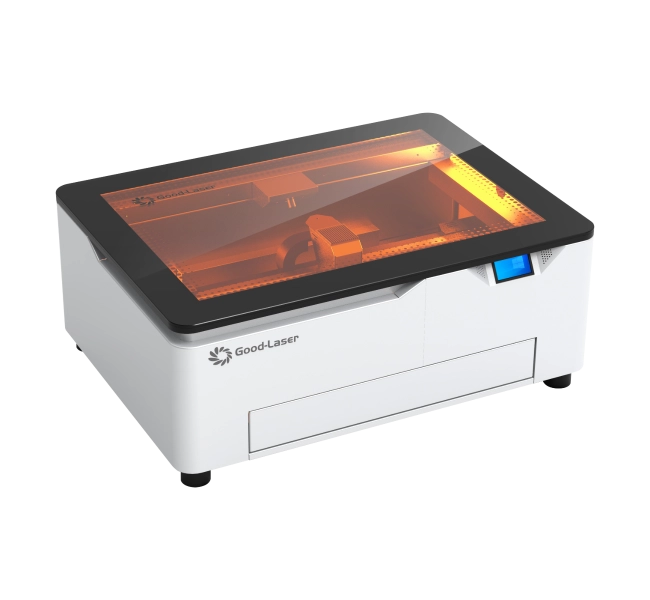
The Light 530 is part of Good-Laser's desktop laser engraver and cutter range. The official page identifies it as a CO₂ machine and lists a 520 × 300 mm working space. It is a relevant comparison for buyers who want to engrave designs and cut associated components on a desktop platform.
A useful test is a small wooden sign with engraved lettering, an outer cut profile and mounting holes. Inspect all three results, including the underside, rather than approving the machine from the engraving alone. Confirm the supplied cooling, air assist, software and exhaust arrangement.
Choose this route when: you need a desktop process covering both tasks. Compare another option when: panel dimensions, fixture clearance or batch layout require more usable space.
Light 640: More Working Area for Larger Layouts
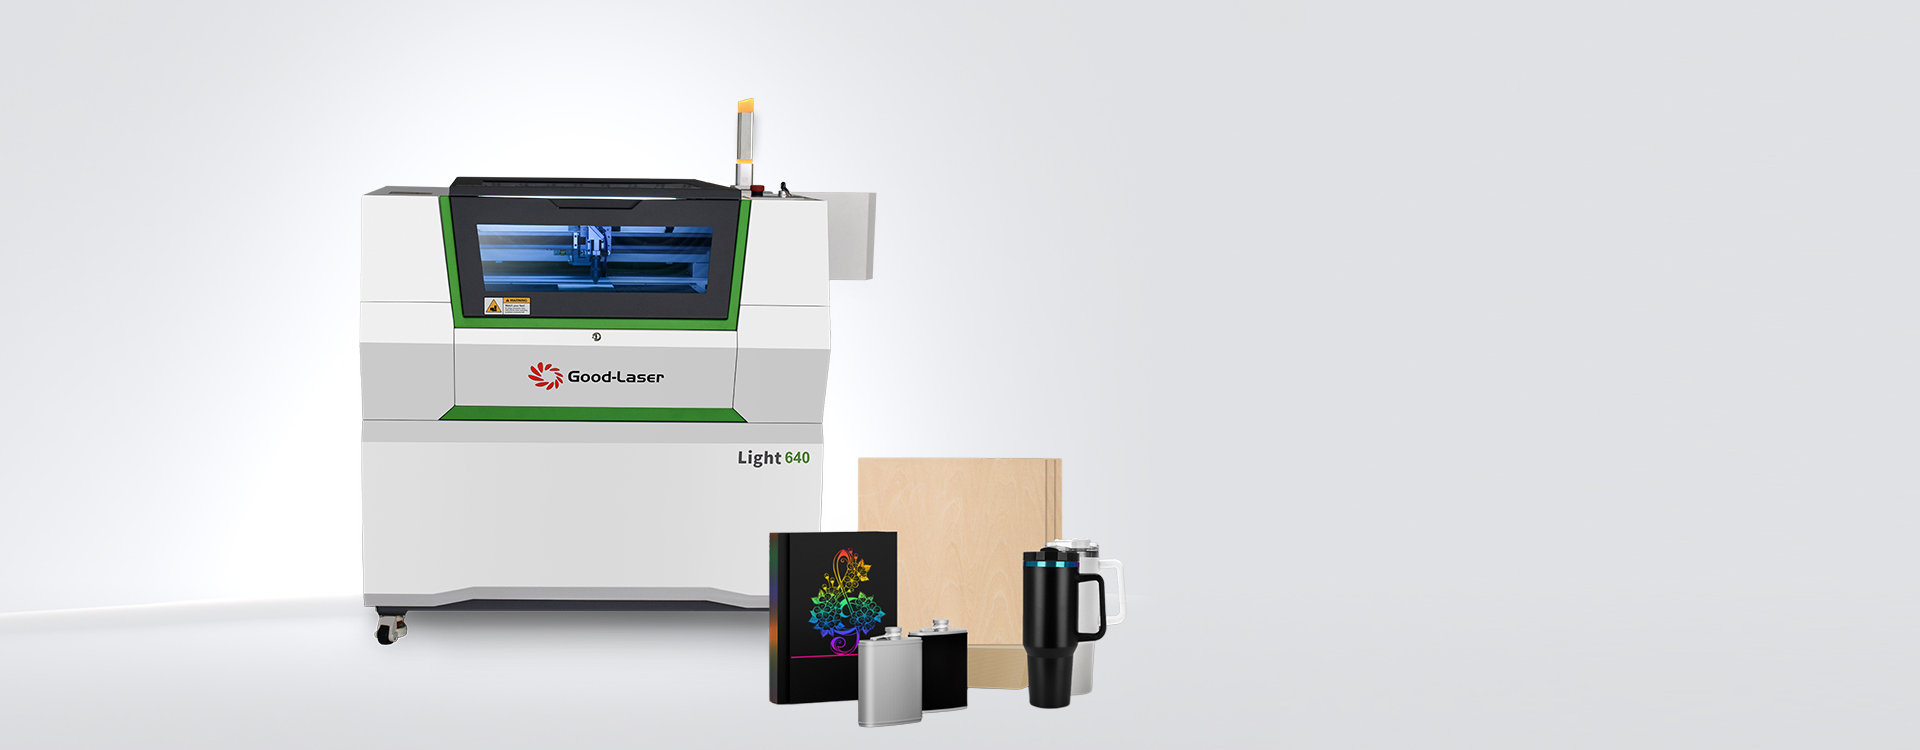
Good-Laser's industrial CO₂ laser cutter and engraver range includes Light 640. The current product page lists a 600 × 400 mm working area and multiple CO₂ power options. That larger area can accommodate different nesting and fixture arrangements; verify your layout with the supplier.
A larger bed is useful when it reduces loading steps or accommodates the actual part. It does not automatically make a small engraving faster. Compare a complete batch, including alignment, unloading and cleaning, to determine whether the added capacity improves your workflow.
Choose this route when: the required part or repeat layout benefits from the working area. Check before buying: the complete installed footprint, access for maintenance, services and the exact source configuration. Any pass-through use must follow the specified protective arrangement.
The Wood Matters as Much as the Machine
Wood species, grain, resin and board construction affect the appearance of an engraving. Trotec's wood processing guidance explains why material variation matters. Select the blank and machine together, then confirm the result on stock from your intended supplier.
| Material | What can vary | What your acceptance sample should show |
|---|---|---|
| Solid wood | Grain, density, color and resin content | Readable detail across representative grain, with acceptable tonal variation |
| Plywood | Face veneer, internal layers and adhesive | Surface detail and, if cutting, complete separation through the actual sheet |
| MDF | Board grade, binder and surface finish | Approved material composition, engraving finish and acceptable edges |
| Veneered or coated wood | Veneer thickness, coating and underlying substrate | The intended appearance without unwanted exposure of lower layers |
For species and project ideas, explore Good-Laser's wood laser cutting and engraving applications. Treat examples as starting points for testing rather than a promise that every board of the same nominal thickness will behave alike.
For a purchasing sample, write down the supplier, grade, thickness, coating and batch reference. Include a normal production blank rather than only a specially selected attractive piece. Repeat the test if the stock or finish changes.
Five Checks Before Choosing a Wood Laser Engraver
1. Detail and Contrast After Finishing
Define the smallest readable text and the appearance you want. A dark mark, a recessed design and a photo-like image are different acceptance targets. Inspect the sample after your planned cleaning and finishing steps; an attractive uncleaned engraving may not represent the product you ultimately deliver.
2. Usable Space and Focus
Measure the whole blank, its thickness and its fixture. Leave the positioning and travel margins required by the machine. A camera or autofocus function can simplify setup, but the supplier should demonstrate repeatable placement on your actual part. Do not assume that focusing at one point compensates for a bowed board.
3. Smoke Management and Supervised Operation
Plan the specified extraction and protective setup before installation. Use only identified materials approved for the process, including their coatings and adhesives. Keep the work area clear of accumulated debris and supervise operation. An enclosed machine still needs the prescribed operating procedures and a suitable response to abnormal smoke or flame.
4. Complete Batch Time
Ask for a timed run of several parts, from loading to inspected output. Record rejected pieces and cleanup time. For a comparison, use the same design dimensions, material, detail requirement and acceptance standard. This reveals whether a faster scan translates into more usable products.
5. Ownership Cost and Support
Compare the delivered setup, extraction, required cooling, software, fixtures, consumables and maintenance. Confirm who supplies replacement components and which service costs are excluded. The affordable laser engraver buying guide explains how to compare complete quotations without overlooking necessary equipment.
Use a Wood Sample Test to Make the Final Decision
A consistent sample brief makes competing quotations easier to assess. Send the same material and artwork to each supplier, and ask them to identify the tested configuration.
- Choose a representative blank. State the species or board grade, thickness, coating and material supplier.
- Include the difficult details. Add the smallest lettering, filled shapes and image detail used in your products. Add a cut profile only if cutting is part of the requirement.
- Agree on acceptance. Define readability, appearance, depth if relevant, placement and edge quality.
- Record the complete job. Request settings, pass count, focus method, processing time and any cleaning or finishing steps.
- Check repeatability. Compare several pieces and ask how the result is maintained when blanks are reloaded.
Once you select a machine, the laser engraver setup and first-project guide can help you organize the operating workflow. Use the model's current manual for specific controls and settings.
Frequently Asked Questions
What is the best laser engraver for wood beginners?
Start with a machine that fits your blanks, offers a manageable setup and passes a test on your chosen wood. An enclosed diode such as Light Blue 530 is one route to evaluate for personalized craft projects. Compare a desktop CO₂ option if regular cutting is central to your plans. Confirm the complete installation and support package before ordering.
Is a diode or CO₂ laser better for wood?
Both can be suitable. Base the decision on your engraving finish, required cutting task, part size and full production cycle. Compare the same artwork on the same material instead of assuming one source type always creates better detail. The most useful result is a repeatable sample that meets your quality and timing requirements.
How much laser power do I need for wood engraving?
There is no universal wattage for every wood and design. Ask the supplier to demonstrate your surface engraving or cutting requirement on the quoted configuration. Distinguish optical laser output from electrical consumption, and record the settings and pass count. A higher number by itself does not establish better image detail or a cleaner finished part.
Can a laser engraver work on plywood and MDF?
Suitable grades can be processed, but board construction, binders and finishes must be checked. Specify material approved for laser processing and confirm the machine's guidance. Test engraving and through-cutting separately when both are needed. A successful result on one sheet does not establish the same result for a different supplier or adhesive system.
Which wood should I use for photo engraving?
Start by comparing blanks with a relatively even appearance, because strong grain can compete with the image. Run the same photograph on several candidate samples and inspect highlights, shadows and small details after finishing. Choose the combination of material and settings that gives the appearance you want; there is no single wood that wins for every photograph.
Why does my wood engraving look uneven?
Check the blank's surface, flatness and grain before changing power. Then review focus, positioning, artwork preparation and the machine's maintenance condition. Compare the result with a known good sample from the same material. Avoid changing several settings at once, since that makes it harder to determine which change improved the output.
Find the Right Good-Laser Setup for Your Wood Projects
Share your wood species or board grade, coating, thickness, largest blank, artwork and expected quantity. Explain whether you need surface engraving, deeper detail, cutting or a combined process, and include your available workspace and delivery country.
Contact Good-Laser for a wood-project configuration and quotation. The team can discuss Light Blue 530, Light 530 or Light 640 against your sample requirements, helping you choose a setup around the results you need to produce.