How to Use a Laser Engraver: A Practical Beginner Guide
To use a laser engraver, identify a compatible material, prepare the machine and extraction system, import your design, position and focus the workpiece, and test the settings on a spare blank. Preview the job boundary, run the engraving under supervision, then inspect the result and save the successful setup.
This guide explains a practical first-project workflow for using a Good-Laser laser engraving machine. Follow the operating instructions for your exact model: connection methods, focusing procedures, controls and approved materials vary between diode, CO₂ and fiber systems.
Before You Start: Prepare the Machine and Material
Begin with an installed, commissioned machine and a known material. A simple name or logo on a flat, supplier-approved blank is easier to evaluate than a detailed photograph or a curved object.
Locate the correct laser engraver manual and complete its setup checks. Confirm the power supply, extraction, required cooling and any specified air-assist arrangement. Know how to stop the machine before sending a job. Keep the work area clear and verify that covers and safety interlocks operate as intended.
| Prepare | What to confirm | Why it matters |
|---|---|---|
| Known material | Composition, coating and compatibility with the laser source | Similar-looking blanks can behave differently |
| Spare test blank | Same material, thickness and finish as the finished piece | Gives a useful basis for choosing settings |
| Machine and extraction | Installation checks completed and required systems running | Supports controlled processing and removal of emissions |
| Artwork and software | Correct dimensions, supported format and connected device | Avoids wrong-size output or sending to the wrong setup |
| Workholding | Blank stable, flat and clear of the travel path | Reduces movement and alignment errors |
Do not process PVC, vinyl of unknown composition or unidentified plastics. Obtain material information and approval before use. Laser processing can generate airborne contaminants, and protective measures depend on the equipment and process; see OSHA's laser safety guidance. Follow the machine's enclosure and eye-protection requirements, keep interlocks functional and never leave an active engraving job unattended.
Step 1: Match the Laser to Your Project
The first decision is whether your machine can produce the intended result on the actual material. Surface marking, recessed engraving and cutting through a sheet are different tasks.
Craft engraving with a diode platform
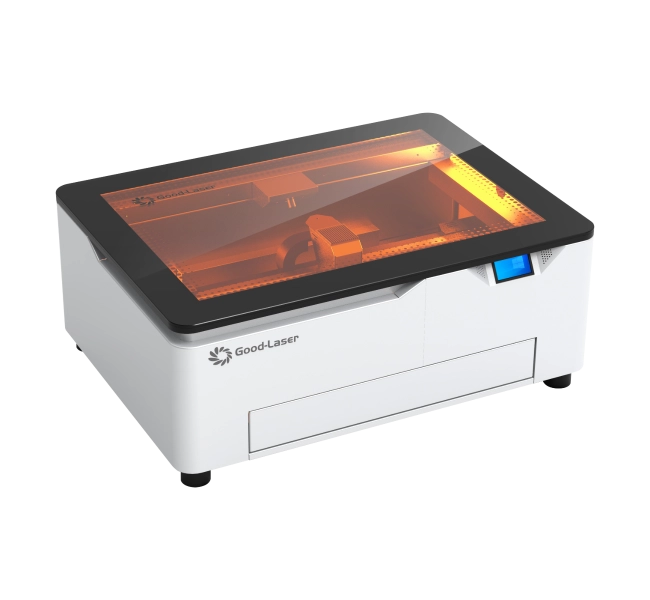
For compatible craft materials, explore Good-Laser’s diode laser engraving machine range, including Light Blue 530. For a first wood project, choose an identified, unfinished blank approved for the machine. Ask for guidance on the actual species and finish rather than assuming that every wood product uses the same settings.
Non-metal engraving with a CO₂ platform
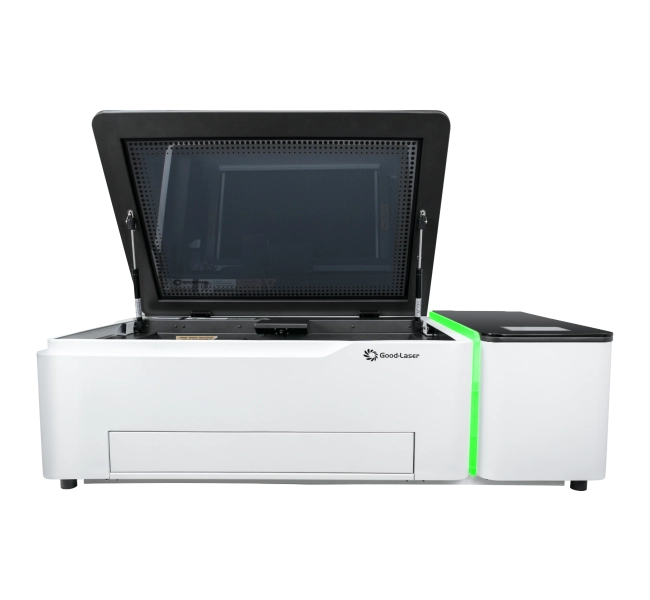
Good-Laser’s desktop laser engraver and cutter range includes Light 530, a CO₂ option for suitable non-metal projects. If your design includes both engraved artwork and a cut outline, create separate operations. Confirm the engraving result and cutting capability independently on the chosen material.
Metal marking with a fiber platform
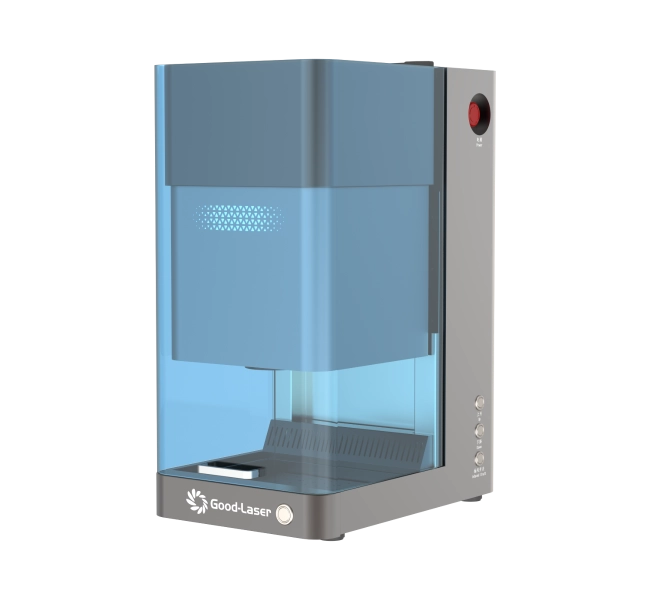
For compatible metal identification and customization, explore Good-Laser’s fiber laser marking machines, including Mark M20. Identify the alloy and coating, then specify the desired contrast or depth. Do not transfer a diode or CO₂ recipe to a fiber machine. Confirm the source, lens and operating procedure supplied with your configuration.
Step 2: Connect the Software and Prepare Your Design
Install the software version recommended for your machine and verify the selected device before sending a file. Good-Laser's laser cutter software resources include LightMaker information. The website lists formats such as JPG, PNG, SVG and DXF; confirm which formats and functions your particular setup supports.
Set the artwork to its final physical dimensions. Check the units, text spelling and smallest details. Remove unintended duplicate lines and objects outside the working area. For a logo, a clean vector file usually makes the geometry easier to inspect. For a photograph, check the contrast and image processing at the final output size.
Assign each object to the intended operation. Filled engraving processes an area; line engraving follows paths; cutting aims to separate the material. An imported outline does not automatically tell the software which result you want. Inspect the job preview for unintended cuts or repeated passes.
Step 3: Position the Blank and Set Focus
Place the workpiece flat and secure it using the approved workholding method. Keep clamps and fixtures clear of moving components and the processing area. Check the available height and travel before adjusting the bed or head.
Follow your model's manual-focus or autofocus procedure at the intended engraving surface. Remove a removable focus gauge before running the job if the manual requires it. Repeat the focus check when changing material thickness or the support beneath the blank.
Use the machine's approved framing, boundary-preview or positioning function to confirm that the design fits inside the usable material. Framing behavior differs between systems, so follow the required enclosure procedure. Check origin and orientation as well as size: a correctly scaled design can still be placed in the wrong corner.
Step 4: Test Settings on a Spare Blank
Start with the manufacturer's recommendation for the exact machine and material. A preset is a starting point to verify, not proof that the finished result will meet your needs. Power percentages are not interchangeable across machines, and speed units must be checked before copying any value.
Create a small test containing the features that matter: a filled patch, the smallest text you intend to use and a representative outline. If the software offers a material-test grid, keep it within the manufacturer's recommended operating range. Otherwise, run a few labeled samples and change one variable at a time.
| Variable | What to inspect | Practical approach |
|---|---|---|
| Power and speed | Contrast, depth and heat effects | Compare small samples within approved settings |
| Focus | Fine edges and consistency across the blank | Verify the prescribed focus before changing exposure |
| Fill interval | Gaps, banding and detail | Evaluate coverage without assuming the densest fill is best |
| Pass count | Added depth, residue and job time | Use only as needed for the specified result |
| Pulse controls, if available | Surface finish on the selected source | Follow configuration-specific guidance |
Choose the sample that meets the required finish, not simply the darkest or deepest mark. Inspect after the recommended cleaning procedure. Record the settings and test material so you can explain what produced the result.
Step 5: Run the First Finished Piece
Load the finished blank using the same positioning and focus method as the successful test. Recheck the selected file, operation, dimensions, origin and settings. Confirm required support systems are operating and close the enclosure as instructed.
Start with one piece and stay with the machine throughout the job. Watch for unexpected movement, excessive smoke or sustained flame. If anything is abnormal, use the prescribed stop or emergency procedure. Do not reach into a running machine or resume processing until the cause has been addressed.
For a combined engraving-and-cutting design, engraving before the final cut can help preserve alignment while the blank is still intact. Confirm the operation order and hold-down strategy for the specific job. Let the machine finish its prescribed extraction and shutdown sequence before unloading.
Step 6: Inspect, Save and Repeat
Compare the finished piece with your sample and acceptance criteria. Check placement, spelling, fine text, uniformity and any required depth. For codes, test readability under the intended conditions. Include cleaning and handling time when estimating how long a batch will take.
Save the artwork version, material description, machine configuration, focus method, settings and a reference photo together. Note the units used for speed and the software version. Before a repeat batch, verify the new material and inspect the first piece; a saved recipe does not eliminate variation between supplies.
Complete the maintenance checks specified in the manual. Inspect the working area and optics, and use only approved cleaning methods. If yesterday's settings suddenly produce weaker results, investigate material, focus and machine condition before increasing power.
Common First-Project Problems and What to Check
| Problem | Check first | Next action |
|---|---|---|
| Faint or missing engraving | Material compatibility, focus and assigned operation | Confirm the setup and repeat a small approved test |
| Blurred or doubled edges | Artwork, workpiece movement and focus | Secure the blank; ask support about calibration if it persists |
| Wrong position or size | Units, origin, orientation and preview boundary | Correct the file setup and preview again |
| Excessive scorching or residue | Material approval, exposure and extraction | Stop if abnormal; resolve the cause before another test |
| Unexpected repeated lines | Duplicate artwork and pass settings | Remove unintended repeats from the job |
For deeper background on what the beam does to a surface, read how laser engraving works. Understanding the process helps distinguish a setup problem from an unsuitable material or an unrealistic finish requirement.
Frequently Asked Questions
What should I engrave for my first project?
Choose a simple name, logo or line design on a flat, identified blank approved for your machine. Keep a spare piece of the same material for tests. Small text and a filled shape help you assess detail and consistency before attempting photographs, curved products or larger batches.
What power and speed should I use?
Use your machine supplier's recommendation for the exact material as the starting point, then test. There is no universal power percentage or speed that applies to every engraver. Confirm the speed units, focus, source and material before comparing recipes from another machine.
Can I use LightBurn with any laser engraver?
No. Compatibility depends on the machine, controller, connection and software support. Check the requirements for your exact configuration before purchasing or installing software. Good-Laser also provides LightMaker resources; use the workflow recommended for the equipment and confirm any required license.
Should I engrave or cut first?
For many combined jobs, engraving first keeps the design aligned while the surrounding material remains intact. The final cutting operation may free the part and allow it to move. Review the operation order, fixture and material behavior for your particular design before running it.
Do I need to focus for every job?
Verify focus when setting up a job, particularly after changing the blank, material thickness, fixture or bed position. Use the focusing procedure for your machine. A previously successful height setting may be wrong for a new workpiece, even when the artwork and engraving settings are identical.
Can I leave the engraver running by itself?
No. Stay with the machine while it processes and follow its supervision requirements. An enclosure or camera does not replace monitoring or the prescribed response to abnormal smoke, flame or movement. Know the stop procedure and keep required extraction and protective systems operating.
How can I repeat the same result across a batch?
Use consistent materials, a repeatable locating method and a saved job record. Check the first piece and inspect additional parts as appropriate for the job. Keep track of cleaning, focus and material changes so differences in the output can be traced and corrected.
Get a Good-Laser Setup for Your First Real Project
Bring the material and intended result into the equipment discussion. Share your artwork, material composition and coating, part dimensions, desired finish, batch quantity and delivery country. Include whether you need surface engraving, deeper engraving, cutting or a combination.
Contact Good-Laser for a model recommendation, sample-test discussion and quotation. The team can discuss a suitable Light Blue 530, Light 530 or Mark M20 configuration around your application, so your first project starts with a clear machine, material and workflow match.
文章