How to Etch Glass with a Laser: Settings, Methods and Machine Guide
To etch glass with a laser, use a suitable glass blank, a compatible machine and a tested surface-marking process. CO2 engraving commonly produces a frosted surface design. Start with a spare item, secure it, focus correctly and adjust from the manufacturer's baseline. Cylindrical glassware also needs an approved positioning or rotary setup.
The first decision is what “etching” means for your project. A name on a drinking glass, a sandblasted panel and a portrait suspended inside a crystal block are different processes. This guide covers laser marking on the glass surface.
Understand the result before buying a machine
In typical CO2 glass engraving, localized heating creates small surface fractures that scatter light and give the design a frosted appearance. The MatEdU laser materials guide describes this surface effect and the need to remove loose glass chips. The goal is a controlled, readable mark without unacceptable chipping or cracking.
| Method | Where the design appears | What to investigate |
|---|---|---|
| CO2 surface engraving | On the outside surface | Glass compatibility, finish and fixture requirements |
| Chemical etching | On a chemically treated surface | Product-specific handling, material limits and cleanup |
| Sandblasting | On an abraded surface | Mask preparation, depth and abrasive handling |
| Subsurface laser engraving | Inside suitable transparent material | A dedicated compatible system and suitable blank |
A standard CO2 surface engraver should not be bought on the assumption that it can create internal crystal portraits. Likewise, a photograph of a frosted glass does not establish that the machine can cut glass sheets. Define the desired result explicitly.
Good-Laser's laser engraving glass page provides examples for a material discussion. Request a test on your intended blank rather than assuming all glasses in the same shape behave alike.
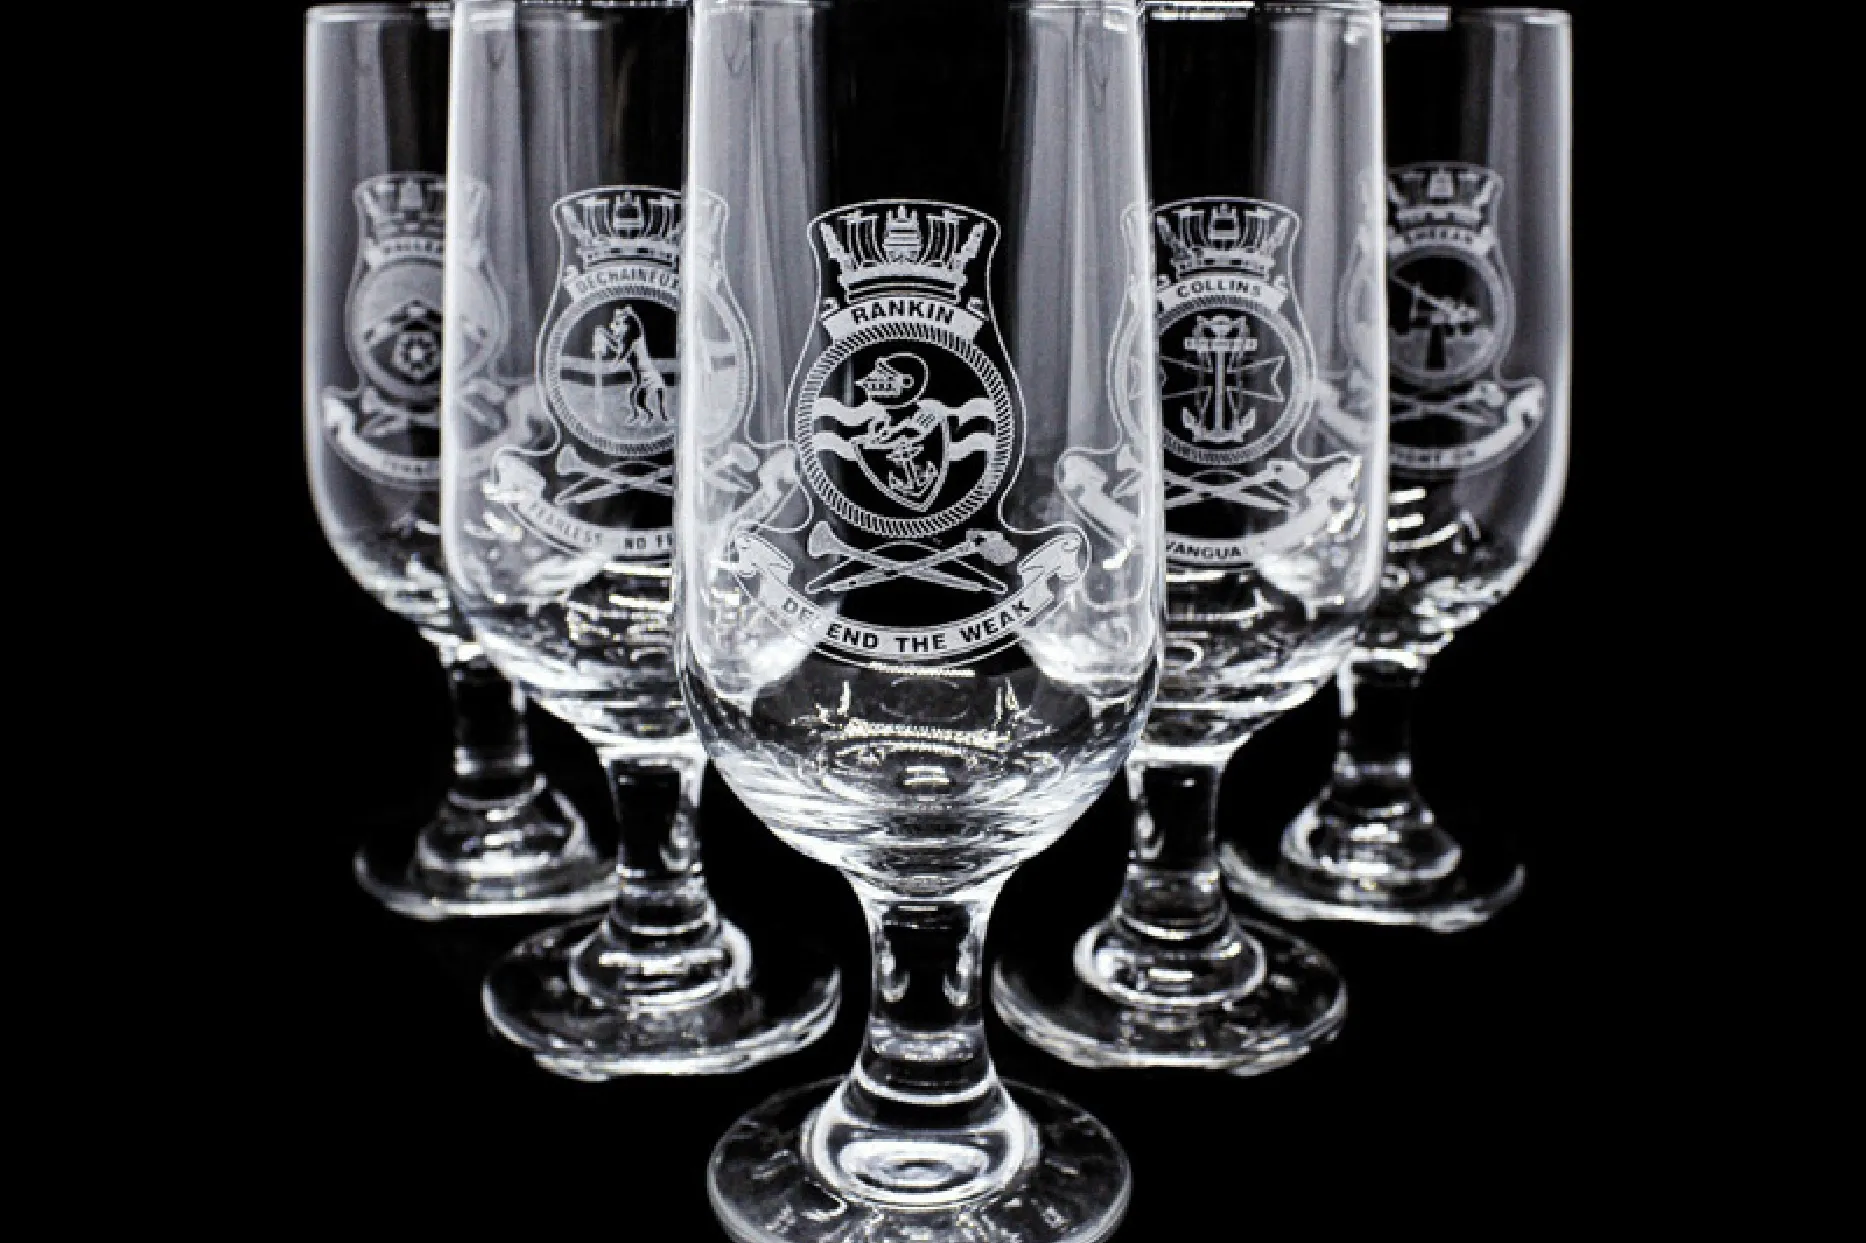
Choose consistent glass blanks
Start with glassware whose type, finish and dimensions are known. Inspect every blank for chips, cracks and visible defects. For the initial test, use an unimportant spare from the same batch as the production pieces.
Do not treat tempered glass, borosilicate, decorative crystal or coated glass as interchangeable. Their response can differ, and a recipe established on one should not be transferred automatically to another. Ask the machine and blank suppliers to confirm suitability before processing unfamiliar stock.
For a repeat order, consistent wall shape and diameter make fixturing easier. A tapered tumbler or a vessel with a handle may need more careful positioning than a straight cylinder. Check the area where the design will sit, not only the diameter at the rim.
Prepare artwork for a frosted surface
Bold, open lettering is a useful starting point. Fine hairlines and tiny spaces may be lost in the frosted texture. Print the artwork at its actual size and view it from the distance at which the finished item will normally be seen.
For a logo, keep a clean vector master and verify the imported scale. For a photograph, prepare a small trial image using the machine software's approved image-processing options. Test the parts that matter most, such as the eyes or small text, before committing a large image.
Place decoration away from a drinking rim and avoid an area that already has a defect. If the item will be used with food or drink, the finished surface and care instructions need to suit that use. An attractive engraving alone does not establish suitability.
Check the machine and rotary arrangement
For flat pieces, verify the available working area and how the glass will be supported. For cylindrical items, confirm the machine's vertical clearance, the approved rotary attachment and its supported object dimensions. The rotary must fit both the equipment and the glassware.
Good-Laser offers laser engraver accessories, including a rotary attachment. Confirm its compatibility with the exact model and software before ordering. Ask the supplier to demonstrate your vessel's shape, especially if it is tapered, stemmed or fitted with a handle.
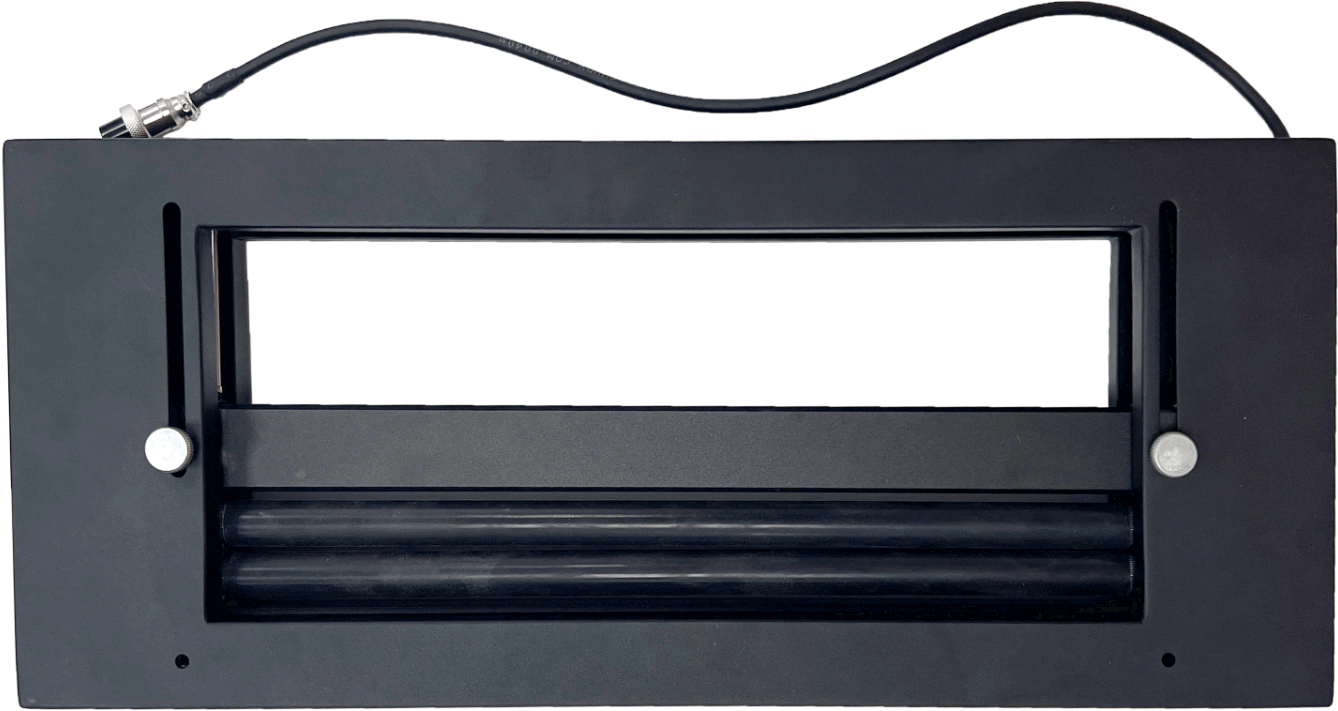
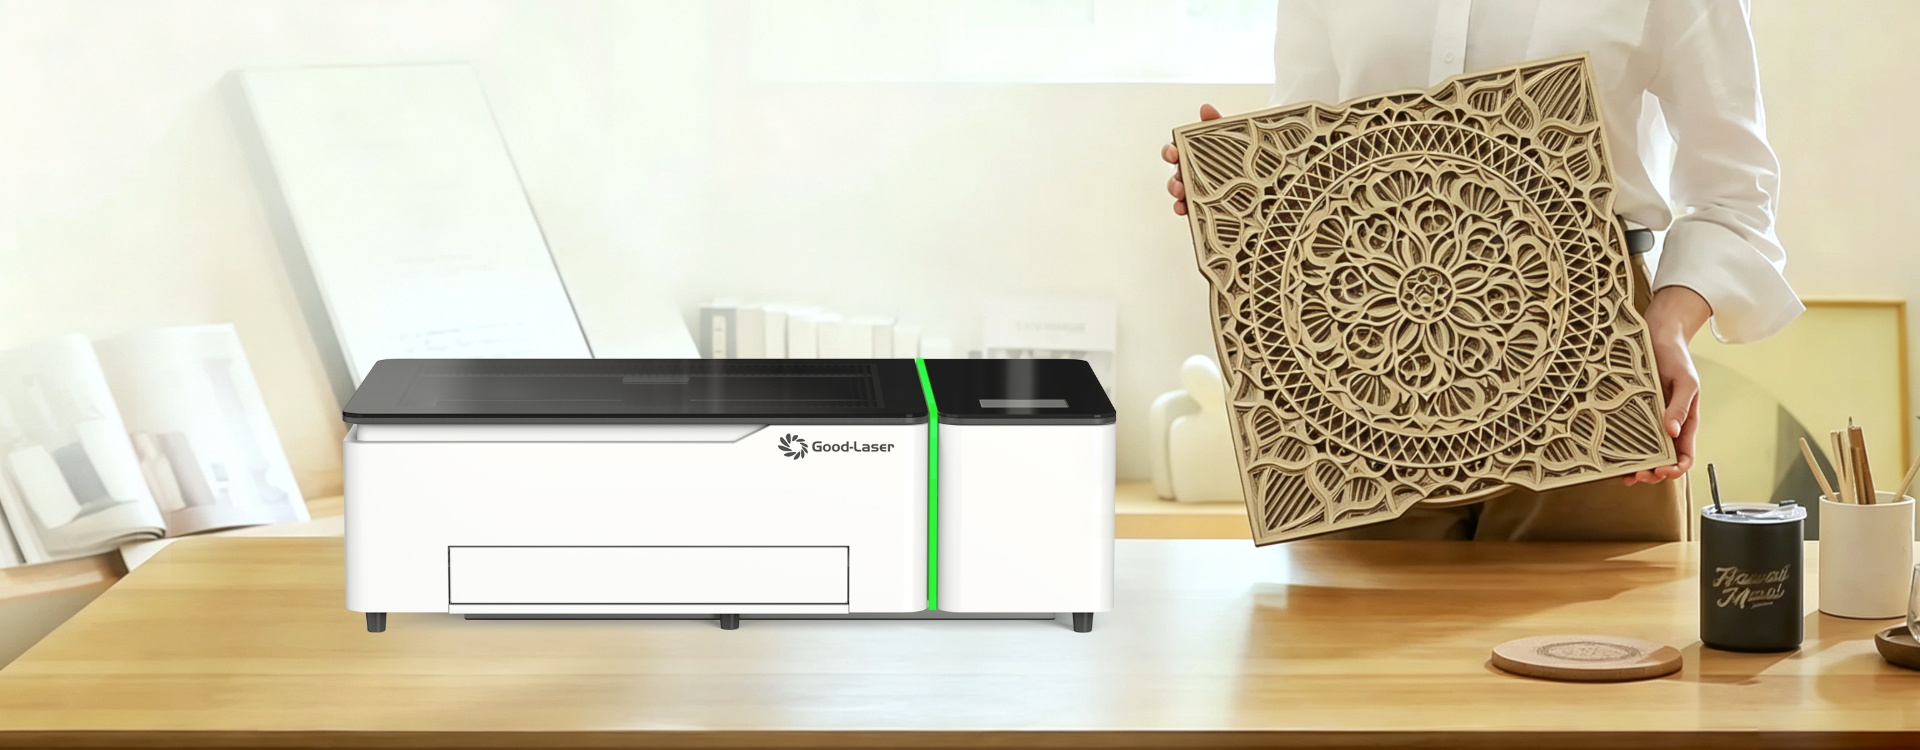
The Good-Laser Light 530 desktop laser cutter is one CO2 platform to discuss for suitable surface-engraving work. Its flat working area does not establish the maximum glass diameter with a rotary installed. Obtain that clearance check separately with the proposed fixture.
Run a small test before the full design
Use the manufacturer's baseline for the machine and glass type. Generic power percentages are not a reliable recipe: output, speed units, focus and line spacing can differ between systems.
- Clean and dry the spare blank using a method approved by its supplier. Inspect it under good light.
- Secure it so it cannot roll, slip or collide with the head. Use the machine's approved positioning procedure.
- Focus on the intended marking surface. For a rotary job, verify rotation and artwork scale before engraving.
- Test a small area containing the finest text and a filled section of the design.
- Let the item cool, clean away loose residue using the recommended procedure and inspect the result.
- Adjust one variable within the approved range, then repeat on a fresh test area.
Record power, speed with units, line spacing or resolution, focus, number of passes and any approved preparation method. If the supplier specifies a surface covering or other preparation, document it. Do not add household chemicals or a wet coating simply because another machine's tutorial used them.
Stop and reassess if the sample develops cracks, sharp flaking or unacceptable surface damage. Adding another pass is not a dependable way to repair a damaged glass.
Troubleshoot common glass engraving problems
| Problem | What to check first | Useful next step |
|---|---|---|
| Rough or flaky surface | Glass suitability and excessive local heating | Return to the approved baseline and test less delivered energy |
| Patchy frosting | Cleanliness, focus and blank consistency | Compare a fresh test on matching stock |
| Stretched or compressed design | Rotary setup and the diameter at the design area | Verify scale with the manufacturer's test procedure |
| Double edges | Slipping, unstable support or motion setup | Correct the fixture before changing laser power |
| Small letters fill in | Artwork scale and line spacing | Enlarge the text or simplify the font |
Check the cleaned piece in ordinary light as well as against a dark background. A frosted design can look much stronger in a product photograph than on an empty glass in a bright room. Approve the result in the setting that matters to the customer.
Plan a repeatable glassware order
Keep a spare blank for setup and allow for rejects in the quotation. Confirm spelling, artwork orientation and placement before starting the batch. On cylindrical items, define where the design sits relative to any seam, handle or manufacturer's mark.
Include unpacking, inspection, positioning, marking, cleaning and protective packing in the job time. A short engraving cycle is only part of a fragile-product workflow. Record the supplier and batch so a later reorder can be checked against the original sample.
For product ideas beyond one-off names, Good-Laser's gift laser engraving examples can help frame a collection. Keep the first range narrow enough that you can maintain consistent blanks, artwork sizes and packaging.
Frequently asked questions
Can a CO2 laser engrave inside glass?
A conventional CO2 surface-engraving setup is not the equipment used for internal crystal portraits. Subsurface engraving requires a dedicated compatible system and suitable transparent material. If your intended image appears inside the object, state that requirement at the start of the enquiry rather than requesting a general glass engraver.
What are the best settings for laser etching glass?
There is no universal set. Start with the manufacturer's baseline for the exact machine and blank, then test a small area. Keep the speed units, resolution or line spacing, focus and preparation method in your notes. Choose settings by the cleaned surface quality, not by how white the design looks immediately after processing.
Do I need a rotary attachment for every glass?
Flat pieces do not normally require one. Cylindrical items often need an approved rotary or another verified positioning method to keep the design in the working region. Confirm the vessel's shape, diameter and height with the supplier. A tapered glass or a handle can change the fixture requirements.
Can I engrave tempered glass?
Do not assume it is suitable. Ask the glass and machine suppliers to assess the specific product and process before testing. Tempering changes the stress condition of glass, and damage can have consequences beyond the visible mark. Choose a confirmed compatible blank when suitability cannot be established.
Is engraved glass safe to use for drinking?
That depends on the finished item, including its location of decoration and whether the process has left chips, cracks or sharp areas. Keep engraving away from the rim, inspect the piece after cleaning and follow the blank supplier's use and care guidance. Reject damaged items rather than polishing over an uncertain defect.
Send Good-Laser the glass type, dimensions, photographs and artwork for a compatibility discussion. Reviewing laser engraving samples alongside a test on your own blank will help establish a practical setup before a full batch.