Aluminum Laser Engraving: Methods, Settings and Machine Selection
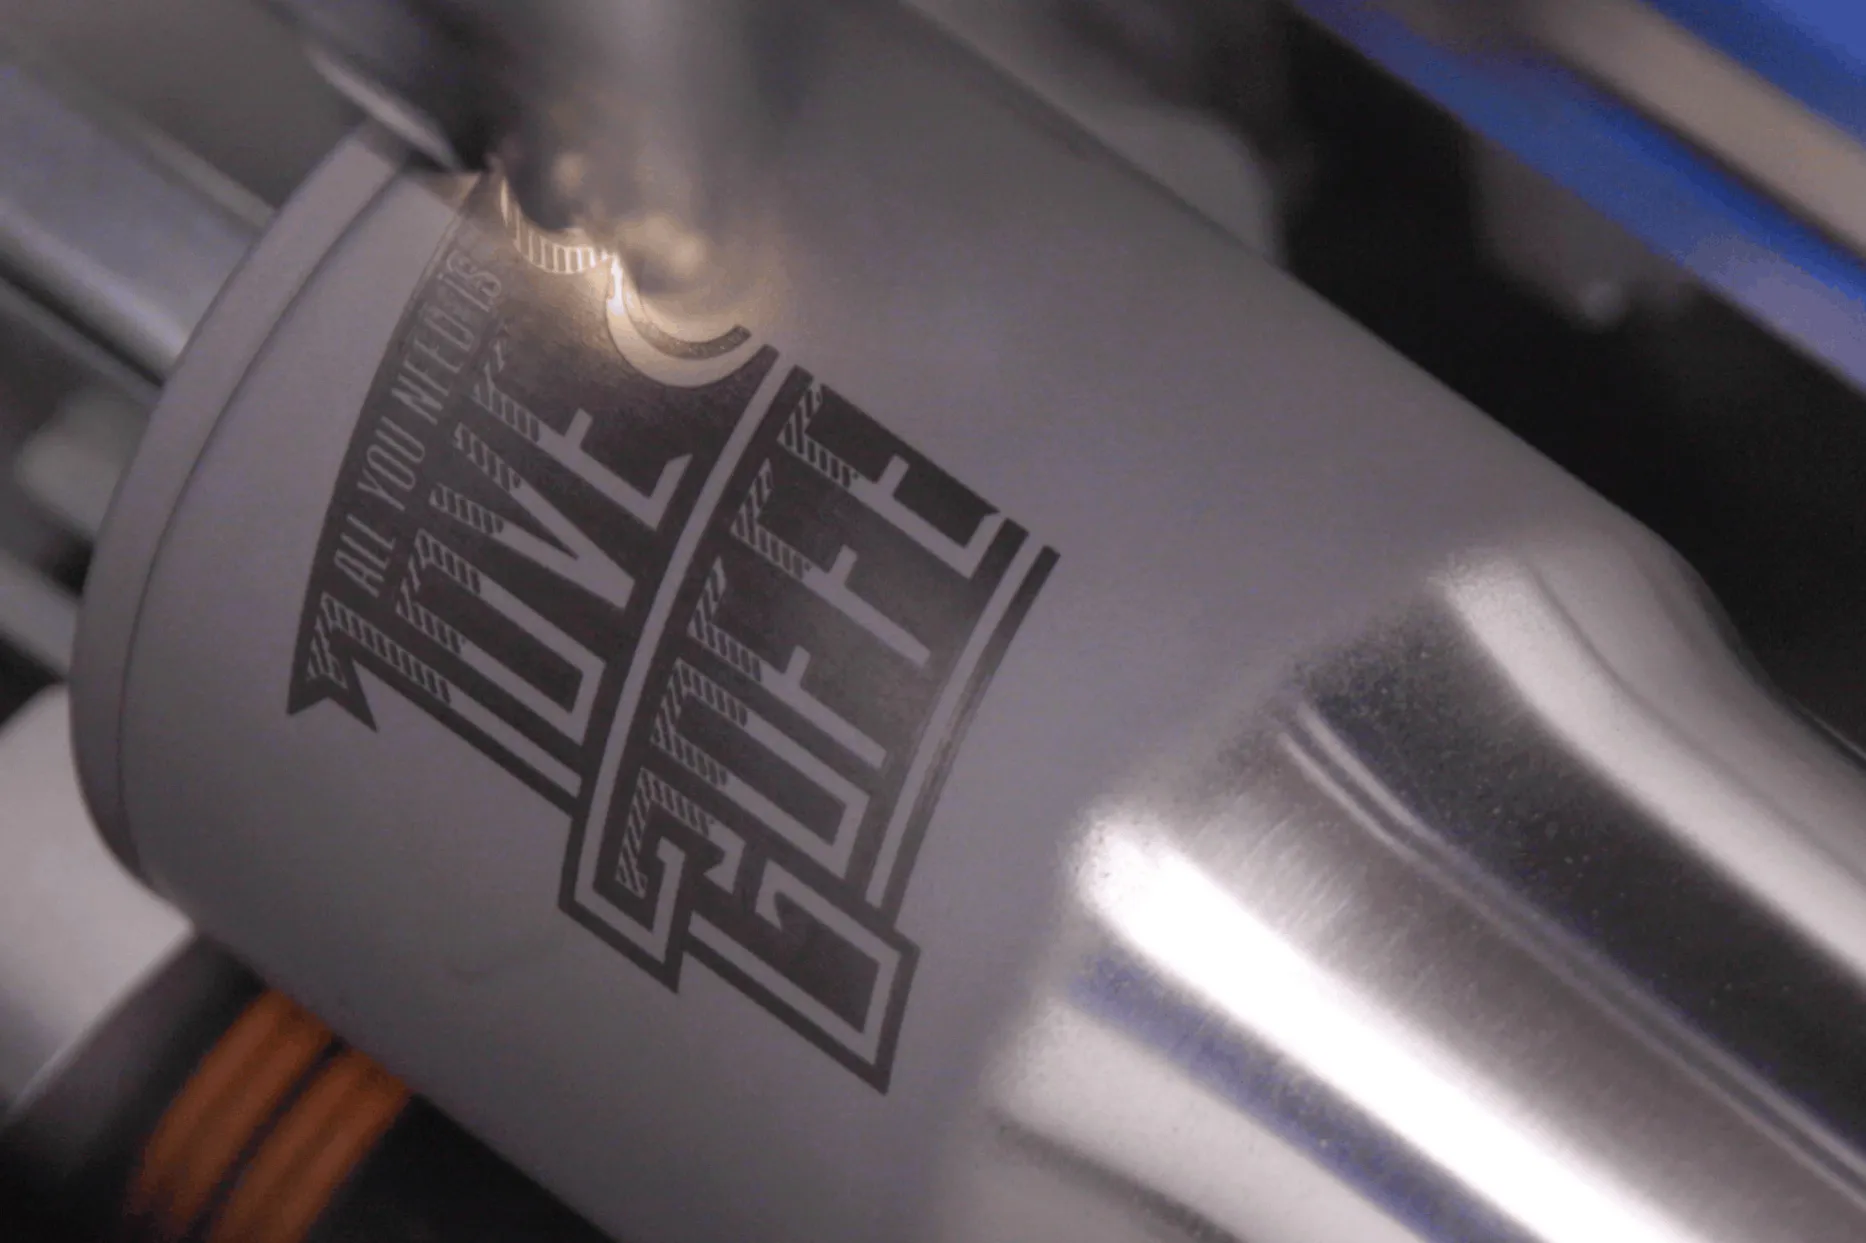
Aluminum laser engraving starts with the surface finish. Bare aluminum, anodized aluminum and painted aluminum need different approaches. Fiber equipment is commonly considered for direct metal engraving, while suitable anodized or coated surfaces may be marked with CO2 equipment. Choose the process by the required contrast, depth and condition of the finished part.
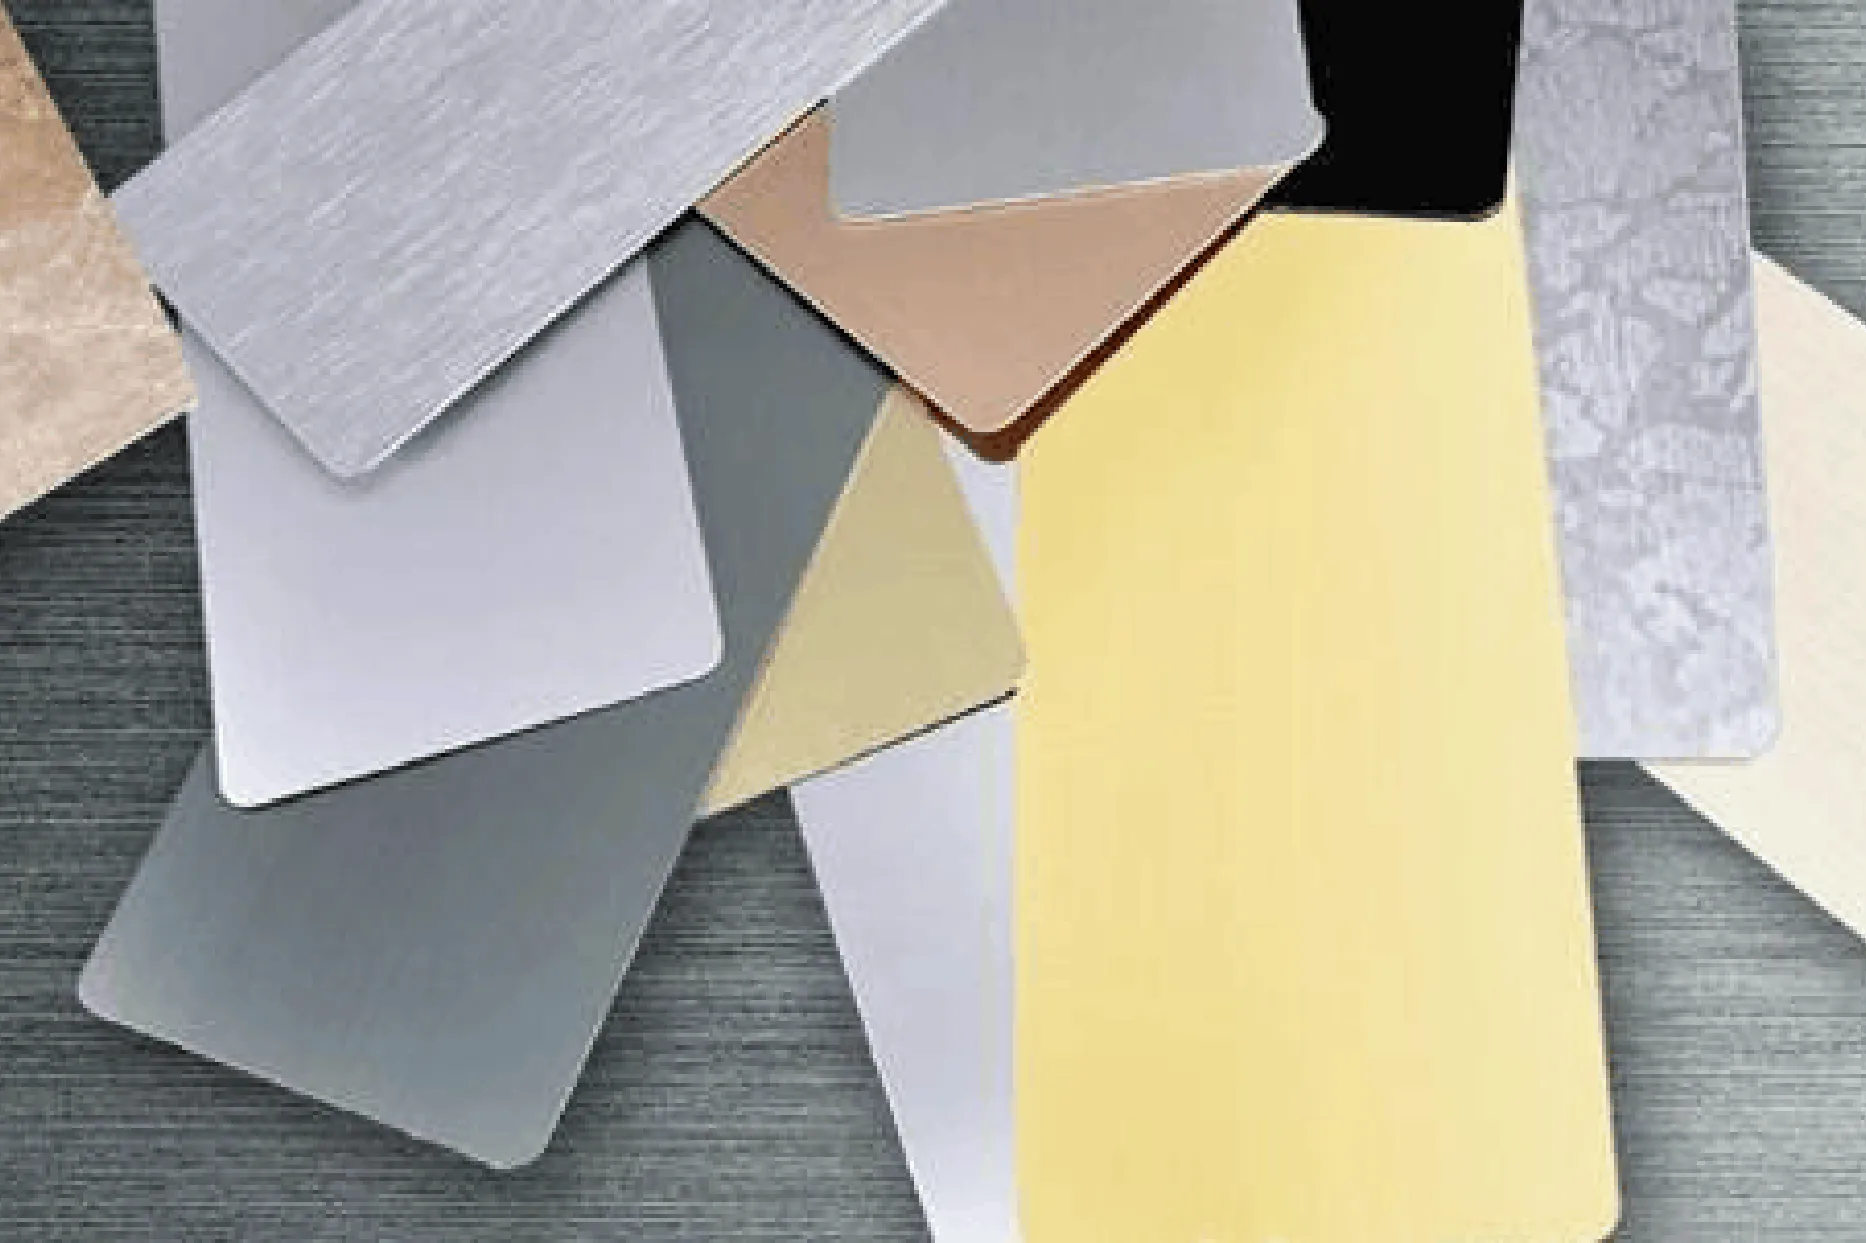
Before looking for settings, identify the stock. A dark business-card blank and a machined aluminum housing can respond very differently, even though both are sold as aluminum. The coating, alloy and intended use belong in the job specification.
Identify the surface you are actually marking
Ask the part supplier for the alloy, treatment and coating details. If these are unknown, do not use the final part as a test piece. Get a spare from the same batch or a representative offcut with the same finish.
| Surface | Process to investigate | Main acceptance check |
|---|---|---|
| Bare aluminum | Direct marking or engraving with suitable fiber equipment | Contrast or depth without unacceptable surface damage |
| Anodized aluminum | A tested marking process matched to the anodized layer | Readable contrast and acceptable coating condition |
| Painted or powder-coated aluminum | Controlled removal or modification of the approved coating | Clean boundaries, residue and exposed substrate |
| Unidentified decorative finish | Material identification before processing | Supplier confirmation and a representative test |
The educational MatEdU laser materials guide distinguishes bare-metal engraving from marking coated or anodized surfaces. This distinction explains why a successful CO2 mark on an anodized tag does not prove that the same setup can engrave a bare aluminum part.
Good-Laser's laser engraving aluminum page is the relevant starting point for a material enquiry. Include a photograph of the unmarked finish and explain whether you want a visible logo, a readable code or a recessed feature.
Choose between surface contrast and engraved depth
A high-contrast mark may need little or no useful recess. A mechanically specified identification feature may need a measurable depth. Those are different targets, and a darker mark does not necessarily indicate a deeper one.
For anodized components, ask what the process does to the protective finish. A mark that looks good can still be unsuitable if the drawing requires an intact coating or a particular corrosion performance. Have the part owner approve the marked area and the post-marking inspection.
For bare aluminum, agree on the viewing conditions. A bright mark may be readable at one angle and hard to distinguish under direct glare. Photograph samples consistently, but also inspect them in the lighting where the part will be used.
Select a machine around the finish and geometry
For direct metal work, evaluate a fiber laser engraver for metal with your actual sample. Good-Laser lists the Mark M20 with 20 W, 30 W and 50 W configurations and a 110 × 110 mm marking area. Confirm which lens and source are included in the quotation and whether the full design fits in one setup.
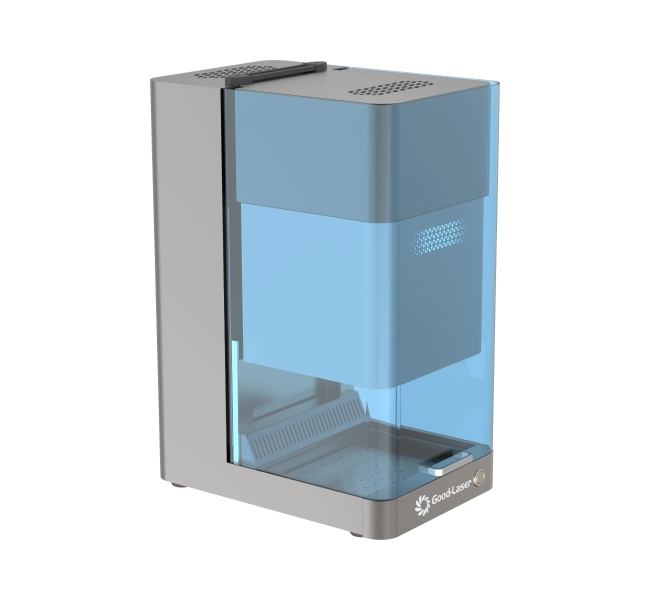
For suitable coated or anodized items, a co2 laser engraver may be worth testing when the workshop also processes nonmetal materials. Do not assume that a CO2 setup can directly remove bare aluminum. Any marking compound or pretreatment must be approved for the substrate, machine and intended result.
Physical access matters as much as the flat marking area. A large housing may fit on the table but place the marking surface outside the usable focus range. Send a drawing showing the feature's height, nearby walls and the orientation in which the part will be loaded.
Develop aluminum engraving settings systematically
Use the supplier's baseline for the exact source, lens and finish. A setting copied from a different machine can be misleading even when the power rating matches. Record the units and configuration before adjusting anything.
| Variable | What to record | Why it matters |
|---|---|---|
| Power and scan speed | Commanded power and speed with units | They influence the energy delivered along the mark |
| Frequency and pulse settings | Values supported by the actual source | The same average power can produce a different interaction |
| Hatch spacing and direction | Spacing in the software's units and fill orientation | Overlap affects appearance, heating and cycle time |
| Focus and lens | Focus method, lens and working field | These help make the setup reproducible |
| Passes | Count, order and any cooling interval | Repeated processing can change depth and surface condition |
Start with a small patch of the intended artwork, including its smallest text. Change one variable within the manufacturer's permitted range, inspect the result and keep the accepted sample. If the aim is depth, measure depth. If it is readability, test readability. Do not let a visually darker test replace the original requirement.
Clean each candidate using the approved production cleaning method before judging it. Loose residue, oils or a temporary surface film can affect both appearance and scanning. Record the cleaning step with the settings so the process can be repeated.
Resolve weak contrast and inconsistent marks
When a mark becomes faint, first check that the new parts have the same finish as the approved batch. A change in anodizing, paint or surface texture can explain a result that appears to be a machine-setting problem.
If only part of a logo is weak, check the component's flatness and focus position. If every part has the same missing details, inspect the artwork and fill settings. For inconsistent placement, check the fixture's contact points before changing the optical setup.
A rough recessed mark needs a different investigation from a low-contrast surface mark. Review the delivered energy, pass strategy and cleanup with the supplier. Avoid repeatedly increasing power without checking whether the process is damaging the required finish.
Inspect the finished component
For a decorative piece, approve the appearance under normal viewing conditions. For traceability, confirm both the encoded content and the ability of the intended reader to scan it. For a drawing-controlled part, inspect the mark against the specified position, depth and surface requirements.
Keep one accepted sample with the job record. Include the material batch and software file revision. If the customer later changes a coating or cleaning process, treat that as a reason to recheck the marking process rather than assuming the old recipe remains valid.
When the order covers other alloys as well, use Good-Laser's broader metal laser engraver information to separate the sample requests. A successful aluminum process does not establish the result on brass or stainless steel.
Frequently asked questions
Can a CO2 laser engrave aluminum?
Suitable anodized or coated aluminum can sometimes be marked with a CO2 process. Direct engraving of bare aluminum is a different requirement and generally calls for suitable metal-processing equipment. Identify the finish first, then request a test; a broad claim about “aluminum compatibility” does not distinguish these jobs.
What is the difference between aluminum etching and engraving?
The terms are used inconsistently in sales descriptions. Specify the result instead: a visible surface mark, removal of a coating or a recess of measurable depth. That gives the supplier a clear target and prevents a shallow high-contrast mark from being mistaken for a mechanically specified engraving.
Why is my aluminum mark difficult to see?
Check the finish, cleanliness, lighting and focus before changing the settings. Reflective surfaces may show different contrast at different angles. Compare a cleaned test with the approved sample under the same conditions, and confirm that the new batch has the same coating or anodizing treatment.
Can I make a black mark on any aluminum part?
No universal process guarantees that result on every alloy and finish. Dark marking depends on the surface, source characteristics and settings. Ask for a repeatable sample on your exact material and make sure the quotation identifies the configuration used. Do not infer the capability from generic color-marking photographs.
Will engraving affect anodized aluminum's protection?
It can alter the treated surface, depending on the marking process. If corrosion resistance or coating integrity is a requirement, have the marked part evaluated against that requirement. Visual contrast alone cannot establish that the protective function is unchanged, especially when the process removes material or exposes the substrate.
For an aluminum application review, send Good-Laser the alloy, finish, part drawing and required mark. Use relevant laser engraving samples as a reference, then approve a test on the material you will actually purchase.