Cutting Board Laser Engraving: Wood Selection, Settings and Design Ideas
Cutting board laser engraving works best when the wood, artwork and intended use are decided together. Choose a known blank, test a small design on matching stock and keep decorative engraving away from the main cutting area. Use machine-specific starting settings, then adjust for clear lettering, manageable char and repeatable cleanup.
Check grain, glue lines, surface finish and board flatness before placing the design. A dark band through a surname or a slight warp under the engraving area can spoil an otherwise careful job. Use the spare blank to catch those problems before production.
Choose the board before choosing the design
Buy blanks with a documented material and finish. A board made for kitchen use is a better starting point than an unknown decorative panel, although engraving still changes its surface. Ask the blank supplier whether the product is suitable for laser processing and what care instructions apply afterward.
| Blank type | What to examine | Design implication |
|---|---|---|
| Light-colored hardwood | Grain uniformity and color changes across the board | Small text may be easier to judge against a pale background |
| Dark hardwood | Whether the mark remains readable after cleaning and finishing | Use open lettering and avoid relying on subtle contrast |
| Acacia or mixed-color boards | Light and dark bands crossing the artwork | Place important text in a relatively consistent area |
| Bamboo or laminated construction | Adhesives, seams and changes between strips | Test across several strips before approving a large design |
These are design checks, not a universal ranking of wood species. A sample from the actual delivery tells you more than an attractive photograph of another supplier's board. Keep a spare from each batch for settings and finish checks.
For machine selection, Good-Laser's laser engraver for wood information provides a starting point for discussing material compatibility. Send the board dimensions and thickness, including handles or raised feet that affect how it sits in the machine.
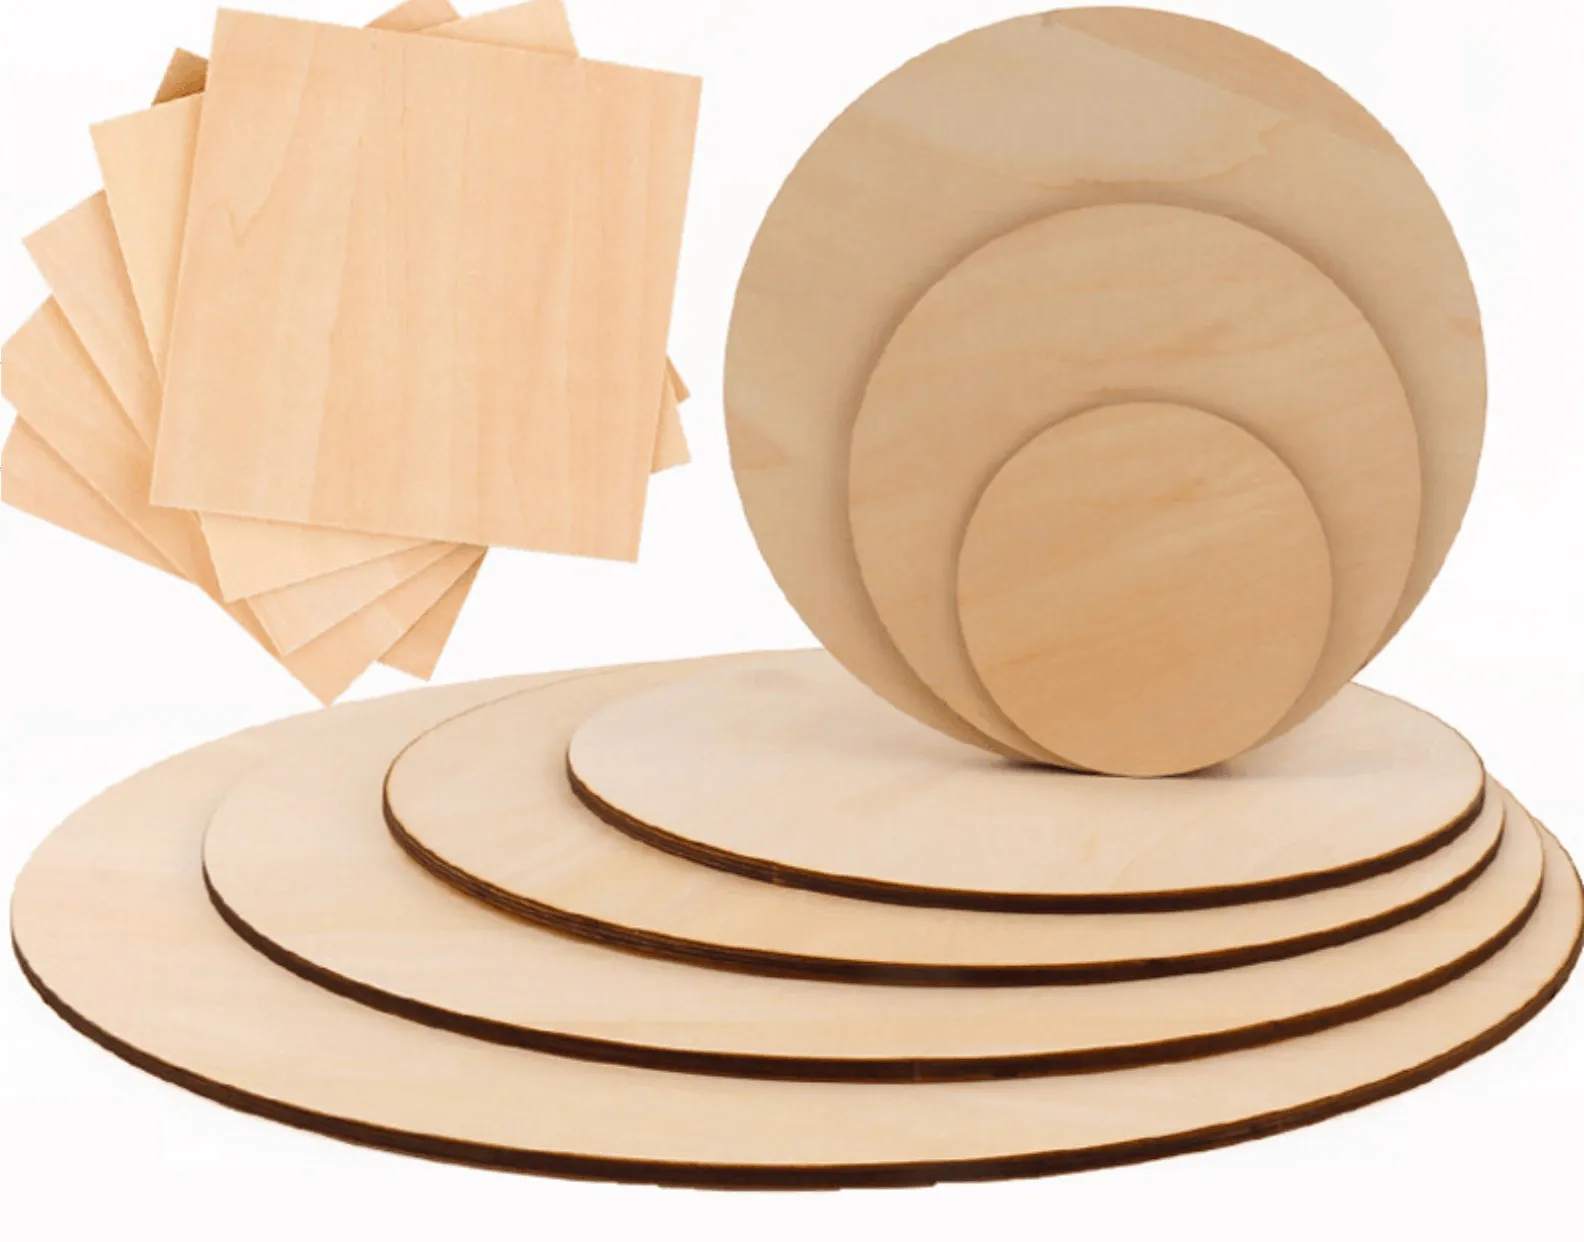
Put personalization where it suits the board's use
A small inscription near the handle or a decorative reverse side can preserve a broad, uninterrupted cutting area. A full-face recipe or family crest is better treated as a display design unless the finished board's intended food-contact use has been evaluated.
Do not assume that a food-safe blank stays suitable for every use after deep engraving, coloring or applying a new finish. USDA's cutting-board guidance says boards with hard-to-clean grooves should be discarded. That makes cleanability a sensible design constraint: avoid deep decorative recesses on a surface intended for daily chopping.
Keep care instructions consistent with the blank and finish manufacturers' recommendations. Do not describe a decorative engraved board as dishwasher-safe or suitable for raw-meat preparation without evidence for the finished product.
Prepare artwork at its final size
Thin script often looks attractive on screen and becomes difficult to read on real grain. Print the design at its intended size before running the machine. Check the smallest letter, the spacing between initials and the narrow gaps in ornaments.
For text, use a clean vector file where possible and check that fonts are preserved or converted correctly. A handwritten recipe needs a different preparation: remove the paper background, preserve the important strokes and test a short line before committing the full image. Heavy sharpening can create unwanted specks around the writing.
Good-Laser's laser engraving gift ideas can help with product direction. For a first board collection, keep the choices manageable: one monogram layout, one short inscription and one recipe layout are enough to establish a repeatable ordering process.
Choose a machine that fits the complete blank
The board must sit flat and remain clear of the moving head. Check the available working area, material-height limit and focus procedure. Handles, rubber feet and uneven edges can make a blank harder to position than its nominal dimensions suggest.
The Good-Laser Light 530 desktop laser cutter lists a 520 × 315 mm working space. Compare your board and fixture with that space; a board that fits tightly may still leave too little room for a reliable loading stop. Larger blanks call for a larger machine or a different verified setup.
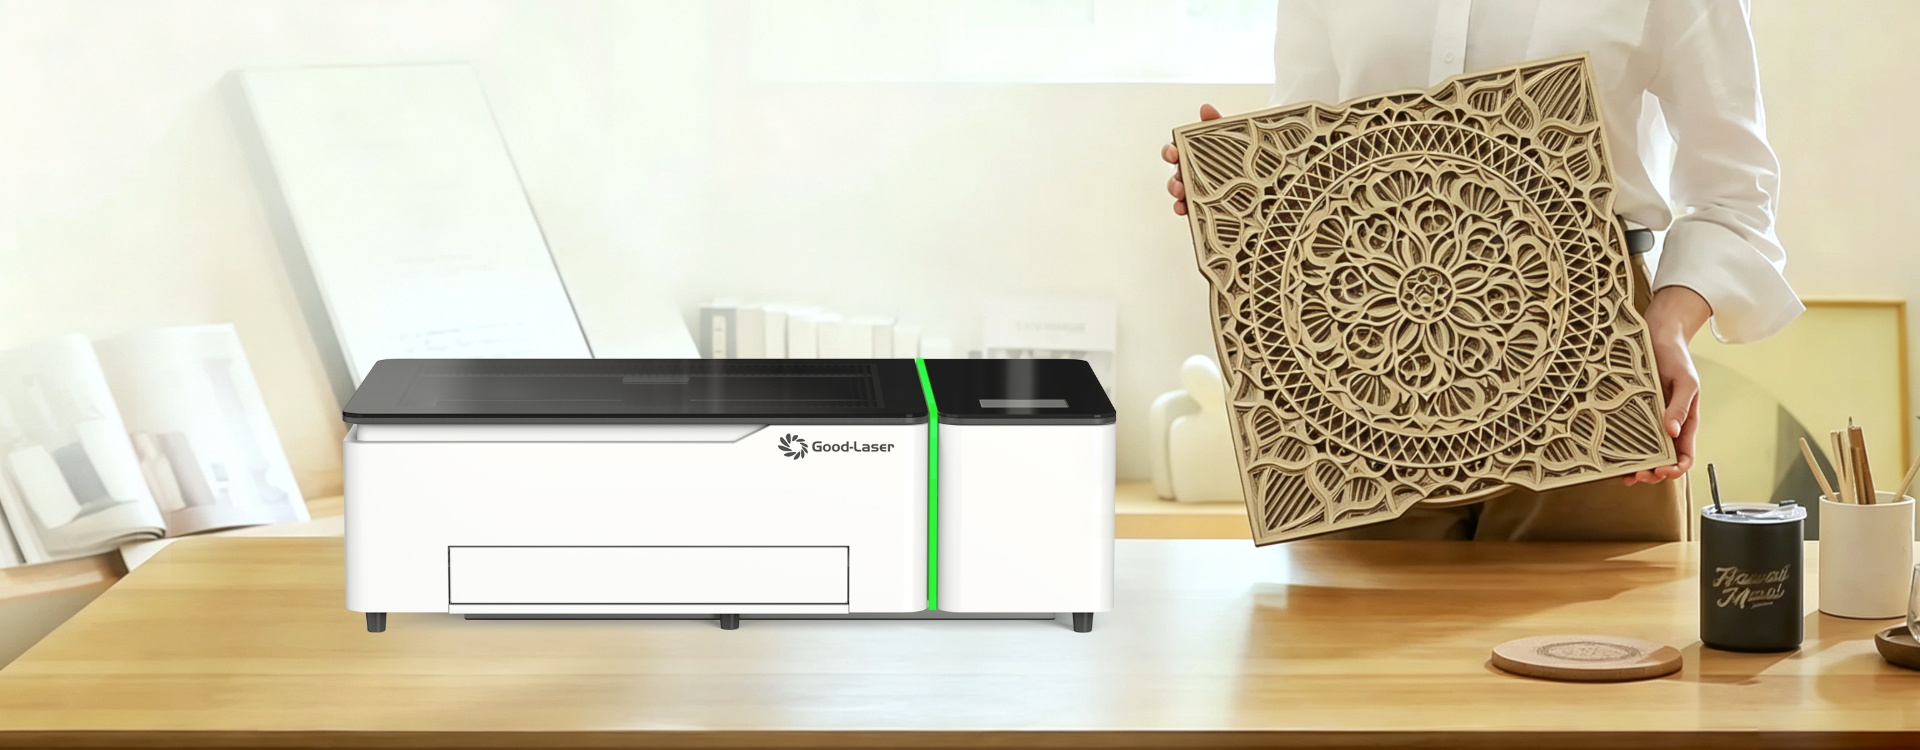
A simple positioning fixture can save time on repeat orders. It should locate the board consistently without obstructing the artwork or the machine. Test the complete fixture arrangement with the lid closed and use the manufacturer's approved framing or positioning procedure before engraving.
Build settings on a spare board
Start from the machine manufacturer's recommendation for that wood. There is no dependable percentage-power recipe for every CO2 machine and cutting board. Source output, focus, speed units and image resolution all affect the result.
- Inspect and clean the blank according to its supplier's instructions. Reject warped or cracked pieces.
- Place it securely and focus on the engraving surface using the machine's procedure.
- Prepare a small test containing a filled patch, fine text and part of the actual artwork.
- Run a limited test within the manufacturer's recommended range. Keep all variables fixed except the one being compared.
- Clean the sample using an approved method, let it dry and inspect it before selecting settings.
- Record the material batch, focus, speed and units, power, resolution, passes and cleanup method.
The cleaned sample is the reference. Loose dark residue can make an engraving look stronger immediately after the laser stops, then disappear during cleaning. Increasing depth to recover that temporary appearance may leave rough recesses without improving the finished product.
Diagnose uneven or smoky results
| Problem | First check | Next controlled test |
|---|---|---|
| Dark haze around lettering | Extraction, surface finish and excess residue | Use less delivered energy within the approved range; compare cleanup |
| One side is lighter | Board flatness, focus and grain variation | Repeat a small test on a flat, uniform part of matching stock |
| Small letters merge | Artwork size, line spacing and focus | Enlarge the lettering or simplify the font |
| Engraving follows light and dark bands | Natural wood variation or laminated strips | Move the layout or select a more uniform blank |
| Position changes between boards | Blank dimensions and fixture contact points | Check the loading routine using an unmarked spare |
Avoid changing power, speed and resolution together. If the next sample improves, you need to know which change helped. Keep notes with a photograph taken after cleanup so the next operator can reproduce the same standard.
Price the finished board and control the order
Include artwork preparation, customer approval, positioning, engraving, cleanup and packing in the cost. A one-off handwritten recipe can take more preparation than a batch of identical logos, even if the machine time is similar.
Before production, get approval of spelling, date format, orientation and placement. For batch work, keep the approved preview beside the job and inspect the first finished board before continuing. Save the file with a clear order identifier so a later reorder does not start from an unapproved draft.
Frequently asked questions
What wood is best for cutting board laser engraving?
Choose a suitable kitchen-board blank with a known construction and finish, then test its engraving response. Relatively even grain and color can make text easier to read. Species alone is not enough: laminated strips, finish and batch variation can change the result on boards sold under the same name.
Can I engrave a bamboo chopping board?
Potentially, if its construction and adhesives are approved for laser processing. Test across multiple strips because they may engrave differently. Check the cleaned result and the intended use of the finished board. Do not substitute settings from a solid hardwood board without running a separate sample.
Should I oil the board before engraving?
Follow the blank and finish suppliers' instructions rather than applying a general oiling rule. Existing finishes can affect both processing and cleanup. Keep the test blank in the same condition as the production blanks, and use only finishing products appropriate for the board's intended use after engraving.
How deep should the engraving be?
Use only as much depth as the design and intended use require. A decorative inscription does not need a deep cavity to be readable. On a working food-preparation board, cleanability deserves special attention. Keep decoration away from the main cutting area and assess the finished surface before making food-contact claims.
Can I engrave a customer's handwritten recipe?
Yes, provided you have permission to reproduce it and can prepare a readable image. Start with a clear scan, remove the paper background and check the smallest handwriting at final size. Approve a sample line and the layout with the customer before engraving the full board.
To plan a cutting-board workflow, send Good-Laser your blank dimensions, wood details and artwork. Reviewing relevant laser engraving samples together with a test on your own stock can help establish a suitable machine and finish.