Laser Engraving Technology Applications: A Practical Guide
Laser engraving technology applications include personalized gifts, signs, educational models and identification on manufactured parts. A focused beam removes surface material to form a design; related laser marking processes change surface appearance. Choosing equipment starts with the material and required finish, followed by part size, handling and production volume.
A wooden award and a serial number on a steel component need different processes, even when both customers ask for "laser engraving." Before choosing a machine, define what the finished item must do: display artwork, identify a part, survive cleaning or fit into an assembly. That gives a supplier a useful job to evaluate.
Where laser engraving fits into a production workflow
Engraving creates a recess by removing material. Marking is a broader description that can include colour change or coating removal, while cutting separates the workpiece along a path. Several operations may appear on the same product: a sign can have engraved text and a cut outline.
The beam does not press a cutting tool against the surface, but the workpiece still needs secure positioning. Material absorption, surface treatments and the chosen laser source affect the result. Use the order's actual finish and geometry for a sample, especially when the artwork crosses a curved or uneven surface.
For machine selection, separate the desired effect from the sales label. Specify a readable code, a visible recess or a frosted decorative area. Each is easier to inspect than a request for a "permanent engraving" without a definition of acceptable wear.
Laser engraving applications and the checks each job needs
| Application | Typical work | What to check on the sample |
|---|---|---|
| Personalized gifts | Names and artwork on wooden boxes, plaques and compatible leather goods | Small text, surface residue and appearance after cleaning |
| Signs and retail displays | Acrylic display panels, wooden signs and identification plates | Readability at the intended distance, finish and mounting details |
| Education and model making | Part labels, alignment marks and engraved detail on model panels | Correct scale, material approval and assembly fit |
| Tools and manufactured parts | Serial numbers, asset IDs and batch information | Contrast, position and readability after relevant wear or cleaning |
| Electronics | Identifiers on suitable housings or component surfaces | Legibility and confirmation that the process has not damaged the part |
| Packaging and product development | Decorative box panels and version labels on prototypes | Artwork consistency, assembly and finishing time |
Personalization: gifts, awards and leather accessories
A small gift shop may change the name on every piece while keeping the blank and artwork layout consistent. On a batch of individually named gifts, one spelling error can waste a finished blank. Use an approved artwork proof, a locating jig and a first-piece check when starting a batch.
Wood grain can interrupt fine detail. Leather needs confirmation of its tanning, coating and backing before processing. On coated drinkware, removing the finish to reveal the surface below is a different result from engraving into the metal itself. Ask for the exact effect you intend to sell, then inspect a cleaned sample.
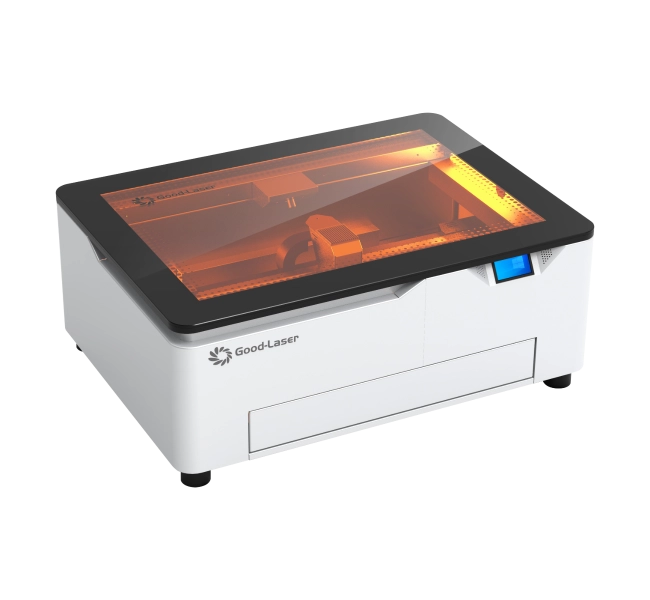
For studios researching a blue laser engraver, the Good-Laser Light Blue 530 is a model to evaluate for compatible craft stock. Test each colour and finish in the proposed product line. A result on one blank does not establish compatibility with every material sold under the same name.
Signage: visible detail at the right size
Signs combine artwork with practical requirements: mounting holes, viewing distance and the space available on the wall or counter. A delicate line that looks attractive in a close-up photograph may disappear when the sign is installed. Review a sample at its intended viewing distance before approving the design.
For an illuminated acrylic display, engraving can form the visible design while cutting makes the outline. Include the lighting and mounting arrangement in the sample review. Clear acrylic generally points buyers toward a CO₂ system; a blue diode setup should not be assumed to process it in the same way.
Education and architectural models
In a model-making project, engraving can add window outlines, component numbers or assembly guides before the panels are cut. These details help students and designers relate a digital drawing to a physical object. A laser cut architectural model also reveals mistakes in scale or fit that are harder to see on a screen.
Good-Laser's education page describes classroom and STEM uses. For a school purchasing a system, assess staff training and material control alongside the machine. A clear booking and supervision process matters when many users share the equipment.
Prepare a small assembly test before running a full model. Check how the cut affects slot fit and whether engraved labels remain visible after assembly. Keep approved settings with the material reference so the next group can reproduce the exercise.
Industrial identification and traceability
Serial numbers and batch codes connect a physical part with its records. This is an established manufacturing use: ASME's overview of laser applications describes identification marks in both human-readable and barcode forms. Selecting the code and controlling the information sent to the machine are part of the job.
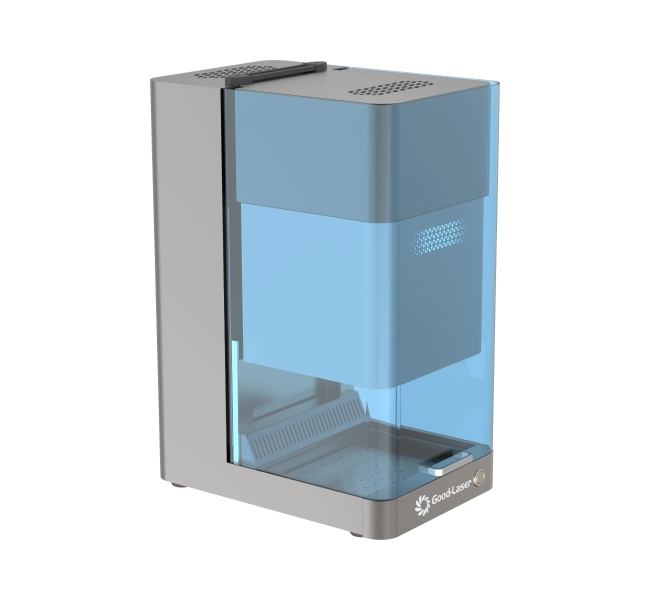
For a bare metal part, a fiber laser marking machine is a relevant starting point for evaluation. The Good-Laser Mark M20 product page identifies metal marking applications. Confirm the alloy and surface treatment, then inspect a sample made on the proposed configuration.
For camera-readable laser marking on stainless steel, readability needs to be checked under the conditions in which the part will be used. Agree on the reader, lighting and inspection procedure. Check the mark after any finishing step that comes later in production, rather than accepting only the result immediately after marking.
When laser marking medical devices, the project needs a qualified process and the applicable customer's acceptance criteria. A product photograph or an ordinary metal-marking sample does not demonstrate that a machine setup meets those requirements.
Electronics and sensitive surfaces
Identifiers on electronic parts must fit into limited space without compromising the product. Material grade, additives and surface finish can change how a plastic responds. Specialist laser processes, including UV marking, are used for some sensitive substrates; a successful process on a housing does not establish suitability for a circuit board.
Have the part owner define where marking is permitted and what inspection is needed afterward. For an assembled product, consider the complete item when assessing heat exposure and handling. Do not start with a generic plastic preset on a customer component.
Packaging prototypes and product development
Engraving can add branding or revision information to compatible packaging prototypes. Cutting may be used alongside it to make panels and inserts. During development, a visible revision number helps distinguish a new fit test from an older sample on the workbench.
Use the intended stock when judging appearance. Coatings and adhesives need their own material review, and a prototype process does not automatically qualify an item for food contact. Include assembly and cleanup in the trial so the team can judge the complete workflow.
Match the laser source to the application
Start with the material and the required surface effect. Compare machine configurations only after those are settled. Nominal wattage alone cannot tell you whether two different laser sources will produce the same result.
| Laser source | Applications to evaluate | Selection boundary |
|---|---|---|
| CO₂ | Wooden gifts, acrylic signs, compatible leather and model panels | Confirm the finish and cutting requirement; bare-metal engraving requires a separate assessment |
| Blue diode | Personalization on suitable wood and other compatible craft materials | Colour and absorption affect results; clear acrylic is a poor direct match |
| Fiber | Metal identification, tool marking and selected decorative metal work | Specify the alloy, surface treatment and desired depth or contrast |
| UV or another specialist source | Selected sensitive plastics, electronics and fine marking tasks | Require application testing; the laser type alone does not guarantee freedom from damage |
A business handling both acrylic displays and bare steel identifiers may need separate processes. Get samples for both tasks before assuming one machine will cover the product range.
Choosing a Good-Laser setup for the work you plan to sell
The Light 530 is a desktop CO₂ laser engraver to evaluate for CO₂ craft and model work. Its published applications include wood and acrylic. Bring the largest blank and its fixture into the discussion, since usable space must accommodate both.
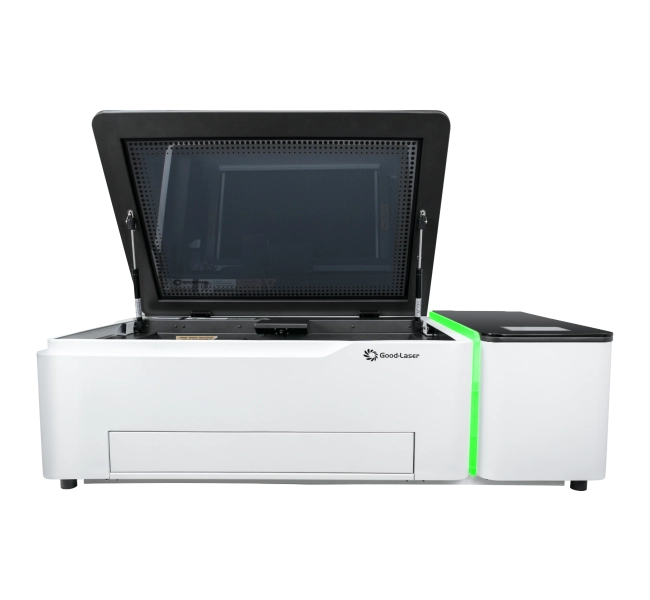
The Light Blue 530 provides a blue diode option for compatible studio projects. For metal identification, evaluate the Mark M20 against the actual component and mark specification. These models address different work; a power rating is not enough to rank them for every application.
When comparing a larger commercial laser setup, include handling and batch layout in the test. Good-Laser's Light 640 range is another CO₂ option to discuss for workshop work. Confirm the exact machine, working area and installed configuration in the quotation.
Measure a representative order from file preparation through inspection. A short engraving cycle may be followed by several minutes of positioning, cleaning and packing. Those steps determine how many finished items an operator can deliver in a shift.
Qualify an application before quoting production
An approved sample gives purchasing and production a shared reference. Keep it with the artwork revision and process record, then define which variations are acceptable. For example, natural wood grain may vary while the location and spelling of the text must stay consistent.
- Identify the complete material, including finishes and backing. Obtain confirmation that it is suitable for the intended laser process.
- Define the output: appearance, position, readability and any required depth. Include the smallest text or code used in the order.
- Run the trial on representative parts using the proposed configuration. Record the settings and fixture arrangement.
- Inspect after the relevant cleaning, finishing or assembly steps. For coded parts, use the agreed reading or verification procedure.
- Time a small batch, including handling and rejected pieces, before committing to a production schedule.
Keep unknown materials out of the machine. The University of Maryland's laser material guidance prohibits PVC and flags concerns with several other materials. Use suitable extraction, follow the equipment's operating procedure and attend the job throughout. Material approval and a controlled setup remain necessary even for a familiar design.
For an initial cost comparison, divide the total batch cost by the number of acceptable pieces. Include blanks, labour, machine use, maintenance allowance and finishing supplies. Use measured trial times when available; a maximum travel-speed figure is not a finished-parts-per-hour figure.
Frequently asked questions
Which laser engraving applications suit a small business?
Personalized wooden products, compatible leather accessories and signs are possible starting points. Choose a limited range of approved blanks first so you can establish repeatable preparation and cleaning. Before expanding, measure the time needed for artwork changes, positioning and packing as well as the engraving itself.
Can one laser engrave wood, acrylic and bare metal?
Those materials place different demands on the laser source. CO₂ systems are commonly evaluated for wood and acrylic, while fiber systems are a relevant choice for bare-metal identification. A coated metal item may allow a different process from bare metal. Ask for separate samples for each material and desired effect.
Is laser engraving the same as laser marking?
Engraving removes material to form a recess. Marking is a broader term for creating a visible identifier or design and can involve changing the surface colour or removing a coating. In a purchase specification, describe the required result and inspection method so the supplier knows whether depth is actually needed.
Can a laser make readable QR codes and serial numbers?
A suitable system can create both, but readability depends on the material, mark size, contrast and production setup. Test the actual code with the intended reader and lighting. Repeat the check after relevant finishing or cleaning, and confirm that the software sends the correct data to each part.
What should a school check before buying a laser machine?
Check the intended projects, approved materials and space needed for the machine and extraction. Assign responsibility for training, supervision and maintenance. A representative classroom project can test the design-to-assembly workflow and help staff assess preparation time, repeatability and the practical needs of shared equipment.
How do you choose between engraving and cutting?
Use engraving when the design belongs on the surface and cutting when the workpiece needs to be separated into shapes. Many signs and models need both. Test the operations independently: a clear engraved logo does not establish that the same setup can cut the required thickness with an acceptable edge.
Discuss your application with Good-Laser
Send the good laser team a material specification, part dimensions and the artwork or identification format you need. Add the expected batch quantity and a reference for the finished appearance. Request a sample-test plan and a machine recommendation based on that job, so you can assess the result and production workflow before choosing equipment.