Laser Engraver Ideas: 25 Projects for Gifts and Sales
The best laser engraver ideas match three things: a material your machine can process, a design customers understand and a workflow you can repeat. Start with simple coasters, tags or signs, then expand into drinkware, acrylic displays or metal identification after you can control focus, placement and finishing.
This guide groups 25 practical projects by material and explains which laser type is a sensible starting point. It is written for hobbyists, schools, gift businesses and small workshops comparing equipment from Good-Laser.
Quick List: 25 Laser Engraver Ideas
- Personalized wood coasters
- Recipe or cutting boards
- House signs and address plaques
- Photo or map plaques
- Holiday ornaments and gift tags
- Desk organizers and phone stands
- Edge-lit acrylic signs
- Acrylic name plates
- Awards and recognition plaques
- Acrylic earrings and keychains
- Display stands and product labels
- Leather wallets and card holders
- Luggage tags
- Hat patches
- Notebook covers
- Glassware and bottles
- Slate coasters and serving boards
- Ceramic or coated tile keepsakes
- Coated tumblers
- Metal pet tags and key tags
- Jewelry and watch backs
- Business cards and name plates
- Tool identification
- Branded packaging and inserts
- Templates, jigs and prototypes
| Project idea | Typical blank | Laser starting point | Good first use |
|---|---|---|---|
| Personalized coasters | Wood or slate | CO2 or suitable blue-light system | Learning layout and repeatable positioning |
| Name signs | Wood or acrylic | CO2 for broad material flexibility | Home décor and event orders |
| Keychains and tags | Wood, acrylic or anodized aluminum | Match the source to the blank | Small personalized batches |
| Tumblers and bottles | Coated metal or suitable drinkware | Compatible laser plus rotary fixture | Names, team gifts and company logos |
| Metal ID plates | Stainless steel, aluminum or brass | Fiber laser | Asset labels and industrial identification |
| Leather accessories | Verified laser-compatible leather | CO2 or suitable blue-light system | Wallets, luggage tags and patches |
Treat the laser labels in the table as starting points. Color, coating, additives, thickness and surface finish can change the result, so test the exact production blank rather than relying on a material name alone.
Wood Laser Engraving Ideas
Wood is a practical place to begin because flat blanks are easy to fixture and the engraved contrast is immediately visible. Plywood, MDF, bamboo and solid wood do not behave identically. Check the adhesive, coating and species, then build a small settings grid before processing a finished item.
1. Personalized wood coasters
Use initials, local landmarks, business logos or simple line art. A coaster set teaches consistent positioning because every piece should look identical. A small corner jig can reduce alignment time and make sets easier to repeat.
2. Recipe or cutting boards
Convert handwriting into clean vector or high-contrast raster artwork for a family recipe board. Keep decorative engraving away from areas where deep grooves could make cleaning difficult, and give buyers care instructions appropriate to the board material and finish.
3. House signs and address plaques
Combine engraved text with cut letters or layered shapes. Before choosing a blank, decide whether the sign will be indoors or outdoors and select materials, coatings and mounting methods for that environment.
4. Photo or map plaques
Portraits, skylines, topographic patterns and “where we met” maps can create strong personalized products. Prepare the image for the chosen wood grain and run a small crop first; fine details that look good on screen may merge when engraved.
5. Holiday ornaments and gift tags
Small shapes use little material and can be nested efficiently. Offer a limited set of fonts and layouts so names can be proofed quickly. Keep a master jig when producing repeat seasonal orders.
6. Desk organizers and phone stands
These projects add assembly to engraving and cutting. Prototype the joints before decorating the full sheet, then confirm that kerf compensation and material thickness produce a stable fit. Good-Laser's plywood laser cutter guide is a useful starting point when matching wood jobs to equipment.
Acrylic Laser Project Ideas
Acrylic projects can look highly finished, but the material type matters. Clear, cast, extruded, colored and mirrored sheets can respond differently. Confirm compatibility with the laser source and protect finished surfaces from scratches during handling.
7. Edge-lit acrylic signs
Engrave a logo, name or illustration into a panel and mount it in an LED base. Design the artwork for even light distribution and test the panel orientation before making a batch.
8. Acrylic name plates
Desk names, door signs and table numbers work well for offices, weddings and hospitality. Create reusable templates for common sizes and keep spelling approval in writing before production.
9. Awards and recognition plaques
Use a consistent layout with variable fields for name, date and achievement. A proofing checklist prevents the expensive mistake of producing the correct design with the wrong recipient details.
10. Acrylic earrings and keychains
Small accessories make good test projects for shape, cut quality and protective-film handling. Round corners and inspect edges before packaging. Avoid copying protected characters or logos without permission.
11. Display stands and product labels
Retail stands, QR-code plaques and shelf labels can lead to repeat business because stores need consistent branding across locations. Test QR codes at the finished size and under the lighting where they will be used.
Leather and Fabric Engraving Ideas
Use only materials that the supplier identifies as compatible with laser processing. “Faux leather” is not one material; formulations and backings vary. Request composition information and test for finish, residue and odor before accepting an order.
12. Leather wallets and card holders
Add initials, a small motif or a company logo to a prepared blank. A shallow, clean mark usually looks more refined than an overly dark or deeply burned result.
13. Luggage tags
Create front-side decoration and keep personal contact data discreet. For a product line, standardize the blank, font sizes and fastening hardware so replacement orders match earlier items.
14. Hat patches
Laser-compatible patches can be engraved and then attached using the method specified by the patch supplier. Confirm how the patch will bend on the cap and whether small text remains readable after application.
15. Notebook covers
Names, quotes and line art can turn a standard notebook into a conference, school or client gift. A positioning jig helps keep artwork parallel to the cover edge across a batch.
Glass, Slate and Ceramic Ideas
16. Glassware and bottles
Names, monograms and event graphics suit glasses, bottles and jars. Curved items may need a suitable rotary fixture, and the exact glass must be tested for the desired frosted appearance and acceptable surface quality. Review the intended surface effect before choosing equipment for glass laser engraving.
17. Slate coasters and serving boards
Slate often produces a visible light mark that works well for logos, maps and hospitality sets. Natural variation affects contrast, so inspect several pieces from the same order rather than approving only one ideal sample.
18. Ceramic or coated tile keepsakes
Use line art, house numbers or photo-style graphics on a verified coating or tile process. State whether the result is decorative or intended for a demanding environment; do not assume every surface treatment is weatherproof.
Metal Laser Engraving Ideas
Distinguish coating removal from marking or engraving the base metal. A blue-light system may remove or change some coatings, while bare metals typically point toward a fiber-laser process. Always identify the alloy, finish and required result before choosing a machine.
19. Coated tumblers
Names, team graphics and business logos can be produced by removing or changing a suitable outer coating. Cylindrical work needs reliable rotary positioning. Run a complete circumference test before accepting a large batch.
20. Metal pet tags and key tags
Engrave identification on compatible anodized, coated or bare-metal blanks. Use large, simple characters for information that must remain readable and check both sides if hardware can scratch the mark.
21. Jewelry and watch backs
Initials, dates and short messages demand precise focus and positioning. Protect finished surfaces, confirm the engravable area and approve the layout at actual size before processing valuable items.
22. Business cards and name plates
Metal cards, desk plates and equipment labels can carry logos, contact details, serial numbers or QR codes. For functional codes, define the reader, minimum size and verification method before production.
23. Tool identification
Names, asset numbers and tool-control codes support workshops and maintenance teams. The mark should not interfere with the tool's safe use, and any required durability should be tested under the real cleaning and wear conditions.
For these applications, compare the finished mark with the result you need rather than choosing a machine by wattage alone.
Business, Packaging and Prototype Ideas
24. Branded packaging and inserts
Engrave or cut approved paper, card, wood veneer or reusable packaging components. Small businesses may value short runs with changing names or campaign messages. Test fold lines and assembly before decorating the whole batch.
25. Templates, jigs and prototypes
A laser can make positioning templates, assembly aids, display mockups and architectural components in addition to finished gifts. These projects reduce setup time for later orders and help customers review size and layout before a more expensive production run. For model shops, Good-Laser also covers laser cutting architectural models.
Which Good-Laser Machine Fits These Ideas?
Choose a source and machine configuration from the material, working area and production requirement. The project list should guide the purchase discussion; it should not be treated as a universal compatibility claim.
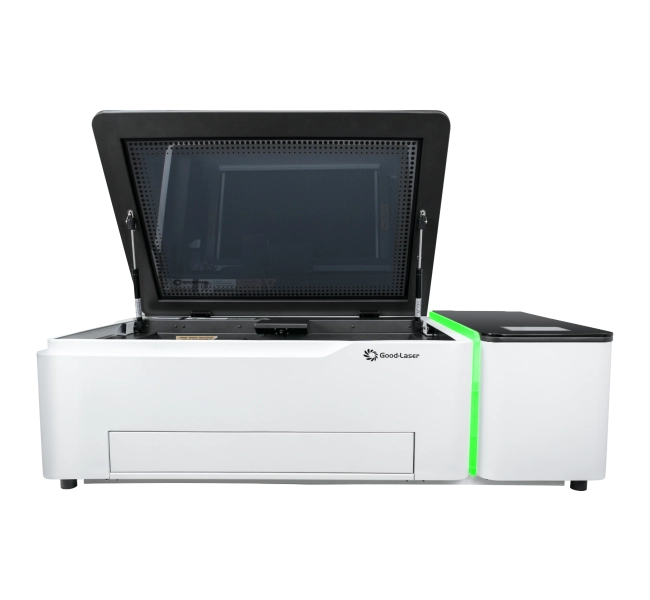
Light 530 for compact CO2 projects
The Light 530 belongs to Good-Laser's desktop laser engraver range. It is a logical machine to discuss for suitable wood, acrylic, paper, leather, glass and other non-metal projects. Confirm the exact configuration, material and desired result through a sample.
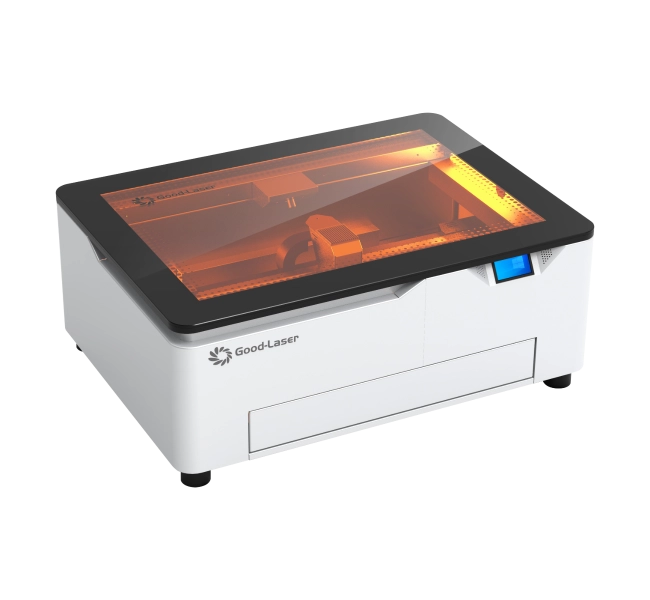
Light Blue 530 for craft and personalization work
Good-Laser's blue laser engraver range is relevant to many craft and personalization ideas on compatible wood, acrylic, leather and coated materials. Check how the selected wavelength interacts with clear, light-colored or reflective blanks before ordering.
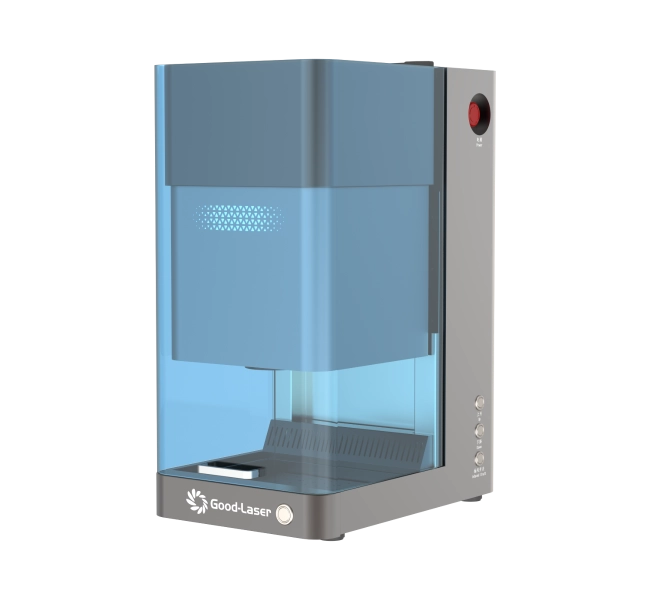
Mark M20 for metal personalization and identification
The Mark M20 is presented in Good-Laser's fiber laser marking range. For projects requiring camera-readable laser marking on stainless steel, specify the alloy, code size, reader, contrast or depth, quantity and any later finishing operations before requesting a sample.
How to Choose Your First Three Laser Projects
Start with three ideas that use the same material family and similar setup. This keeps purchasing, test grids and finishing manageable. One project can be a simple flat item, one can add personalization and one can test small-batch production.
| Decision | Question to answer | Practical evidence |
|---|---|---|
| Material | Is the exact blank approved for laser processing? | Supplier documentation and a test piece from the real batch |
| Laser source | Can the wavelength produce the required mark or cut? | A sample made on the proposed machine configuration |
| Work area | Will the blank and fixture fit with safe clearance? | Overall dimensions, usable area and fixture drawing |
| Throughput | Can the complete cycle meet the order volume? | Timed loading, focusing, processing, unloading and cleaning |
| Quality | How will an acceptable result be judged? | Approved artwork, contrast, edge, depth and placement criteria |
| Expansion | Will future products require rotary or batch fixtures? | A realistic 6–12 month product list |
- Make one prototype. Check focus, contrast, edge quality and cleanup.
- Time the complete cycle. Include artwork preparation, loading, alignment, processing and packing.
- Repeat the job. A second run shows whether the result depends on luck or a controlled process.
- Test a small batch. Look for material variation, fixture drift and handling damage.
- Record the approved setup. Save the artwork version, machine configuration and acceptance sample.
Safety and Material Checks Before You Start
Follow the equipment manual and local workplace requirements. Verify a material's composition with its supplier before exposing it to the laser. Do not process an unknown plastic, coating or composite simply because a similar-looking blank worked before.
Use the required enclosure, interlocks, extraction, fire controls and wavelength-appropriate protection for the system. Keep the work area supervised during processing. OSHA's laser hazard guidance specifically addresses ventilation for fumes and vapors produced by laser-material interactions.
Frequently Asked Questions
What is the easiest laser engraving project for a beginner?
A flat wood or slate coaster is a useful first project. It is easy to measure, position and repeat, and it teaches the essential steps of focusing, placing artwork and testing settings. Use a simple design and make a small settings grid on spare material before engraving the final blank.
What can I make with a laser engraver to sell?
Common options include personalized coasters, signs, ornaments, drinkware, leather accessories, pet tags and branded business gifts. No item is guaranteed to sell. Choose a clear customer group, calculate the full production time and test a small batch before buying a large quantity of blanks.
Which laser is best for wood, acrylic and metal projects?
CO2 systems are a common starting point for wood and many acrylic applications. Blue-light systems can suit wood, leather and selected coated or colored materials. Fiber lasers are a common choice for suitable bare-metal marking. Exact compatibility depends on wavelength, material formulation, finish and the result required.
Can a laser engraver engrave glass?
A suitable laser process can create a frosted surface effect on compatible glass. Results vary with the glass, shape, thickness and process. Test the actual item, inspect for unacceptable chipping or cracking and use a compatible fixture for curved objects.
Can I engrave photos with a laser?
Yes, on compatible materials such as selected wood, slate, coated tile or anodized aluminum. Prepare the image for the material's available contrast, test a small crop and judge it at the final viewing distance. More resolution in the source image does not automatically create more usable detail in the finished mark.
How should I price laser-engraved products?
Include the blank, artwork time, machine time, fixtures, finishing, packaging, failed pieces, overhead and selling costs. Then compare the finished offer with alternatives for the same customer. Avoid setting a price only by multiplying the raw blank cost because setup and personalization can dominate small orders.
What materials should I avoid laser engraving?
Avoid unknown or unapproved materials. Some plastics, synthetic leathers, coatings and composites can release hazardous or corrosive by-products. Use supplier documentation, the machine manufacturer's approved-material guidance and appropriate extraction rather than guessing from appearance.
Turn an Idea into a Sample and Machine Plan
Choose two or three project ideas, then prepare the exact material, maximum blank dimensions, artwork, expected monthly quantity and required finish. Good-Laser can use that information to recommend a configuration and discuss sample testing. Contact Good-Laser with your project brief to compare the Light 530, Light Blue 530, Mark M20 or another suitable model.